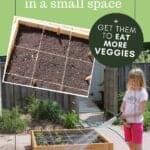
Vegetable Gardening with Kids ~ Choosing the Right Plants Together
by Robin
We’ve finally come to the most important part of our Growing Food in our Driveway experiment. Planting!
We’ve got a few reasons why we’re devoting driveway space to veggies (we shared some here). What we didn’t mention in that first post was another why: kiddos!
Vegetable gardening with kids is rewarding in many many ways!
Spend about 4 minutes talking with other parents and food will come up. A common lament is the lack of variety our little people find acceptable.
A close second is the turning up of noses at lots of veggies.
As a Registered Dietitian, with a focus on the littlest of humans, I can tell you, these common complaints about kids is oh-so-frustratingly normal.
One, among many, strategies to include more fresh produce in our kids diets is to involve them in growing.
Our main partner in deciding what to plant in our square foot gardens was our daughter, age 9. She loves all fruits and has a few veggie favourites, but we’d like to push her envelope a bit towards accepting some new green foods.
(Our son, age 6, is pretty indifferent to our driveway garden experiment. And that’s OK. He doesn’t need much encouragement re: vegetables, he’s been a veggie fan from birth.)
Spoiler alert: we’ve already had success in the trying new foods dept. and we’re only in week 3 of putting plants and seeds in! Hoo-rah!
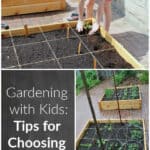
Today’s post we’re sharing the dirt on Vegetable Gardening with Kids: what we planted and how we chose them.

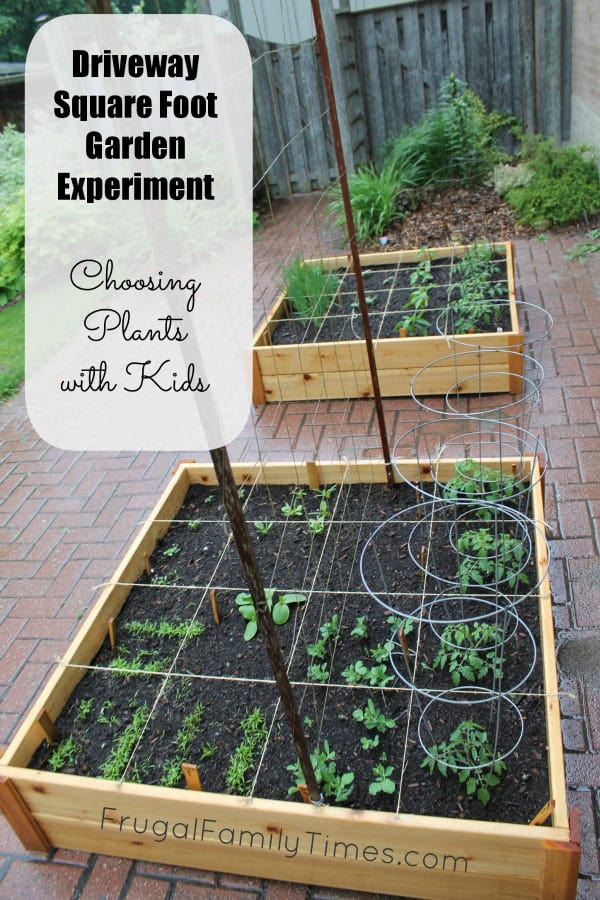
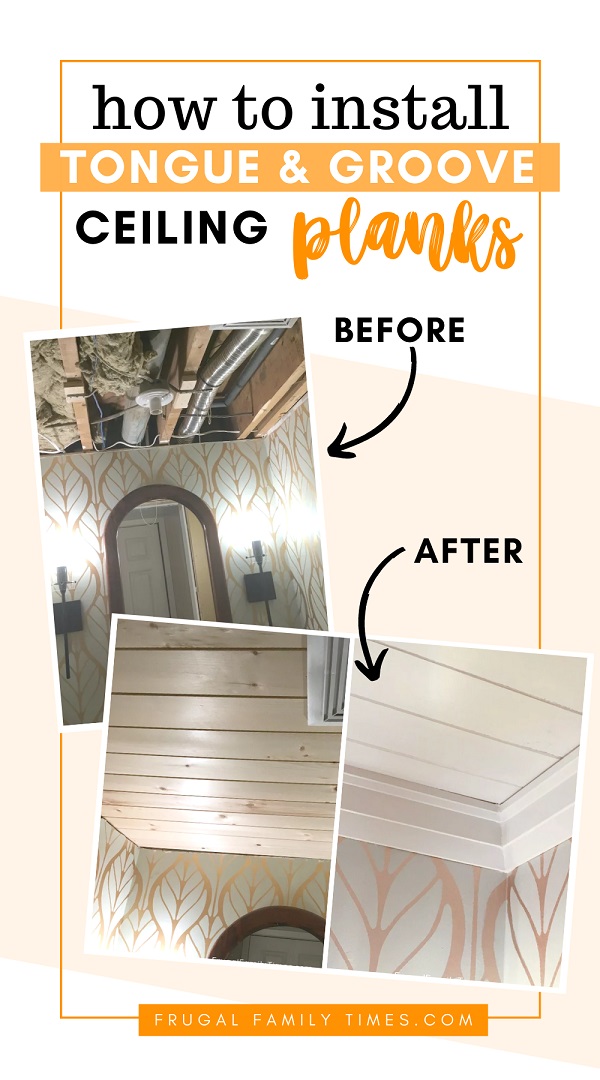
After we built the raised garden boxes DIY and filled them with soilless-soil – we were ready for the truly fun part: planting!
While we are new to raised gardens and square foot gardening, we’ve been gardening for over a decade.
In the past, we’ve made all kinds of mistakes around choosing our garden plants. If we do our job with this post, we can highlight for you the successes and warn you of the downfalls that we’ve had in the past.
Here’re our best Vegetable Gardening with Kids tips:
1. Plant what you actually eat.
Sounds like a no-brainer, eh?
Well, it took us a few years of gardening before we went, “Hey – wouldn’t this be more rewarding if we planted stuff we actually eat vs. stuff we thought sounded cool as we roamed through the garden centre?”
2. What would you like to put away?
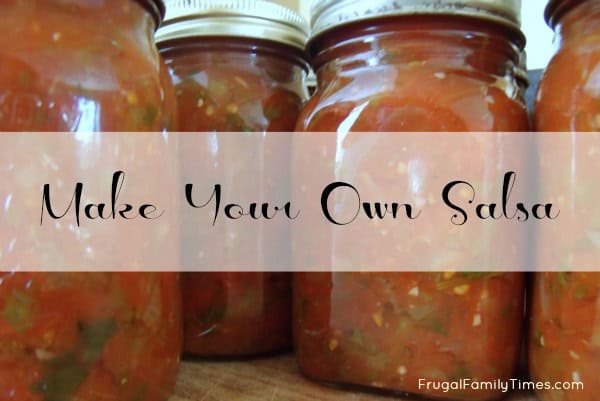
We’ve talked before about canning. Every single year we make jars and jars of our home preserved salsa. It is easier than you think to can at home. Our salsa recipe, at risk of sounding arrogant, is the bee knees.
We tend to plant our gardens with a focus on the ingredients of this salsa. (And our amazing zucchini relish – which we have enough of from last year, so we’re not planting for this in 2013.)
3. Learn what works to plant together – and what doesn’t.
Another learned the hard way lesson.
In an early garden, we planted sweet corn. Yum – sweet delicious peaches and cream corn on the cob. What says summer freshness more than that?
Oh, but don’t forget about decorating – let’s plant some Indian corn – the rich autumn coloured kernels will make beautiful decorations.
Never ever do this!
That year we had ugly brown and yellow bitter corn cobs – after the two types cross-pollinated and created a hideous inedible offspring.
A bit of research will save you lots of disappointment.
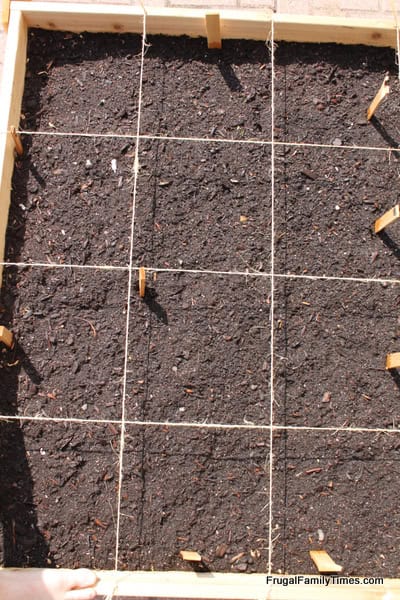
Square Foot Gardens Need Squares
(and we don’t just mean the authors of this blog…wocka wocka)
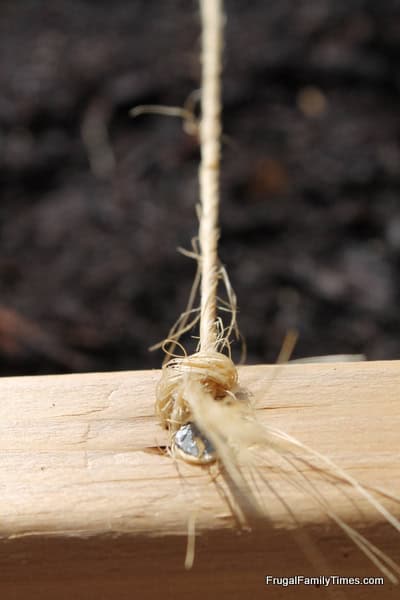
We used twine and nails to create them.
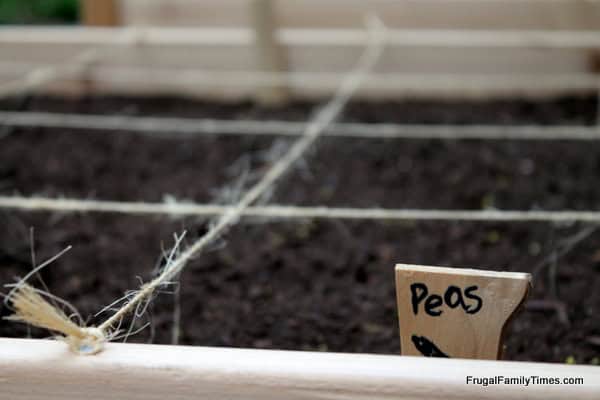
Another choice to involve the kids and keep things cheap and cheerful – we used cedar shims and a Sharpie to make our planter markers.
Our daughter wrote all the names and drew a little sketch for the plants. (Not pictured: the “Green Onion” marker who’s drawing looks a bit like bathroom wall graffiti i.e. franks and beans, if you catch my drift.)
Our Final Planting Plan:
Here’s how we selected what would go into our 32 squares (i.e. two 4’X4′ boxes = 32 squares):
- Our daughter and I chose the plants. We drew a sketch of what would go where.
- We looked up how many plants belonged in each square. We followed the advice of the blog, My Square Foot Garden. This blog has become our go-to resource.
- We decided to plant 4 weeks worth of peas. Our kids get more excited about a bag of fresh peas-in-the-pod than is anywhere near normal. We love that, so we staggered the planting by 1 week for each of four squares.
Below is our final planting plan. You’ll find the veggie we chose and the number we planted below the name. Box One:

Box Two:

We also planted two empty urns.
One has Cilantro – and a pepper plant. The other has Basil – and another pepper plant. This is not some savvy Companion Planting scheme – it’s merely we had leftover pepper plants and stuck them in there.
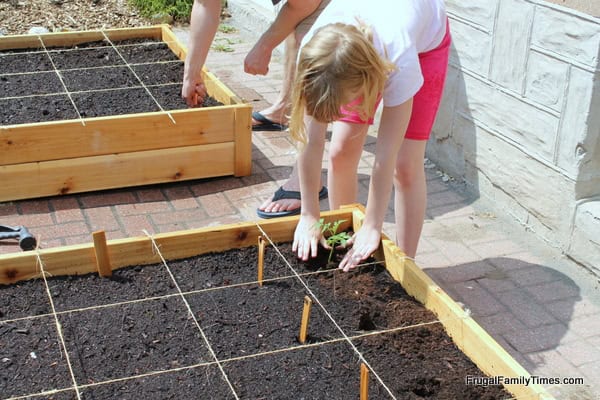
Perfect for kiddo attention spans.
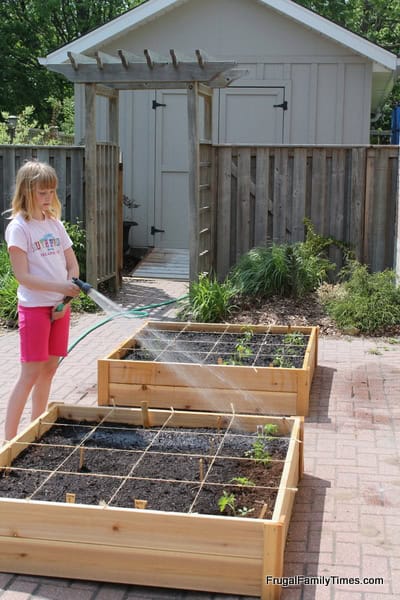
Impressed with our daughter’s serenely focused watering technique?
It lasted until just after this shot, when she realized it looked like she was “a boy peeing!” and then danced around “boy-peeing” on the all the plants.
Our most recent success:
“Yum! Spinach, it’s so smooth and tasty! I can’t wait for more to grow.”
~ Our 9 year old daughter, who’s never let spinach past her lips before this garden. Yeah!
Did you plant a vegetable garden this year? What did you plant?
Keep reading here for more of our Raised Bed – Square Foot Gardening experiences and tips!

Robin and Ed are a DIY-loving couple with over 25 years of design and build experience. Also, Robin is a Nutritionist and former Registered Dietitian and Ed is an award-winning Business Educator. We share strategies for living a rich life on a DIY budget: creative money-savvy ideas for a stylish home, healthy meals and family fun. Our work has been published in the pages of Do It Yourself, Farmhouse Style and Better Homes & Gardens magazines.


Exactly we did plan tomatoes and our cousin really loves it. However we have problem with tidy up the space for placing the boxes because all the stuff is not moved yet. We need to solve such problem before moving the boxes in but I still don’t know how to get those stupid stuff away without my mother’s permission.
We had a question about the Trellis on last years post – so here is my quick overview:
It was made of three lengths of hardwood: two 5-foot lengths screwed into the sides of the raised bed frame (we just happened to have that length) and a 4-footer joining them in the middle to make an upside-down "U" shape.
The mesh netting is from Lee Valley (http://www.leevalley.com/en/Garden/page.aspx?p=51218&cat=2,33286&ap=1) and it is strung between them for the peas to grow on.
Hope this helps.