
We may earn a commission on purchases made after clicking links on this page.
By Ed
Ever thought you’d like to try making beer at home? You can. You totally can. If you can follow a recipe, you can make beer (kind of like, “If you can dodge a bag of hammers, you can dodge a ball”?)
During this “How to Make Beer” series at Frugal Family Times, I will guide you through the steps to a good quality basement brew.
I have been making homemade beer for 16 years. My first lesson came from the father of one of my best friends. Byron and I had picked up a cheap kit at a local health food store (Beer is healthy, right?) and bowed down at his father’s feet looking for guidance from a brewmaster.
It wasn’t the greatest, but it was good enough and I think cost about 20 cents a bottle to make. (At that age I was more interested in quantity. Quality? Not so much.) When I headed back to university, I brought along my beer making gear and spread the joy.
I have taught several people everything I know since then. Some have gone on to get way more serious about than I have, others gave it up after a few batches.
Here is Part One: the shopping list of what you’ll need:
Equipment to Make Beer at Home
The Shopping List
Ok, my Frugal Friends. Bottom Line, right off the top:
Your Start-up costs:
Basic Starter Gear


- This is all the things you need (minus the beer kit). My complete shopping list is below. You can find the stuff at beer making stores near you, sometimes even Costco carries the gear. Amazon also carries beer equipment. About $100 new.
- There is a very good chance your local Kijiji or Craigslist will have a someone unloading all their homebrew stuff (bottles and all) for a fraction of the cost, so check that out. As long as it looks and smells clean, you can use it.
Beer Kit
- $30 to $40, depending on which one you pick (see below)
60 empty beer bottles (enough for 1 batch)
- These are almost free, assuming you already drink beer or know someone who does (this will mean you need to buy a capper and caps – $50)
or
- Enough plastic bottles with screw top lids to hold 23 litres of beer (there is no shame in using empty 500mL or 1 l soda bottles until you want to really commit to homebrewing – wash them well and start collecting)
So, you might drop $150-$200 in on this before you drink your first bottle. But after that, everything but the beer kit is reusable, so the cost comes down to basically the $30 kit.$30 kit/60 bottles = 50 cents a bottle. Now we’re talking frugal.
Beer from Scratch?
If you’re new to beer making, I definitely recommend starting with a kit.
Even after a decade and a half of brewing, I don’t make beer from scratch. I have decided that for purposes of quality, I need to keep my own interference as far removed as possible.
I’ve actually tried making a ‘grain kit’ and in addition to being time-consuming, basically the same in price and much more mess/work, the beer didn’t really get any better. Maybe some day I’ll want to have the full experience of brewing from scratch, but for now, I’m pretty OK letting a professional brewmaster do all the real work.
Choosing a Beer Kit
For Canada and the US, RJ Spagnols makes a line of kits called “Brew House” in various flavours. You will have to search out your local Spagnols dealer and probably get them to order you one.
The kits themselves are solid – they are somewhat concentrated – 15 litres of Wort (the unfermented beer-juice) – you add 8 litres of water.
These were hands down the best kits I had made until recently. Once I figured out that I needed to filter my water before mixing, the quality improved further. Again, the less you have to do, the better.

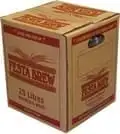
My current gold standard is Festa-Brew kits. They are 23 litres of no-work, non-concentrated, amazing craft beer, waiting for you to add yeast and get out of the way.
I have served them on separate occasions to a bunch of guys at a fantasy football draft and a poker party and both times everyone could not believe it was homemade. They are the only kits I make now and they win on all frugal fronts – low cost, low effort, and great taste.
Canadian HomeBrew Supplies – a website I stumbled across while researching suppliers for this post – sells both Brewhouse and FestaBrew kits and ships all across Canada. I haven’t ordered from them, as I have a local dealer I can drive to, but it looked promising. If I do order anything from them, I will post and let you know how it went.
Other Options:
Brew Canada and Coopers Kits are popular in many stores. I have made both. They will taste homemade unless you are methodical about all the boiling, water filtering and other steps. They are fine, but when Festa-Brew is so easy and good and cheap, why bother?
Equipment to Make Beer at Home
So, what will you need?
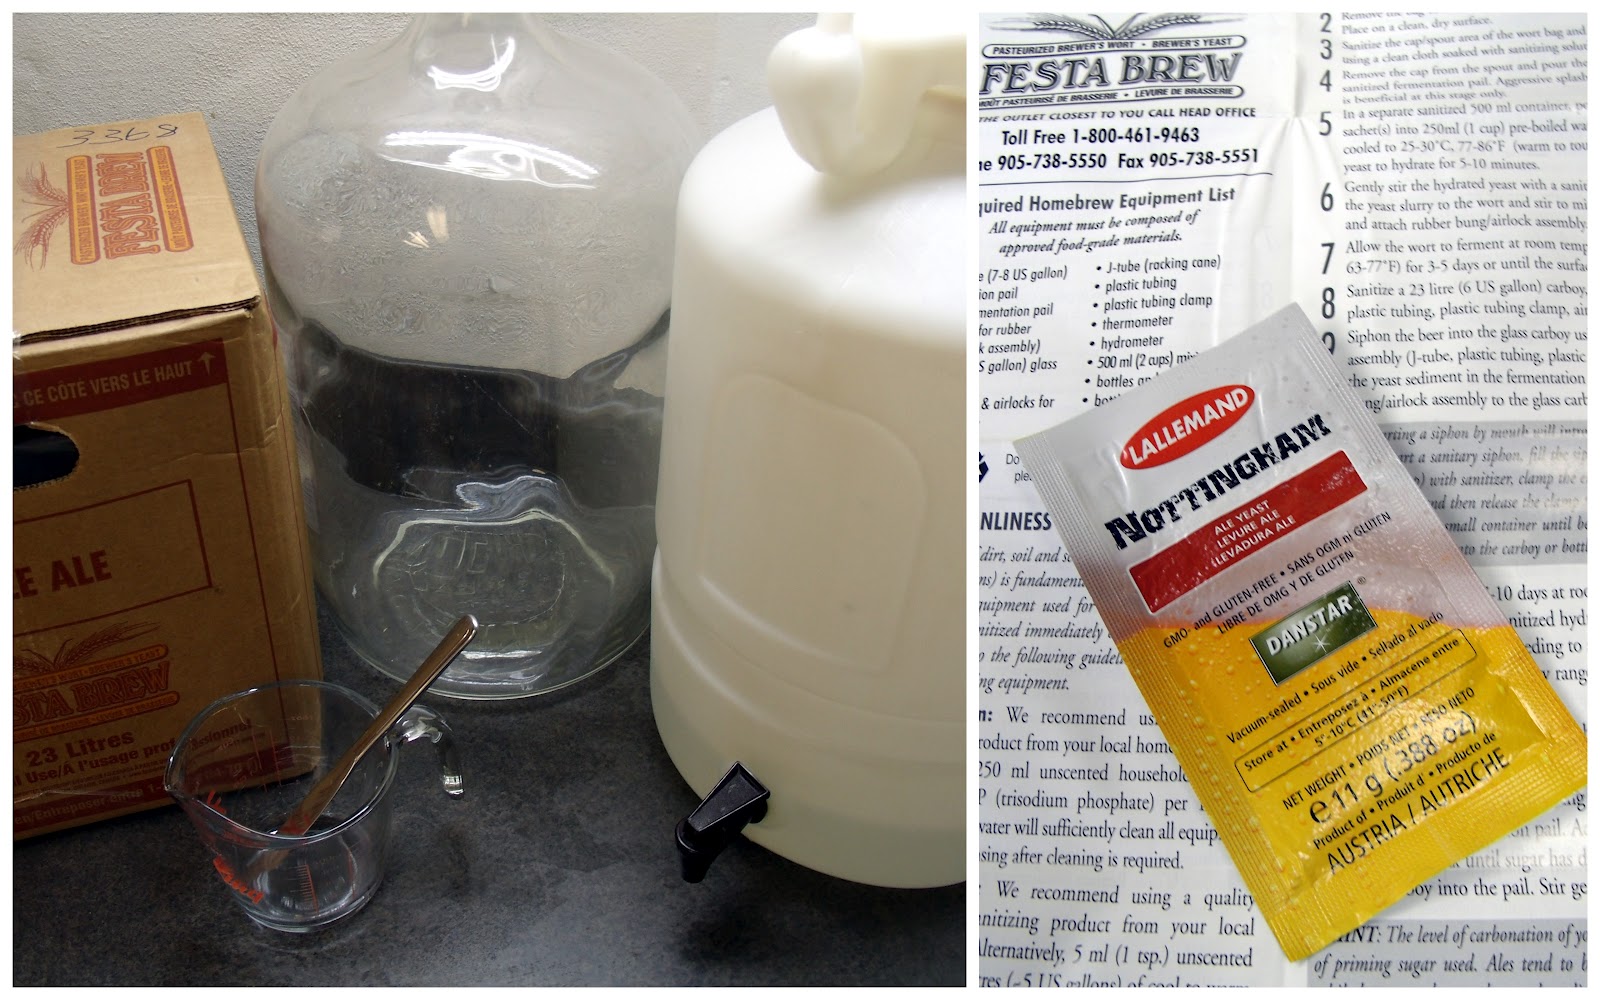
A primary Fermenter
- A 25-liter food grade plastic barrel works well (if you can find one with a tap, better still for bottling)
- The one I have pictured above came with a fancy airlock and built in tap, but you can add your own tap to any plastic pail – Amazon has complete kits.
- Make sure it’s cleaned, sterilised and rinsed
A carboy
- Basically, it’s a glass 25-litre bottle
- Make sure it’s cleaned, sterilised and rinsed
Beer kit
Any kit you buy should come with yeast and instructions.
All kits have their own quirks, so read those instructions well. Don’t get creative at this point.
The yeast will also be particular to the kit/flavour of beer you are making. Mine came with a Nottingham Ale Yeast – all yeasts have super-cool names that make you feel like you are part of something awesome.
Measuring cup
Make sure it’s cleaned, sterilised and rinsed (sense a pattern?)
Sterilizer
Potassium Metabisulphite is widely available in wine and beer making stores.
I also keep a spray bottle of a bleach-water mix for quick “spot” sterilisation – i.e. for when I drop my fermenter lid on the floor.
Racking tube and hose
Typically a straight piece of plastic with a hooked end connecting to a longer piece of flexible plastic tubing for syphoning. You could get by with a length of hose, but this thing pays for itself in convenience and improves your ability to “rack” (transfer beer from the plastic pail to the carboy) without disturbing the sediment.
Getting Serious? Some other nice to have things:
Bottle Washer
Mounts on your laundry tub tap and shoots a high-pressure jet up into bottles to clean out sediment. One of the first “extras” I ever bought and an item I still use with every wine or beer kit I make. (Find it locally or at Amazon).

Capper and Caps
I stopped using plastic bottles a few years back, mostly because glass was just aesthetically nicer to serve to people and there is just something cool about being able to “uncap” your own beer.
My capper could be an antique. Not sure. (Find one locally or at Amazon)

Next Post (later this week): Brewing your first batch.
In the meantime, assemble the things you need and get emptying some bottles for your first kit. Where is your favourite place to empty bottles in the summer? I’ll be on my front porch if you need me.
Any questions so far about the gear?
The Make Beer at Home Series:
Part 1: Simple, Foolproof Equipment
Part 2: Simple, Foolproof Brewing
Part 3: Bottling
Part 4: DIY Homebrew Kegging
Part 5: Simple Tips to Make Your Beer Better


Robin and Ed are a DIY-loving couple with over 25 years of design and build experience. Also, Robin is a Nutritionist and former Registered Dietitian and Ed is an award-winning Business Educator. We share strategies for living a rich life on a DIY budget: creative money-savvy ideas for a stylish home, healthy meals and family fun. Our work has been published in the pages of Do It Yourself, Farmhouse Style and Better Homes & Gardens magazines.