
We may earn a commission on purchases made after clicking links on this page.


by Ed
We’ve been looking to add a garden water feature to our yard for well over a year now.
We’ve kicked a few ideas around in that time. I liked ponds, for example. Robin pointed out that we have a dog who would spend all his time in said pond and we would never have a dry pet again.
I felt this was a good point.
We settled on a standalone bubble fountain water feature. We decided to build it ourselves because:
a) we like building things ourselves and
b) most store-bought water features look exactly like store-bought water features and cost a lot more than the individual parts that go into them. It’s a poorly kept secret that we’re a bit frugal.
We started planning.
Concept 1 – A Water Wall.
Sounds amazing right? It was going to be made with some glass shower doors we found at a Re-Store.
That plan was rejected after basically a year of thinking on it because I still couldn’t come up with a practical way to support the glass and have water run down it and have it not look hideous.
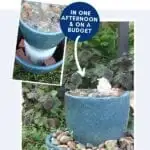
Concept 2 is what this post is about: A Simple Bubble Fountain Made with Pots.
There was a spot in near our deck silently begging for a water feature. It would be much more doable.
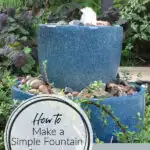
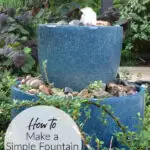
How to Make a DIY Bubble Fountain Garden Water Feature
Bubble Fountain Materials:
- 2 pots (one large, one smaller) – any material, but strong enough to hold water and rocks. Ours is glazed terra-cotta. More expensive than plastic, but still cheaper than a ready-made fountain.
- 1 fountain pump
- This one would work very well and gets great reviews.
- It should have enough vertical lift to pump water taller than your stacked pots (you can find this information in the specs of most fountain/pond pump kits)
UPDATE FOR 2023: You can now buy Solar Pumps with enough power and lift for a fountain – this solar pump would do the job and gets good reviews. (Note: solar pumps are much more expensive.)
- 1 plastic pail (I used an old wine kit bucket, but anything you don’t mind drilling holes in will do)
- Automotive fibreglass material (This is what I used.)
- Rocks (Some decorative and some large ones that take up a lot of space and are cheap/free)
- 1 piece of hose that fits the outlet on your fountain pump (most have adapters and can use garden hose, plumbing ‘PEX’ pipe or anything in between that you might already have)
- Garden hose washers or similar waterproof item to fill gaps
NEW! ⇒ If a Video Tutorial is more your style scroll down – we’ve got a video there for you!
Assemble Bubble Fountain as below.
I have added some notes and thoughts in the images as appropriate.

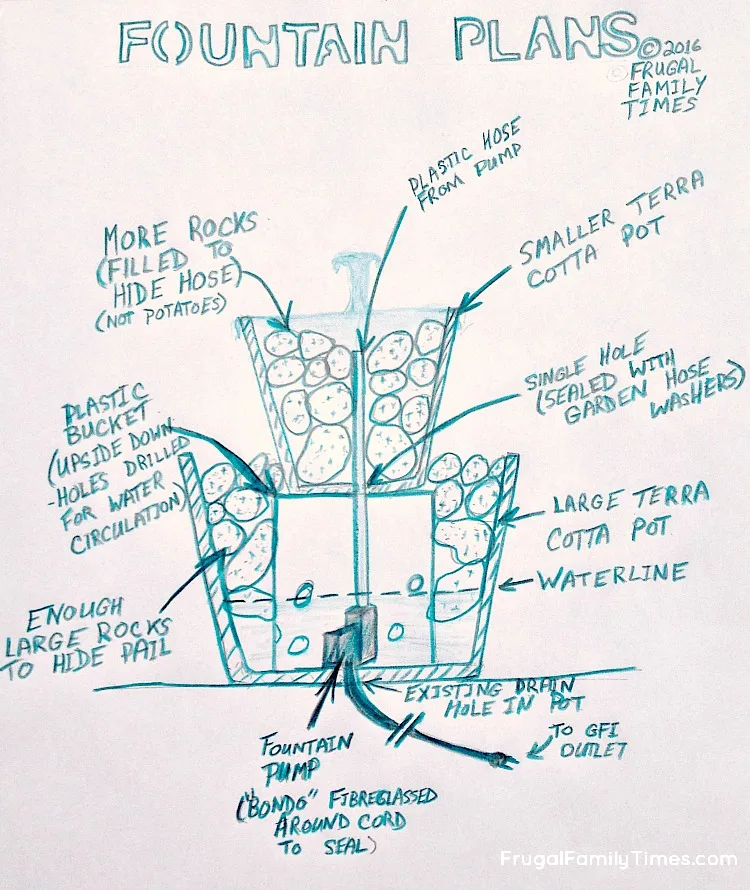
My favourite parts are the swiss cheese pail and the potato rocks…😂
Step 1 – Seal the Pump into the Bottom Pot
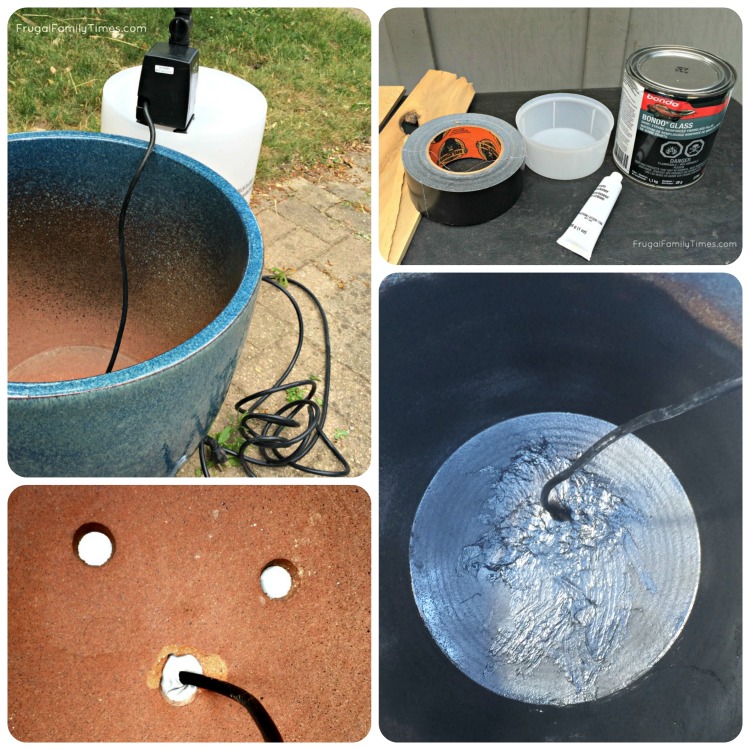
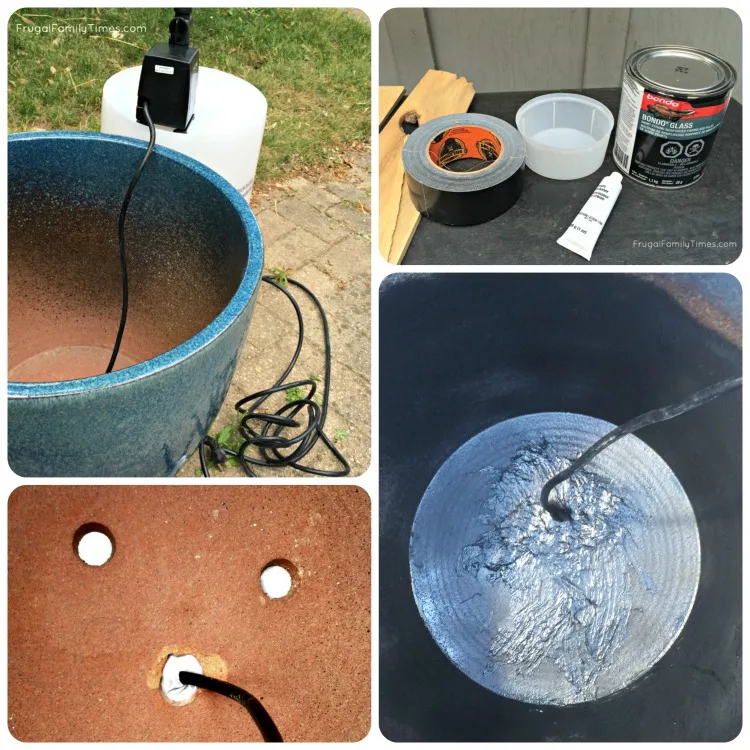
Next, using some heavy duty tape, I created some temporary patches over all the drain holes. These don’t have to hold water – just support the Bondo (automotive fibreglass repair material) in place till it sets.
Finally, I mixed the Bondo and troweled it into all the holes and around the pump wire. I let it cure and then painted the whole bottom of the pot to seal everything up.
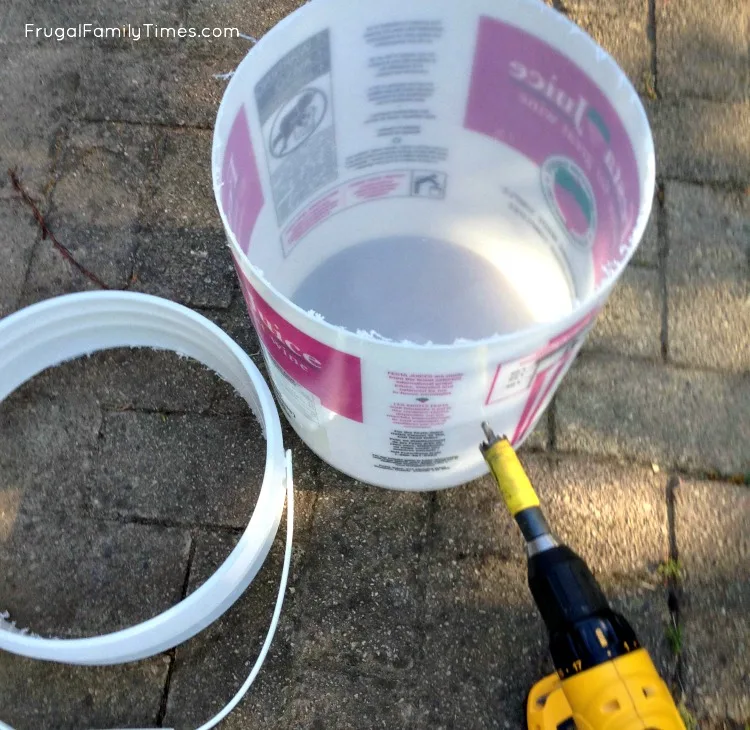
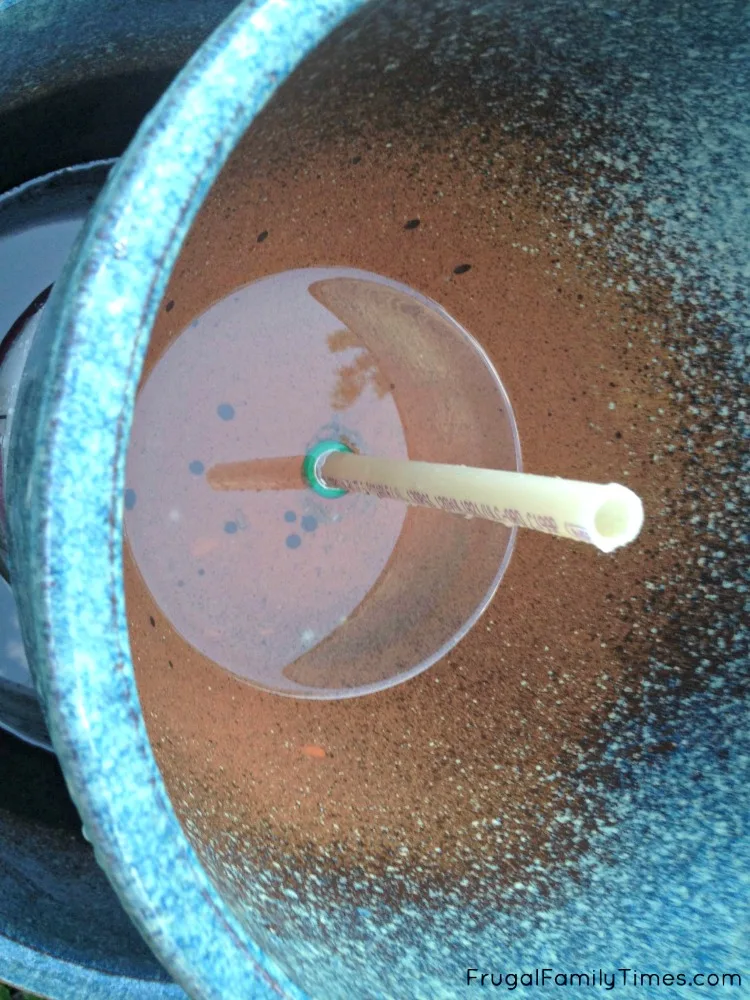
Step 2 – Prep the bucket to cover the pump

It needs to be shorter than the depth of the large pot, but not much, otherwise the top pot will sit too low. We held the small pot in place and tried a few different heights till we found one that worked.
Cut the pail down and drill a hole in the top for the pump hose to pass through and a few holes in the side so water can get back to the pump after it flows down.

Fill with some water and run the fountain to see if you’ll need to adjust the stream volume. It is easier to do now than later when you have the whole thing stacked with heavy rocks.
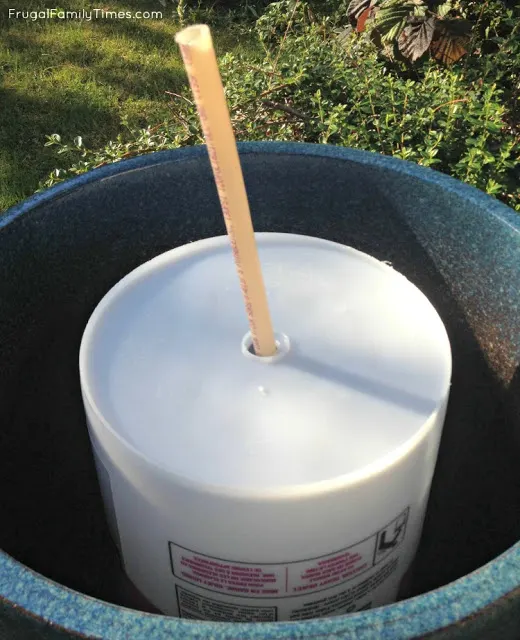
Step 3 – Assemble in layers and try some test runs.

If you want a ‘waterfall’ effect (like we did), be sure and seal the hole at the bottom. It doesn’t need to be a perfect fit, you just need to have the water flow out through the drain slower than it flows in through the fountain pump, thus creating an overflow cascade down the sides and into the larger pot.
I added a garden hose washer and put some water in the bottom of the pot to see if it stayed in.
Step 4 – Start filling with River Rocks and keep testing.

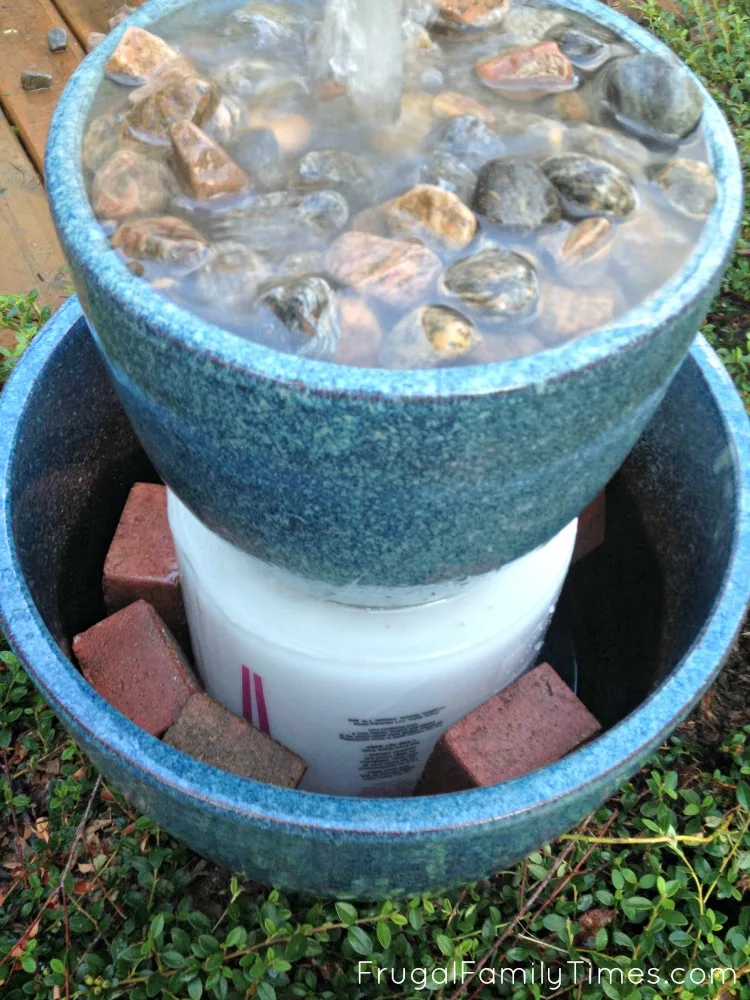
We ended up taking ours apart a couple of times to get the right effect/volume of fountain spray and overflow. You’ll have to look at this thing for the rest of the summer (and hopefully a few more years), so get it right.
We used some old bricks as filler in the bottom pot. Don’t worry, none of that ugly stuff will be visible. Carefully layer in everything finishing with a top layer of whatever stone you want to actually see, and you’re done!

The only thing left to do now is pouring yourself a glass of wine and relax next to your new fountain.
NEW! Here’s a Video of the bubble fountain project:

If you’re into simple, affordable DIY’s, you’ve come to the right place! Here’s a link to many more. Including our roundup of 20+ DIY Backyard Projects for a Beautiful Outdoor Space (on a Budget!)


Robin and Ed are a DIY-loving couple with over 25 years of design and build experience. Also, Robin is a Nutritionist and former Registered Dietitian and Ed is an award-winning Business Educator. We share strategies for living a rich life on a DIY budget: creative money-savvy ideas for a stylish home, healthy meals and family fun. Our work has been published in the pages of Do It Yourself, Farmhouse Style and Better Homes & Gardens magazines.
Cathy
Monday 8th of July 2024
Love this and I'm wondering if there is a soothing water sound with this type of fountain?
Robin & Ed Hicken
Tuesday 9th of July 2024
It has a beautiful, soothing burbling sound, Cathy! We love it! :)
Jill Lester
Sunday 31st of October 2021
Love your ideas!!
frugalfamilytimes
Thursday 4th of November 2021
Thanks so much, Jill!
Sherri
Sunday 14th of March 2021
Love this! My son and I are going to tackle this project together. Where is the video link?
frugalfamilytimes
Tuesday 16th of March 2021
Hi Sherri - I'm so sorry - the settings for the video were a bit messed up - you should be able to find it at the bottom of the post now! Let me know how your project goes! :) Robin
Hazel Kohler
Friday 22nd of January 2021
This is exactly what I've been looking for, for my tiny courtyard garden! All the shop-bought ones look, as you said, like shop-bought, and none of them gave the subtle, almost silent, water flow I wanted. I'm going to have a look around the rest of your projects, hoping that you've made a firepit!
frugalfamilytimes
Tuesday 2nd of February 2021
Thanks so much, Hazel! We love the sound it makes - so soothing. Sorry - we don't have a firepit project. :(
Julia Webb
Monday 3rd of August 2020
I can't wait to do this ,I have everything ,it to hot in AZ to do this now ,but at 77 I love gardening and something like this ,,plan semple .all I need is deferent pump . do you have a book ? I can buy ?
frugalfamilytimes
Wednesday 12th of August 2020
Hi Julia - sorry we don't have a book - but the tutorial above is very thorough and should help you make one of your own! :)