

$20 Easy DIY Reclaimed Wood Coat Rack (and how to hang it invisibly!)

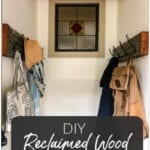
Intro by Robin & Steps by Ed
Even with all the additional storage of our DIY mudroom built in , I knew we could use more. You can never ever have too much storage, right? I knew what I wanted to add: a reclaimed wood coat rack. Two actually!
Near my old work there are two reclaimed materials shops that I love. I hope you have places like this near you! You can find such interesting things. I miss strolling through them on my lunch breaks. Luckily Ed is more than willing to drive there and poke around on the weekends.
One weekend we had a mission: find a beautiful old door (project coming soon!) and source an interesting piece of reclaimed wood to add to our back hallway storage. As usual, our teens were more than happy to stay home and do their own thing (without their folks chasing them off screens every few minutes).
Thankfully – we did the smart thing and measured the spaces before we left. Always do this!
Early in our DIY days we would forget to measure and regret it when we found something and tried to guess if it would work. You never know when the perfect piece will find you – be prepared for it! Now I keep a list of measurements for all sorts of places in our home in the notes section of my phone.
In my most favourite shop (Artefacts) we have found fabulous things over the years, including our four antique panel doors (that make our second storey addition look timeless) and our reclaimed iron built-in welcome mat. I think the stained glass window you see below is from there too – I can’t remember.
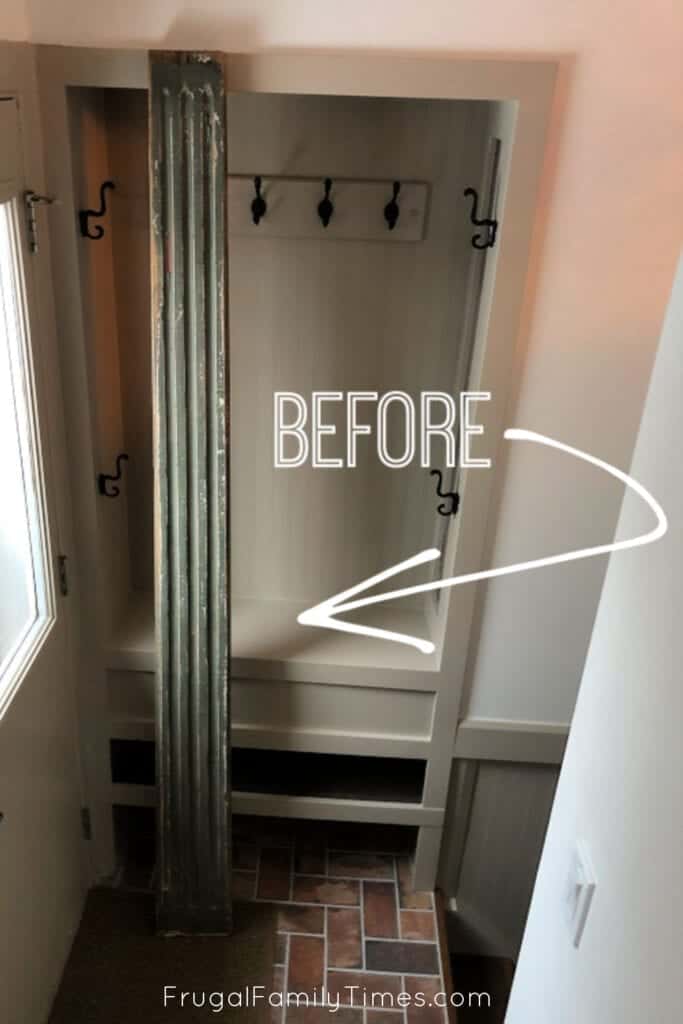
This trip led us to another score: this piece of column box moulding. This patina’d piece was originally found in an old theatre in Stratford, a small town nearby famous for it’s theatre festivals.
This box moulding was a great length, had interesting fluting detail and lovely chippy sage green paint.
And at $30 we couldn’t go wrong! We couldn’t have made this from new materials for so little.
I already had the super affordable, yet rustic and perfect hooks that I used in the rest of the mudroom. This project totaled $40 for two large and lovely antique coat racks. $20 for a truly unique coat rack! It’s why we DIY!
What follows is how we very simply made these reclaimed wood coat racks plus how we hung them invisibly – you can’t see any screws or brackets.
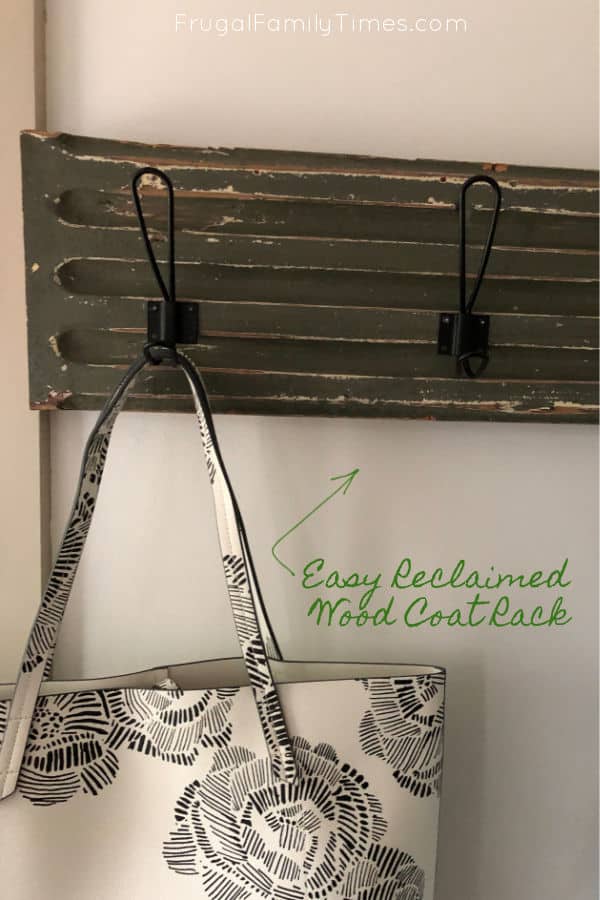
Easy DIY Reclaimed Wood Coat Rack
Reclaimed Wood Coat Rack Materials:
- reclaimed wood piece of your choice
- rustic hooks (we chose these super affordable ones)
- table or circular saw
- stud finder
- longer screws (to anchor wood to the wall securely)
- Drill and drill bits
- Screwdriver
- Our new favourite wood conditioner: Feed N Wax
Steps to Make and Hang a Reclaimed Wood Coat Rack:
Step 1: Cut the reclaimed wood to length
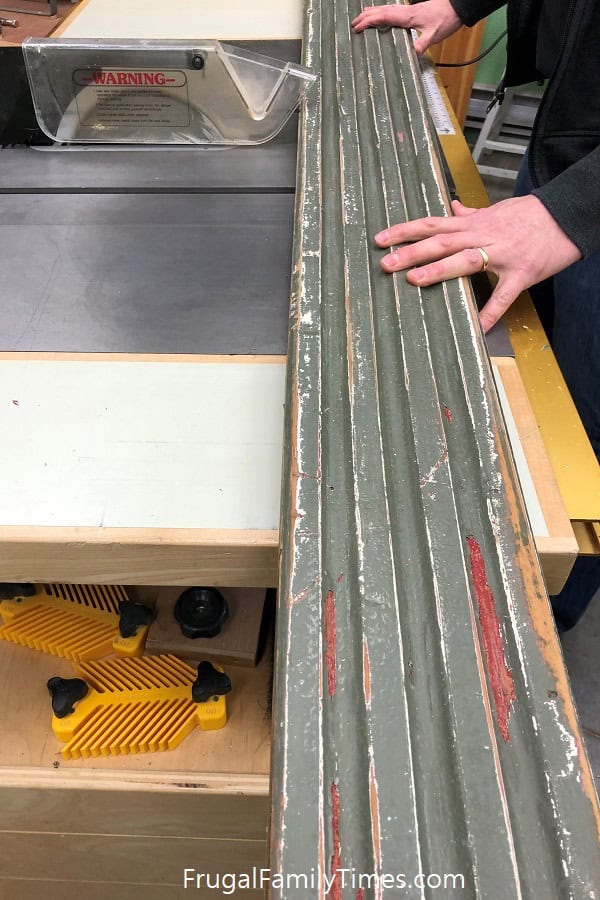
We needed two pieces for our project and the molding section we had offered excess to work with, so this allowed us to be a bit choosy about which sections we wanted.
In this first photo, we’re cutting one end so we can retain the tapered ends to the fluting.
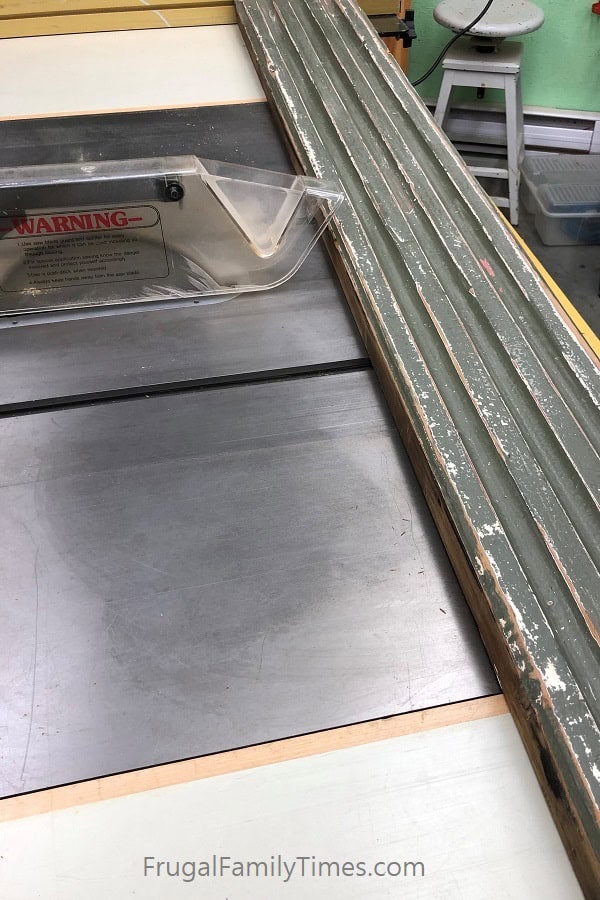
The end result was we got two, more interesting ends and the
Here’s how we hung our reclaimed wood coat rack INVISIBLY!
You can’t see any screws or brackets and it’s attached securely into studs.
Step 1: Locate your studs
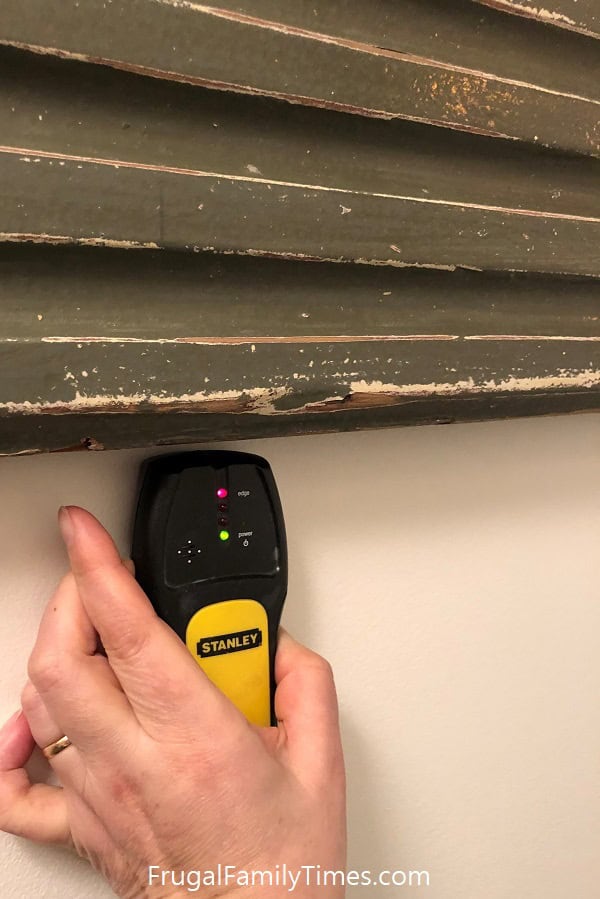
Given we were hanging coats and heavy things on ours, we wanted at least one anchor screw to centre on a stud.
If this isn’t practical for your space, you can adapt the next steps to use hollow wall anchors too.
Step 2: Choose which stud to drill into – and will be covered by hook
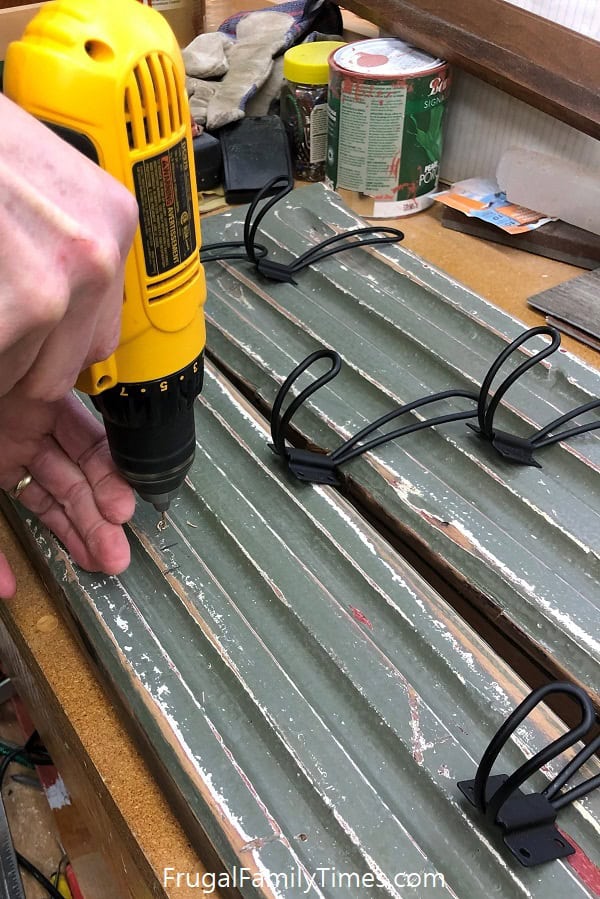
It took some work to balance them all evenly, but it was worth the effort to be able to hide the wall anchor holes.
Step 3: Anchor to stud
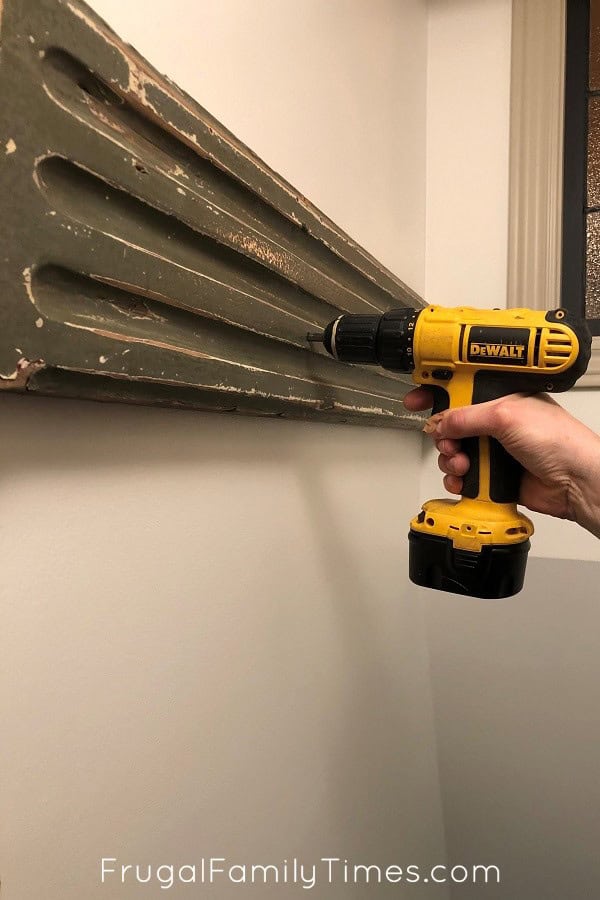
If that doesn’t work out, you can use hollow wall anchors – using the same strategy above to hide the anchor holes behind the hook locations.
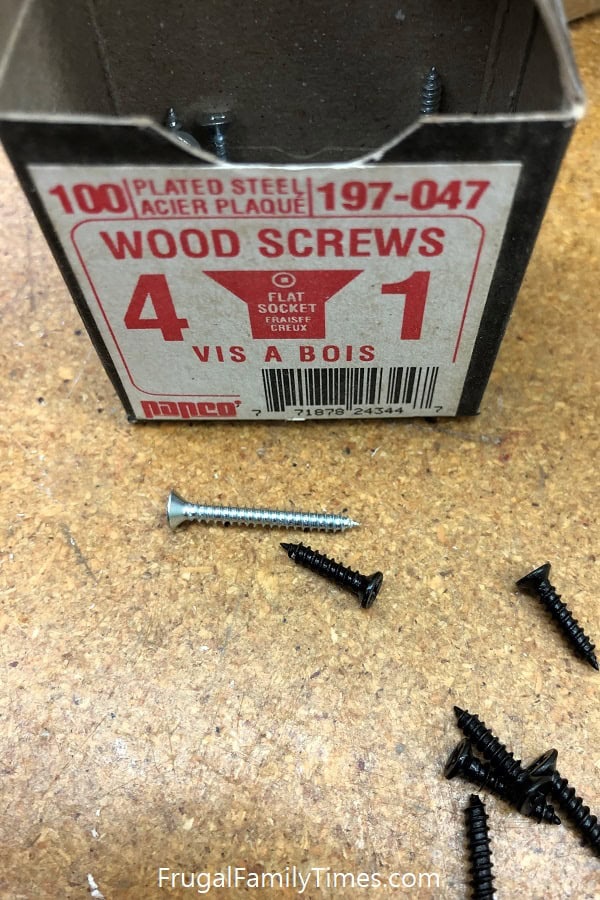
Since the molding shape meant that we were only going to be able to get two screws into each hook, we wanted those screws to really grab.
If we were affixing them to a smooth surface, the factory screws would’ve been fine.
Step 4: Attach hooks
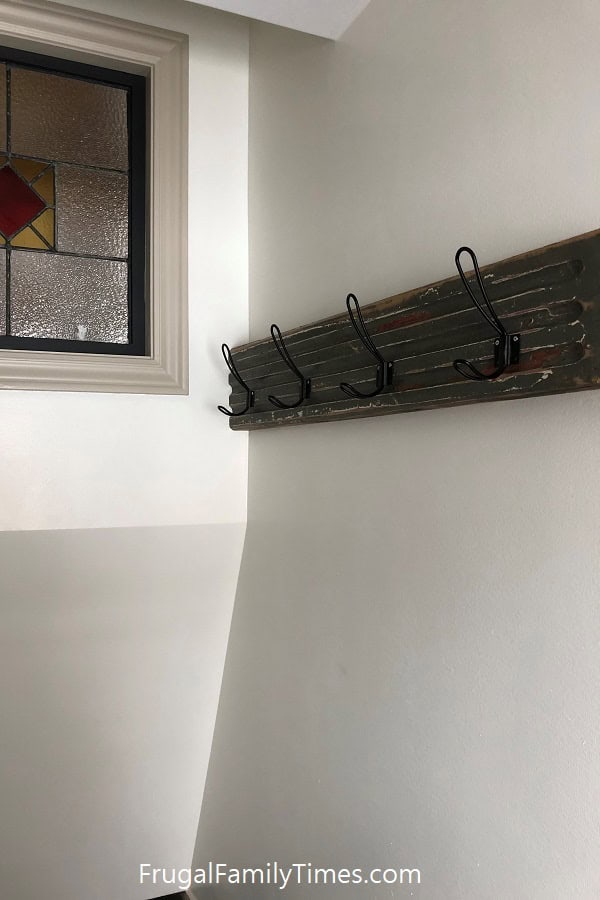
Robin later covered the shiny screw heads with a Sharpie to hide them.
Step 5: Refinish Fresh Cut Ends
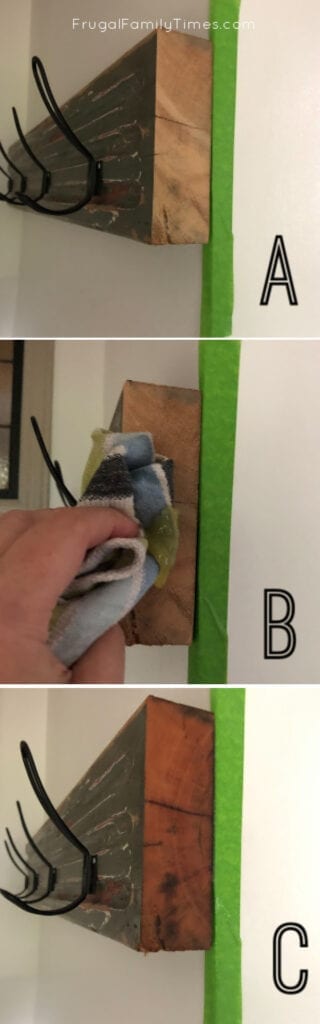
Robin fixed this by taping off the wall and rubbing in our new favourite wood conditioner. It did the trick – warmed up the fresh wood in the easiest way possible. Literally seconds of work!
(Not shown: the nasty old towel we dry our muddy dog off with when he comes in from the yard. What do other dog owners do with theirs? Those towels are super ugly.)
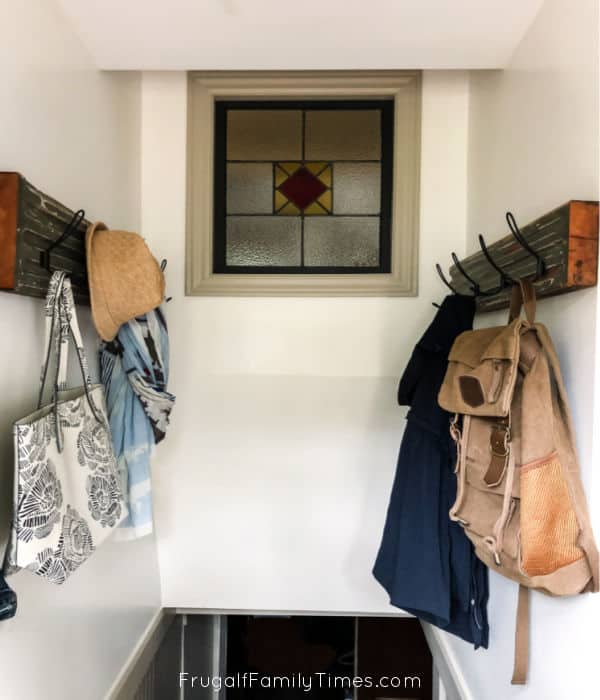
The antique stained glass you see above is something we installed when we added a second storey. This pretty window shines light through the middle of the house from the back door to the front door. We’re so glad we did this!


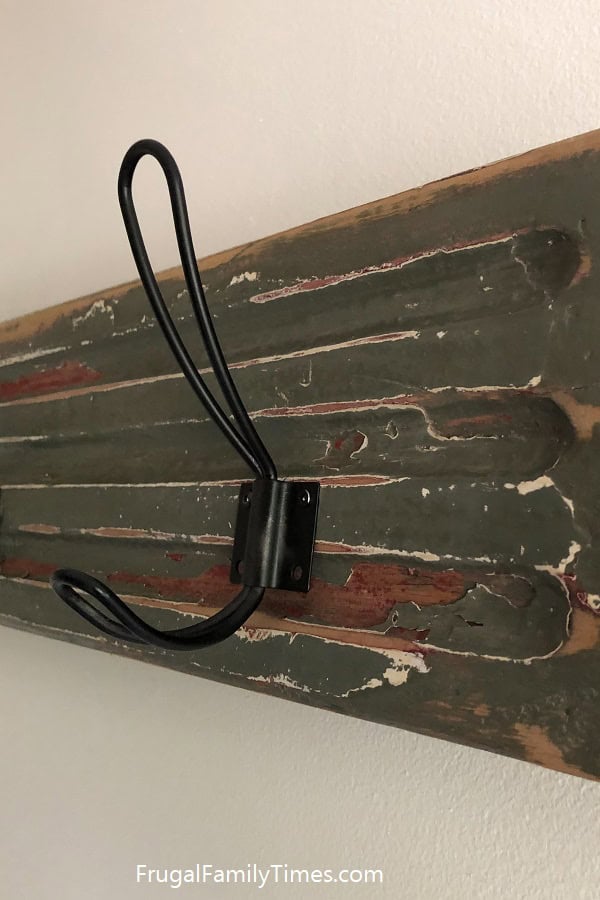
I can’t get over how affordable these hooks are!! They’re great quality and walk a rustic-modern line really well.
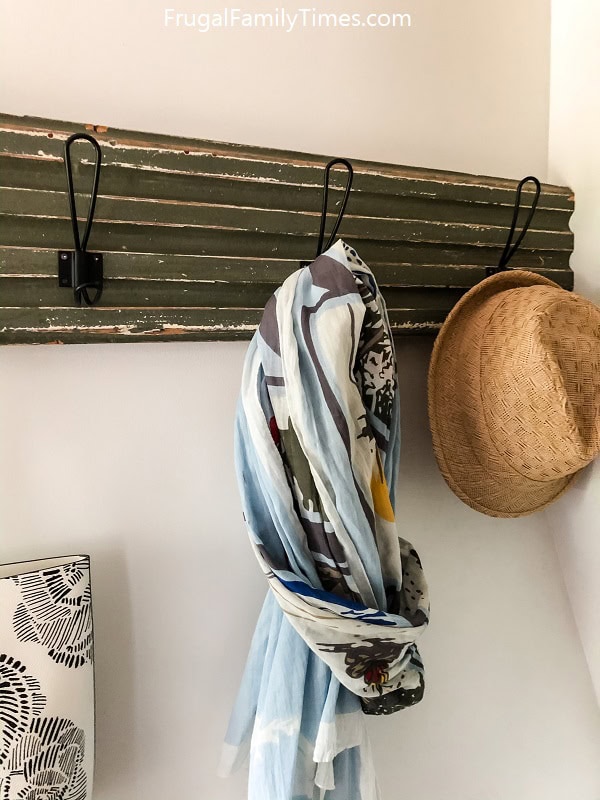
We made some great wall storage in our front entry too:
Small Entryway? How to Build a DIY Coat Rack Wall with Character (Reclaimed Architectural Salvage for the Win!)
This is just one project in our Stair Makeover – we’ve added storage and beauty on a tiny budget! Check out more of the projects here.

Robin and Ed are a DIY-loving couple with over 25 years of design and build experience. Also, Robin is a Nutritionist and former Registered Dietitian and Ed is an award-winning Business Educator. We share strategies for living a rich life on a DIY budget: creative money-savvy ideas for a stylish home, healthy meals and family fun. Our work has been published in the pages of Do It Yourself, Farmhouse Style and Better Homes & Gardens magazines.




where did you find the hooks??
Here’s where we got them: https://amzn.to/4cGphYZ About $1 a hook!