


We may earn a commission on purchases made after clicking links on this page.
Intro by Robin & Steps by Ed
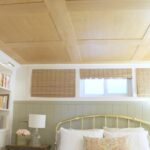
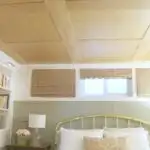
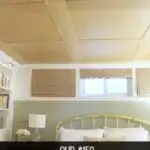
This gorgeous plywood ceiling solved a lot of problems and doesn’t look cheap at all, but we made it with a tiny budget!
We were unhappy with the old ceiling. 14 years ago – in our beginner DIY days – we put up the only easy, affordable ceiling we could think of: cardboard, acoustic ceiling tiles.
Now, ceiling tiles are a great, budget option and they served us well for years. But they have their challenges. If one gets damaged – which is what happened to us a bunch of times – it’s really tough to replace it. Each one slides into the one before it and is stapled. Easy install the first time = nearly impossible to fix.
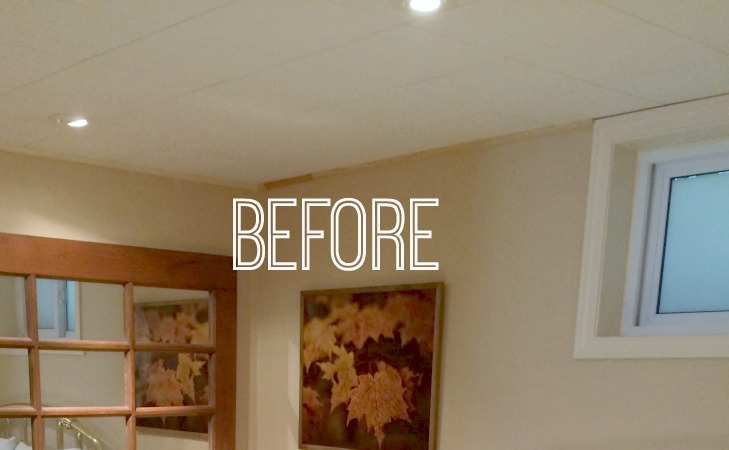
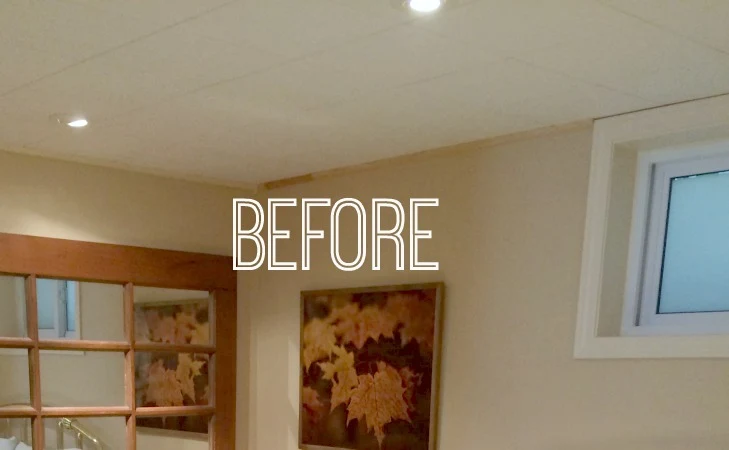
And, they aren’t much to look at. In a strange role reversal, this ceiling tile issue bothered Ed more than me. They drove him around the bend, while I was merely indifferent. This almost never happens!
We priced out a few available options – including some new products geared toward basement ceilings. We had seriously entertained a product that would have cost us about $1000 for this approximately 100-square-foot room. And the more we researched it, the more we leaned away from it. My big hang-up was that it couldn’t be painted.
I don’t like limits, especially when it comes to colour. I LOVE colour and this product would seriously cramp my style.
So we resorted to our old standby for idea generation: wandering through the aisles Home Depot and hoping a solution jumps at us. It worked!
We love when we can discover a new product that we didn’t know existed – especially when it solves our problem perfectly. (This is precisely what happened with our $50 bathroom floor a few years ago.)
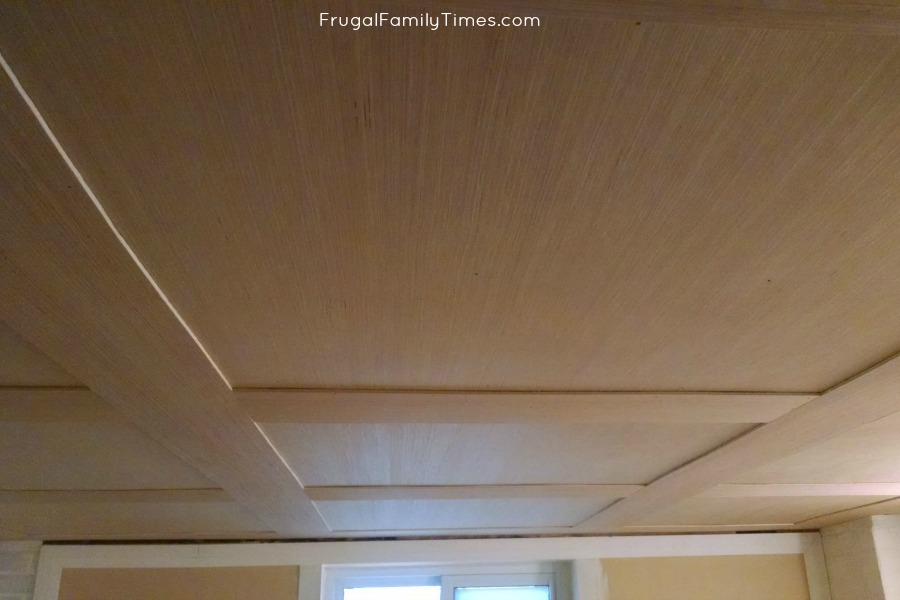
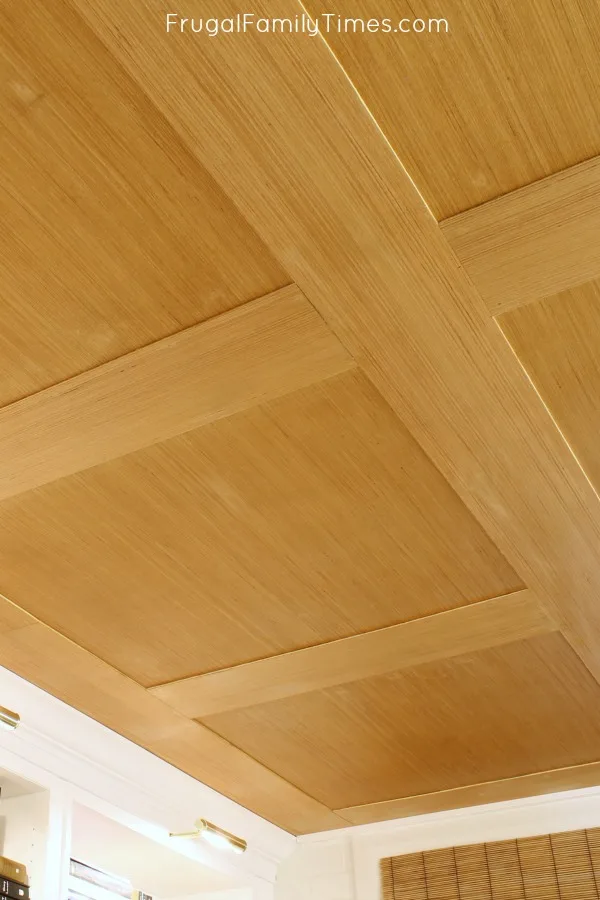
Eurkea! We found a great product that let us make our basement ceiling idea on a budget – and a wood panelled one at that! It wasn’t that hard and it turned out really well. It sure doesn’t look like a plywood ceiling!
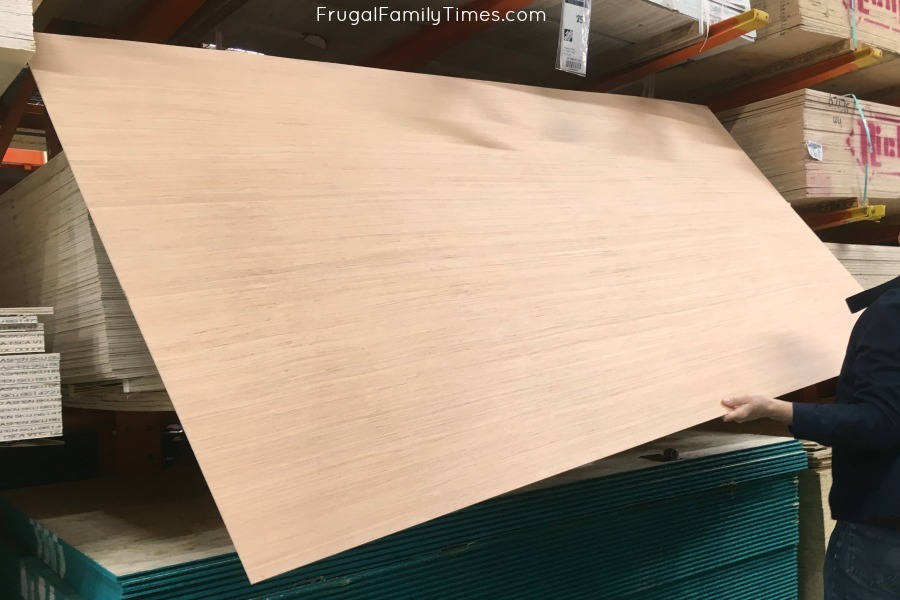
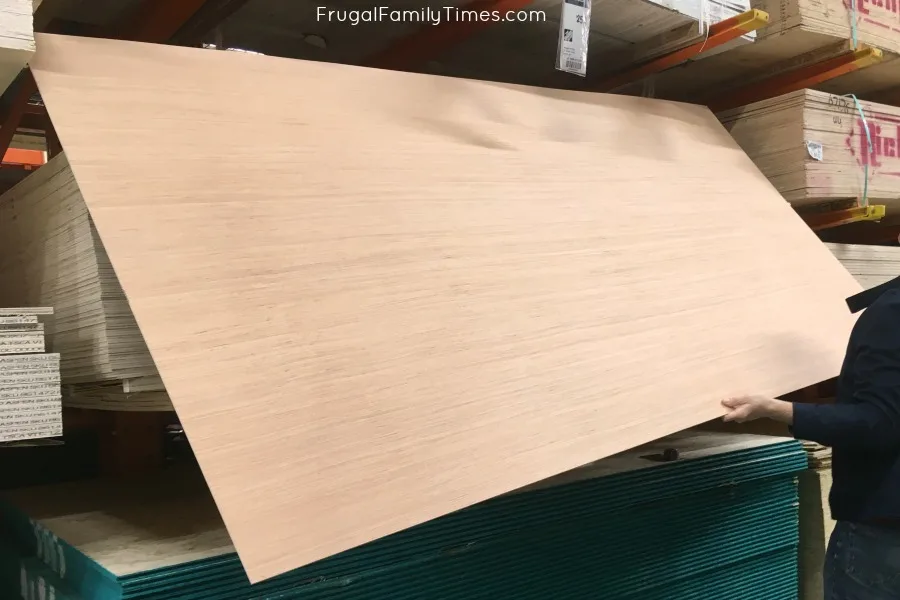
We loved how uniform the surface was – it’s very smooth and the colour was the same board to board.
The striations reminded me of bamboo, while still being subtle and interesting.
It was much later we learned that RevolutionPly plywood is also from sustainable wood sources. I now want to put this plywood in all the places!!!
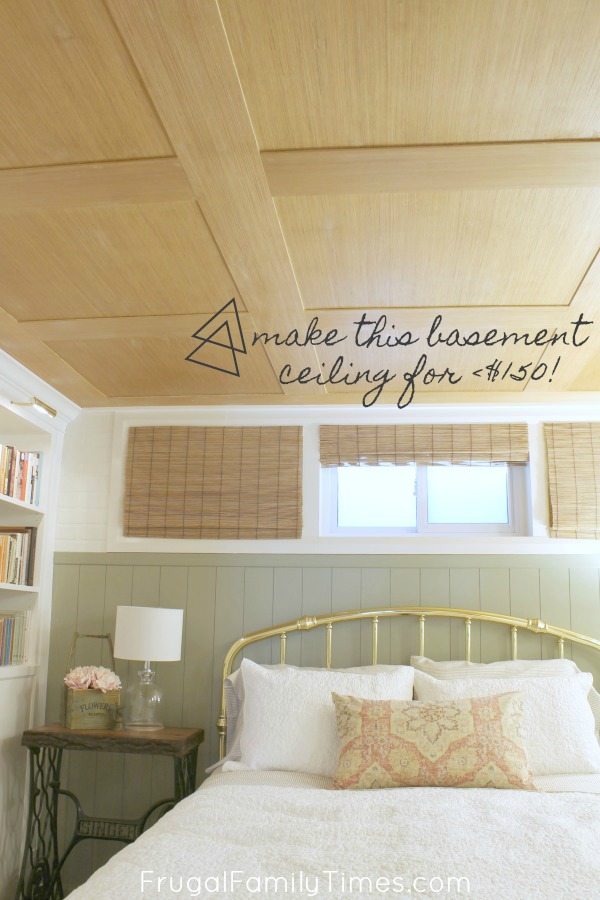
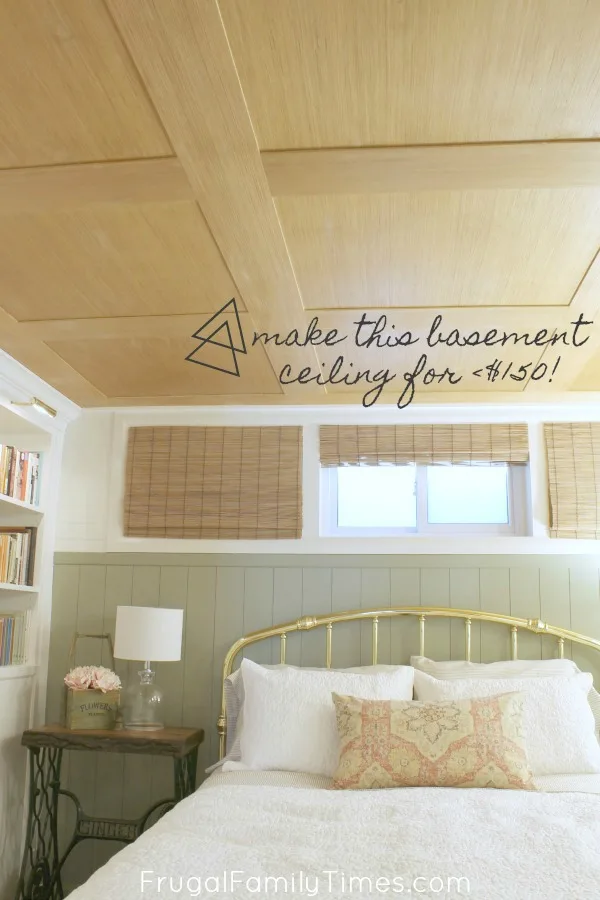
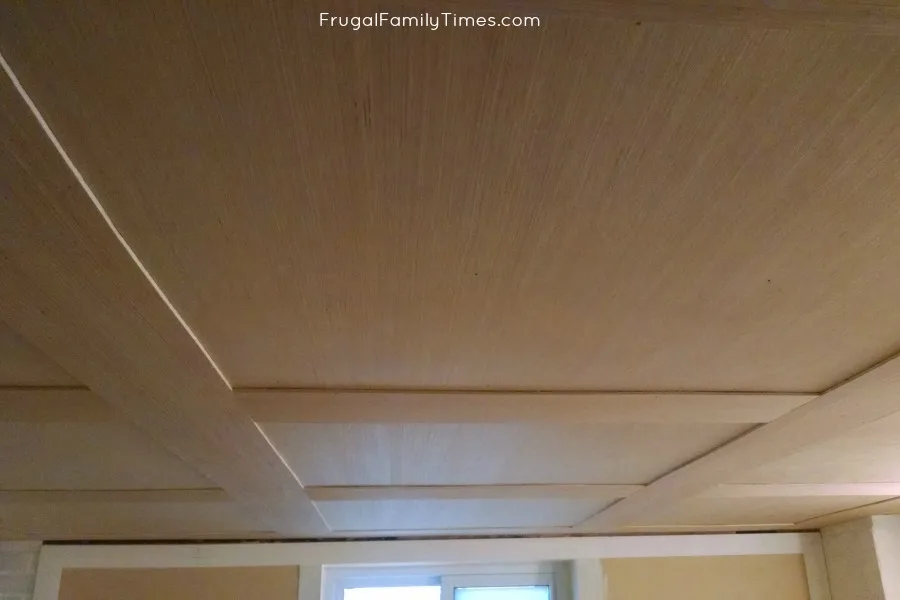
How is this is a PLYWOOD ceiling?!
I adore how it turned out and I can’t believe how little it cost.
Less than $150 for the whole room! Whaa!??! Yes!
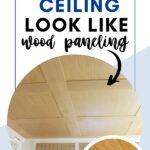
How to Make a Basement Plywood Ceiling
(That Looks like Wood Paneling)
Plywood Ceiling Materials:
- 4 Feet x 8 Feet x 5.2mm RevolutionPly plywood
- Brad nails
- Nail gun (we have this one and we absolutely LOVE it)
- Table saw
- or if you don’t have a table saw, use a circular saw and one of these cheap and helpful guides)
- Adhesive (we used this one)
- sandpaper 220 grit
- Finish of your choice: we used Tung oil (we found this one smells best and drips least)
- Finishing fill sticks
Steps for Plywood Ceiling Installation
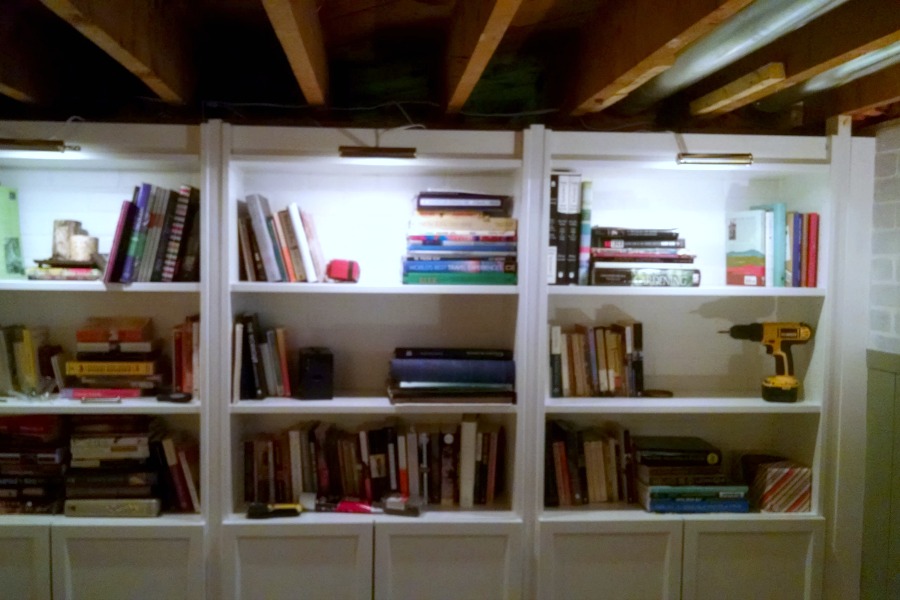
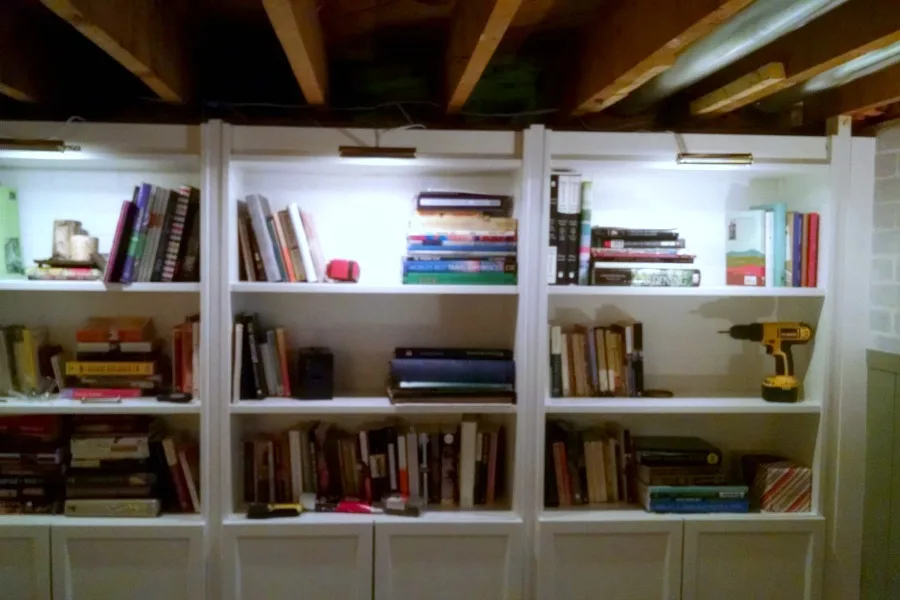
Step 1 – Strip down to the joists and make a plan.
Our old ceiling was acoustic tile – which meant nailing (or in our case – staple) strips ran perpendicular to our floor joists.
We tore all of that down and cleaned up any stray nails and got a clear view of what we were working with.
You’ll want to measure and plan out how to cut your RevolutionPly sheets in order to make the seams where you want them (ie: evenly across the room).
We took a while debating this. Every room is different, you should probably do the same.
This is actually the hard/time-consuming part and once you have a plan, the rest goes pretty quickly.
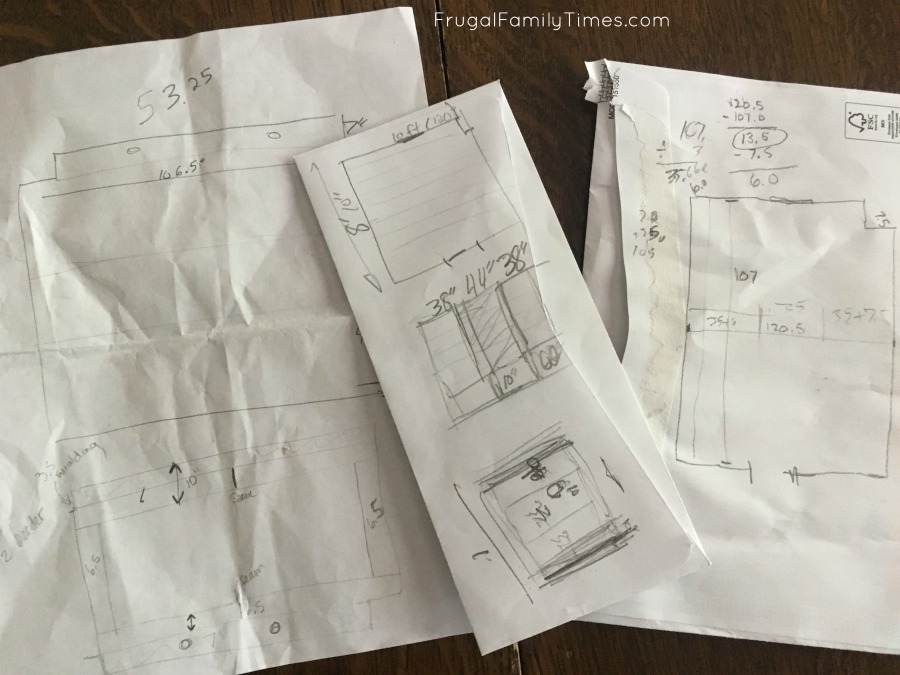
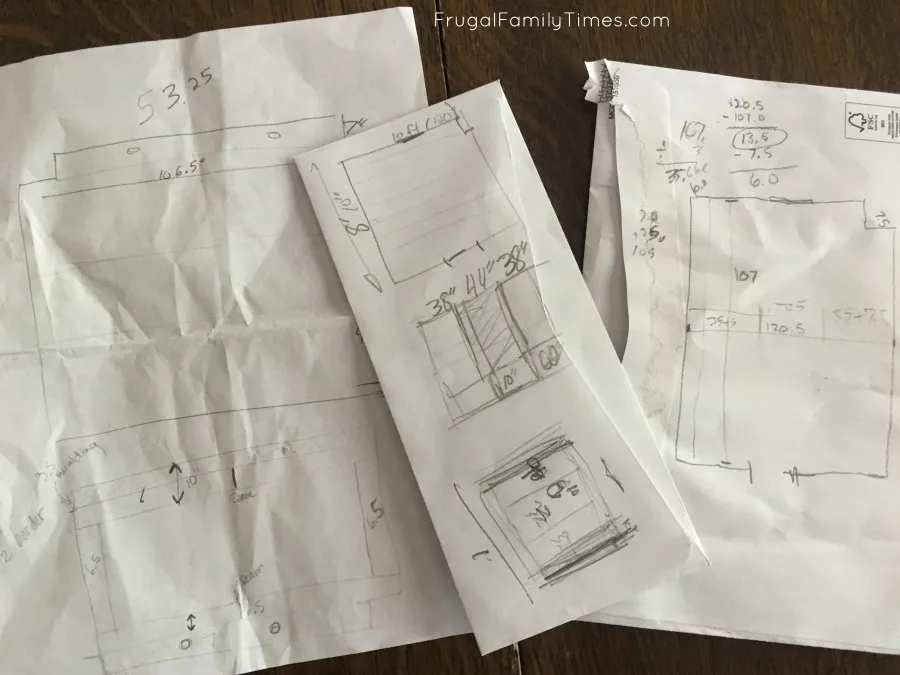
When you know where the seams are going to land between the big sheets, add some 2×4 blocking sections between the joists. This gives you something to nail into on all borders of the big sheets.
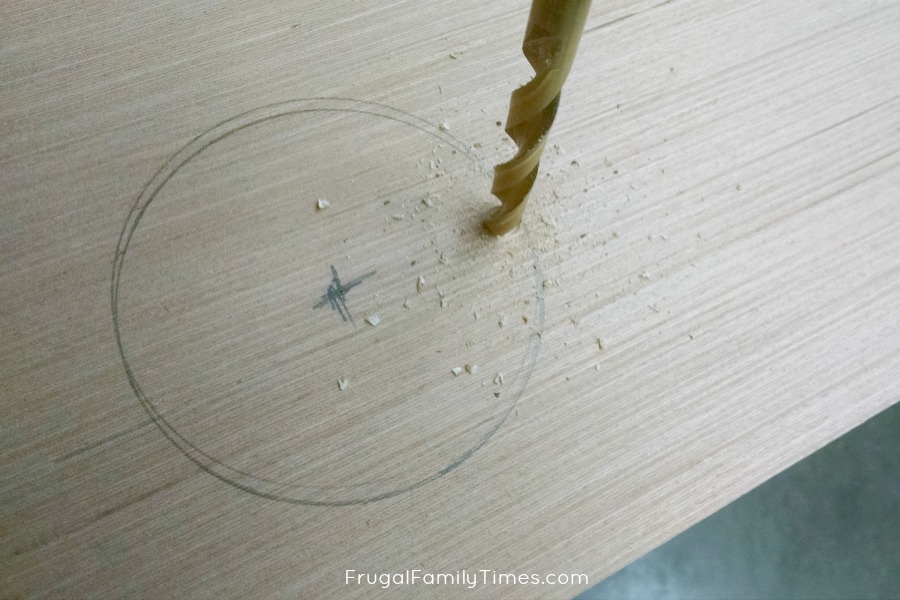
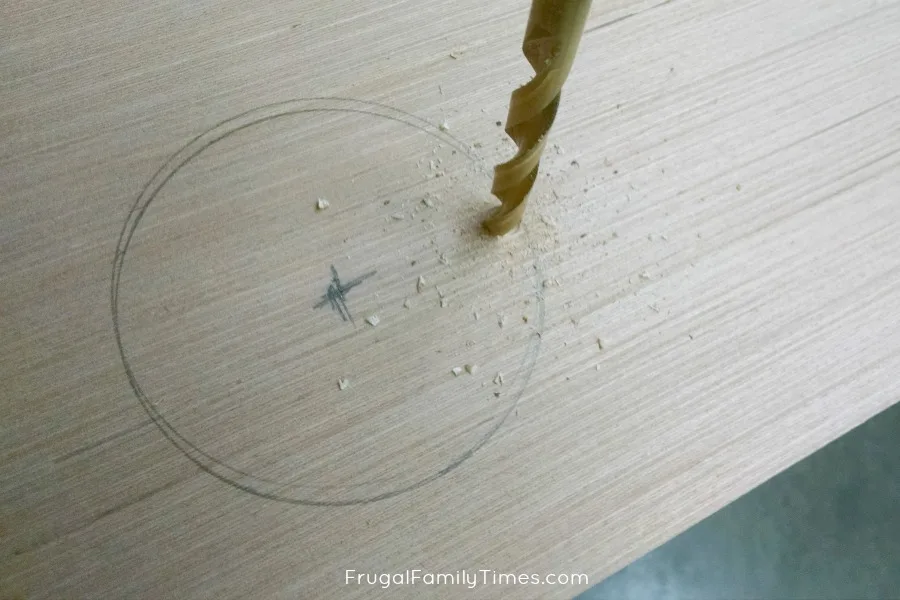
Step 2 – Put up the big sheets: begin with all of the hard cuts first.
We had a couple of pot lights we wanted to reuse to accent our faux bricks wall treatment – and for – you know, light.

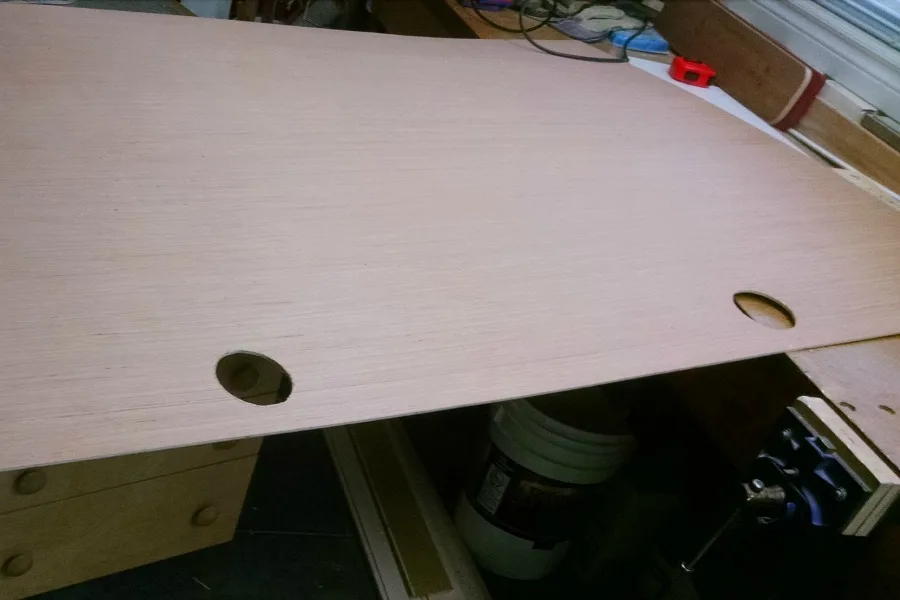
Ok – now come the apologies…we have no photos of us putting up the big sheets. It took two adults and two teenagers (our daughter and her friend) and between holding and nail-gunning we forgot to take a photo.
Suffice to say, we put up three 8’x (approx) 40″ sheets, nailing them to the joists and blocking that we put up for the seams.
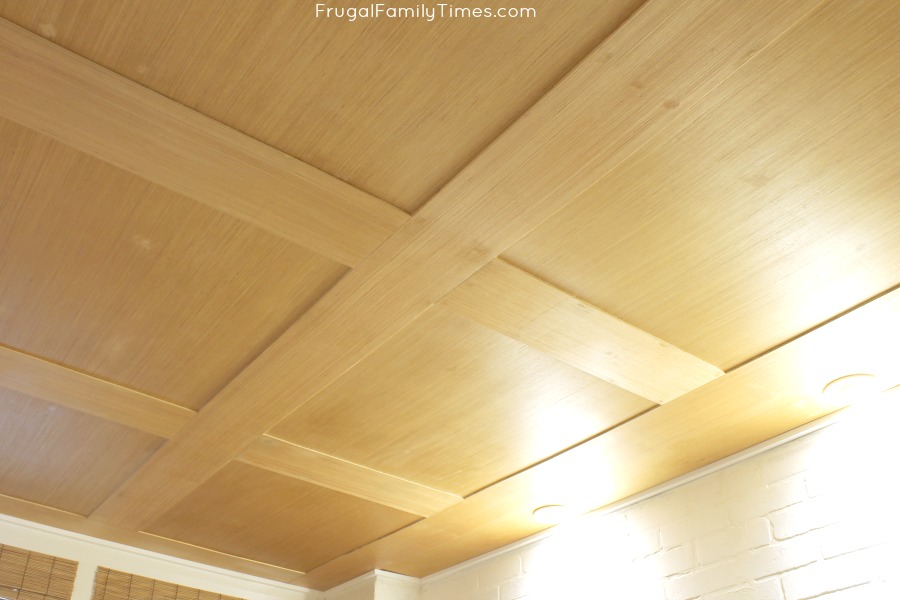
Step 3 – Measure and rip strips for the raised sections.
This was a balance between minimizing waste and making them a width that was both attractive and functional (meaning, it covered all the seams on the large sheets).
We settled on 6.5″ and ripped our remaining sheets longways into a bunch of raised panel strips.

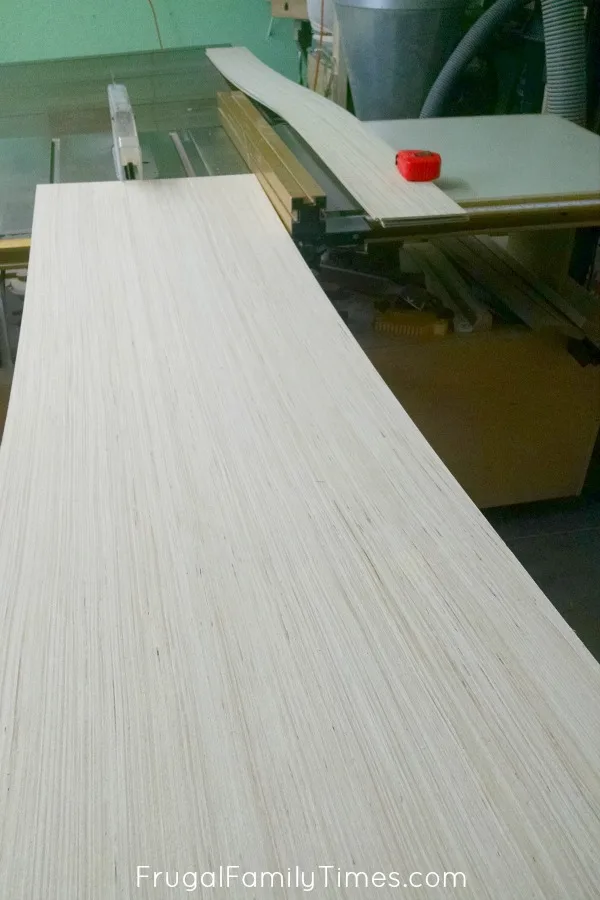
– the plywood is long and floppy.
Step 4 – Glue and Nail them up!
This is where things get exciting.
We covered the long seams between the large sheets first and then cut smaller pieces of the raised panel strips to do cross-sections.

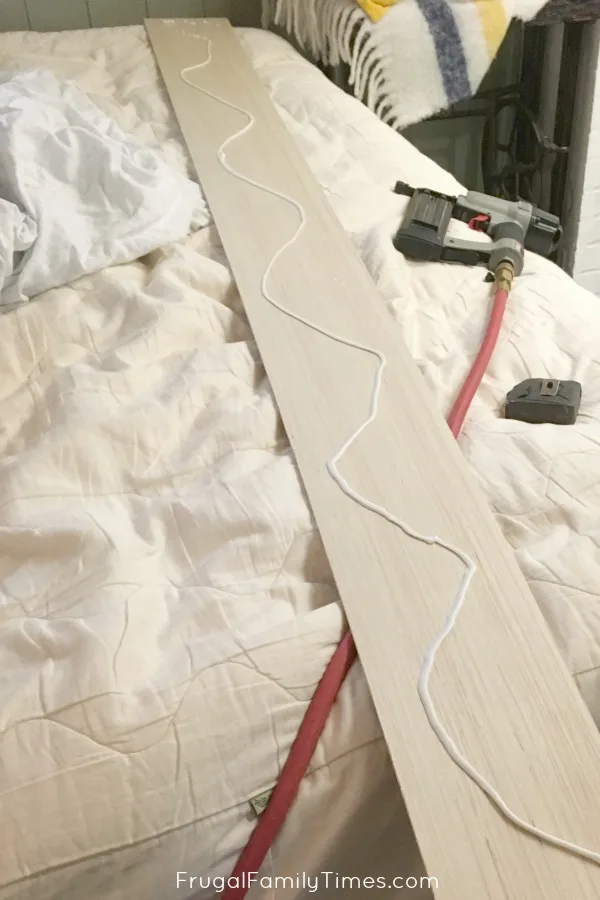
Use construction adhesive and nails – we learned our lesson from the vertical shiplap.
Be careful with the adhesive, both when applying it on the worktable/bed 😜 and when putting the panel up.
Don’t get it on anything you want to finish natural wood colour or it won’t look natural anymore.
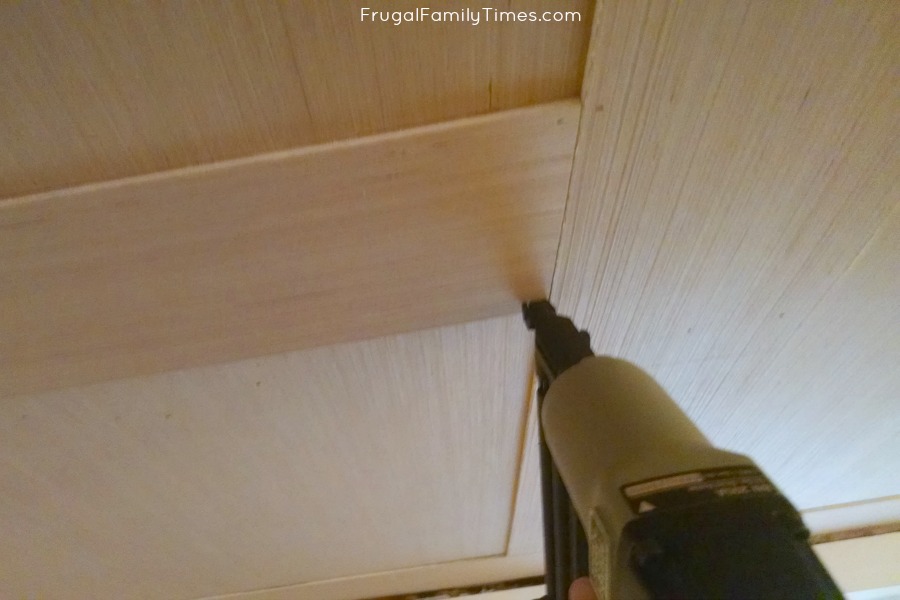

Our big mistake was using too many nails, having to fill many holes and sand.
We screwed up the fill and made spots on the ceiling that didn’t take the finish evenly.
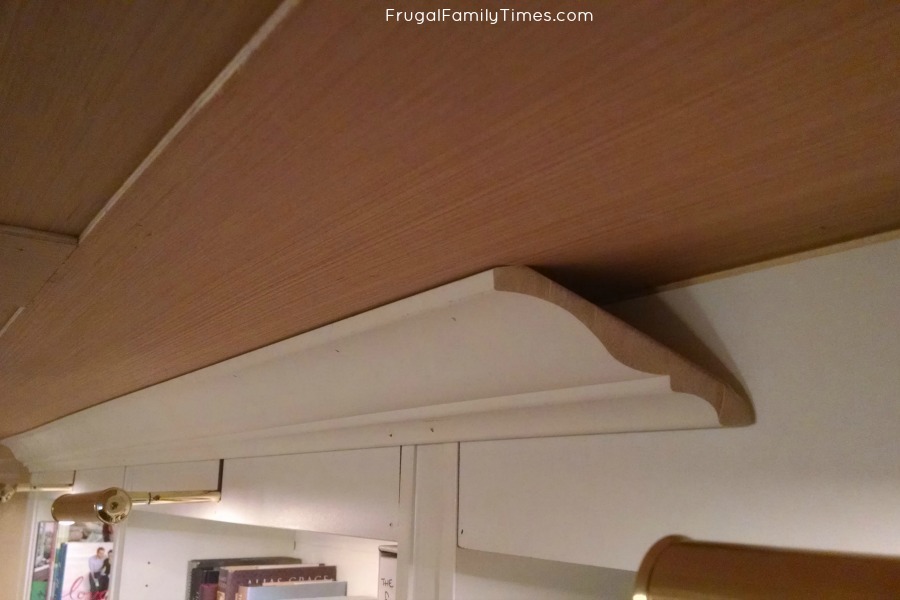
Step 5 – Finish and trim out the plywood ceiling.
We used our old favourite – this Tung Oil.
It took three coats with a light, 220- grit sanding before the final one.
We then trimmed out bookcases with crown mould and used some simple square stock everywhere else.
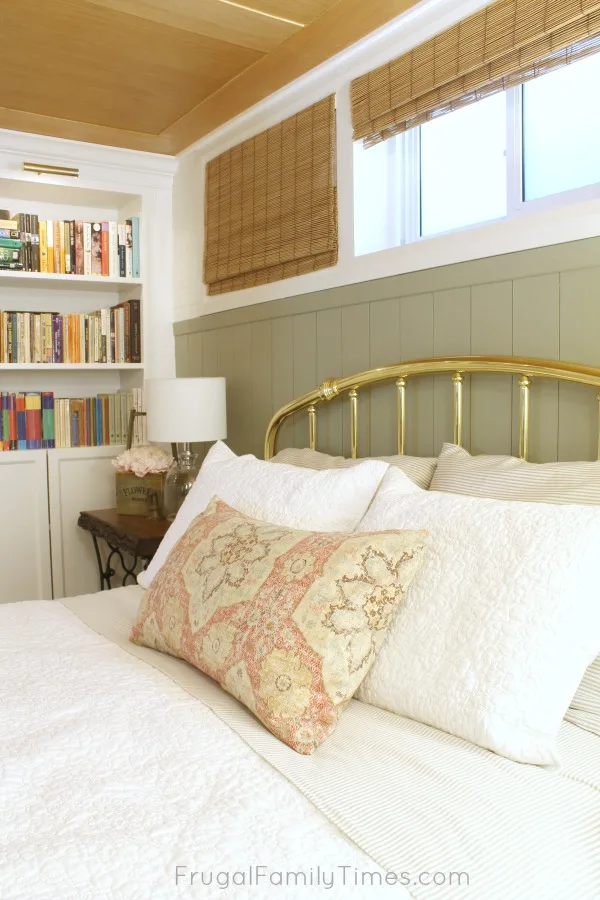
You can see a glimpse of the progress of our basement window treatment here too.

IMPORTANT: The mistake we made – and what you can do to NOT make it too.
If you look at the next two photos, you can see the bane of my existence.
I tried filling the tiny, really insignificant brad nail holes with “cabinetmakers putty” (wood glue and sawdust). I was not skilled in its application, nor fully versed in how it would affect the finish we wanted to apply.
Always do a test piece! Normally, that’s exactly what we do. This time – we jumped in head first. WHY?!?!? So many regrets.
So here’s what happened…
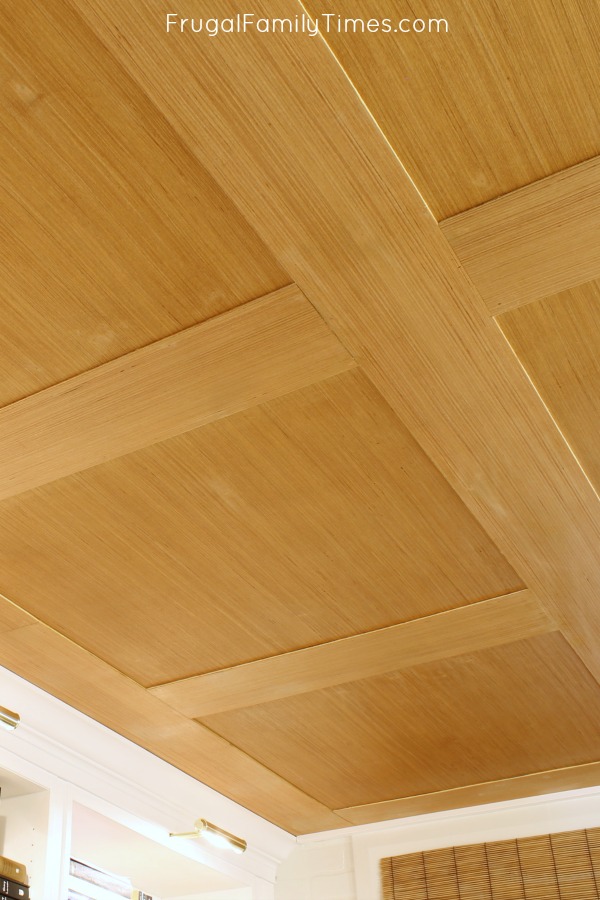
(I still can’t get over it – this is a PLYWOOD ceiling!!)
Some of the things that should jump out at you are the light brown spots where the fill/sanding was, let’s say, overly enthusiastic.
THE SOLUTION:
When we do this again, we are not going to fill the holes at all until after we finish and even then, only if it actually shows up as an eyesore.
We also plan on using colour-matched finishing fill sticks (only if needed) instead of sawdust/glue mess.

Such a beautiful ceiling – we’re sad about those darn spots – but your ceiling will look even better with our tips!
Decor sources:
- Throw Pillow Fabric (I made the simple pillow using this tutorial.)
- Coverlet and Shams (Yeah – I almost didn’t buy it when I saw who the “designer” was. Ha! But the quality is wonderful.)
- Lamps (similar outside Canada)
- Faux Pink Peonies
- Faux boxwood topiary (similar) vase is thrifted
- Panelling paint (green): Milk Thistle Behr
- Trim paint: Soft Focus Behr

Other projects in our Basement Guest Room-Library:
- How we made this antique Singer sewing machine table
- IKEA hack Billy bookcase built-in – with painted brick backing and easy-wired bookcase lighting
- Our Faux Bricks Wall Treatment
- How we made our small, high basement window look bigger and fabulous
- Green Vertical Shiplap Panelled Wall treatment – which cost us almost nothing


In the meantime, here are more of our DIY basement ceiling options:
- we used the same material in our adjoining media room – a herringbone ceiling! It’s so beautiful – I hope you love it too!
- our BHG magazine featured basement bathroom included this simple one made of tongue and groove ceiling planks
- we made this DIY shiplap ceiling in our log cabin bunkie, but it would work just as well as a drop ceiling alternative for a basement.
- we’ve got a painted exposed beam ceiling coming soon
- and I’m figuring out how to turn our storage area ceiling into storage – coming soon!


Robin and Ed are a DIY-loving couple with over 25 years of design and build experience. Also, Robin is a Nutritionist and former Registered Dietitian and Ed is an award-winning Business Educator. We share strategies for living a rich life on a DIY budget: creative money-savvy ideas for a stylish home, healthy meals and family fun. Our work has been published in the pages of Do It Yourself, Farmhouse Style and Better Homes & Gardens magazines.
Kaitlyn
Tuesday 4th of March 2025
Are you able to stain the plywood?
Robin & Ed Hicken
Monday 17th of March 2025
Yes! We haven't done it but it would definitely absorb stain. :)
Sarah
Wednesday 21st of February 2024
My shoulders hurt just thinking about 3 coats of finish post installation. Any harm in finishing prior to installing?
Robin & Ed Hicken
Thursday 22nd of February 2024
Go for it! We weren't certain how we'd finish this when we devised this ceiling - if we were to do it again we'd definitely do the finish first!
Tara
Saturday 23rd of December 2023
Can you use this procedure on a popcorn or textured ceiling? It looks beautiful by the way. Also can you use tongue oil I'm just regular wood furniture to make it more hydrated and will it work on any and every color?
Robin & Ed Hicken
Tuesday 26th of December 2023
Hi Tara - yes! You can definitely use this ceiling idea over popcorn and textured ceilings! But I'm afraid I don't know the answer to your tung oil questions.
Lindsay Passmore
Thursday 31st of August 2023
What was the distance between the 6.5" strips on your ceiling? (It looks like you used a lot more than you would need just to cover the seams where the ceiling panels meet.) Thanks!
Robin & Ed Hicken
Sunday 3rd of September 2023
Yes, we liked the strips good and wide to create the coffered look without losing any headspace (the large panels are actually butted up next to each other, so the strips overlap 3.25" on each side of the seams- again apologies for not taking photos before we started add the strips) . The end result is that we have 25" x 27" 'boxes' on the outside with 30" x 27" boxes in the middle framed by the strips. Hope this helps!
Maya
Thursday 31st of August 2023
This is exactly what I was looking for thank you!! Do you think we could glue/nail the revolution ply directly over popcorn? Also how did you handle the seams in your long strips for the raised sections, or are they all under 8'?
Robin & Ed Hicken
Sunday 3rd of September 2023
The Revolution plywood is fairly light, so a combination of construction adhesive and nails would likely hold it. It should be fine to go right over the popcorn ceiling; any minor unevenness at the seams between panels would get covered by the long strips. And we did have a couple seams in our long strips - we just had them land in the center of a panel to avoid having a bunch in the same area, but you could experiment in your space to see where they hide best! Love this as a project to hid the popcorn - Good luck!