


We may earn a commission on purchases made after clicking links on this page.

Yeesh. I hope so.
by Ed
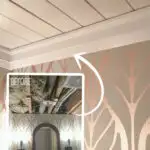
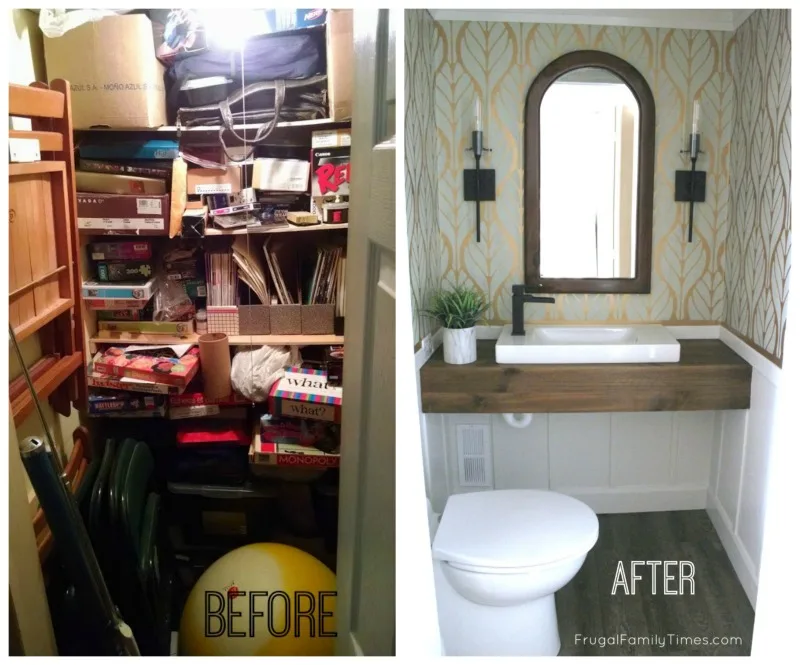
Since our closet turned basement bathroom was featured in February’s Better Homes and Gardens magazine we’ve had questions about how to install tongue and groove ceiling planks.
How had we not shared this before?! It’s simple, classic and beautiful.
Such sad omission because a tongue groove ceiling is a really easy ceiling to install anywhere.
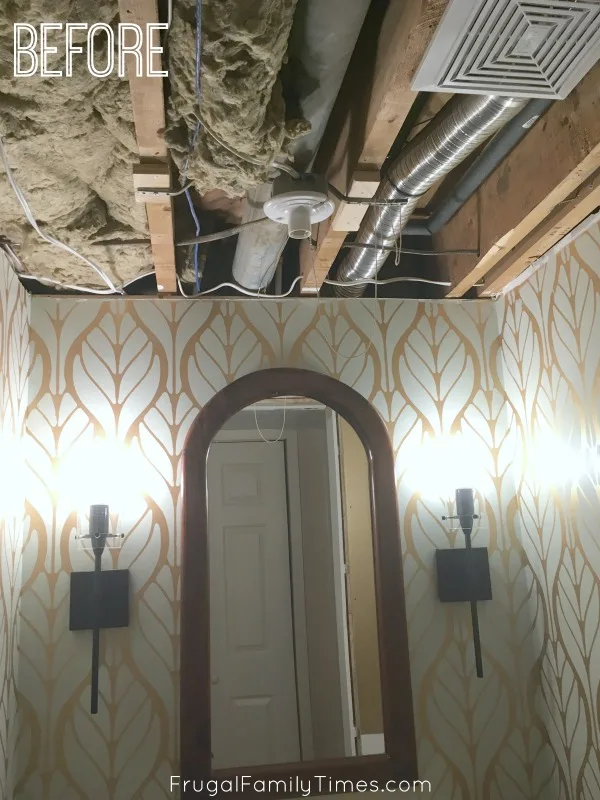
We did this one in our low ceiling basement, but it really could be done anywhere – anyone want to hide a popcorn ceiling?
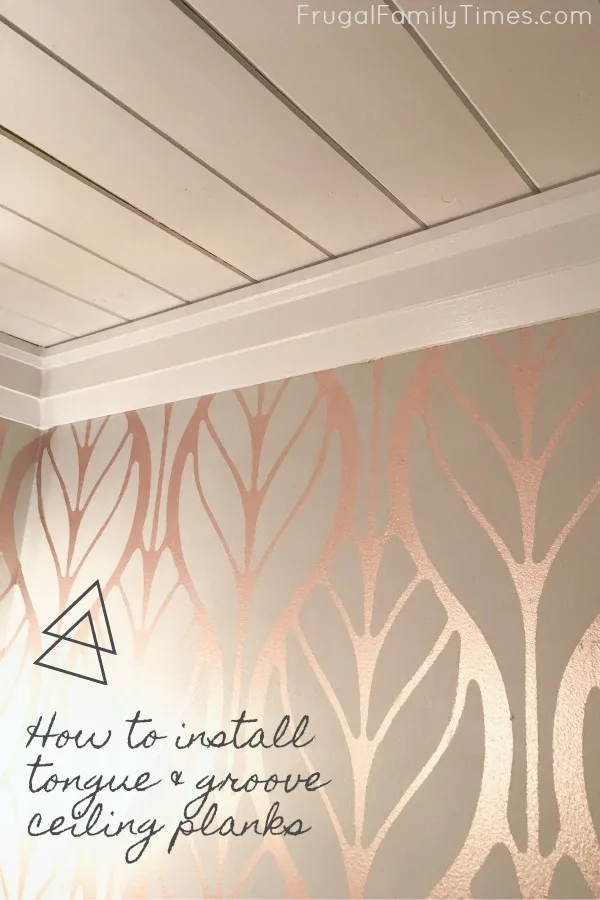
How to Install Tongue and Groove Ceiling Planks

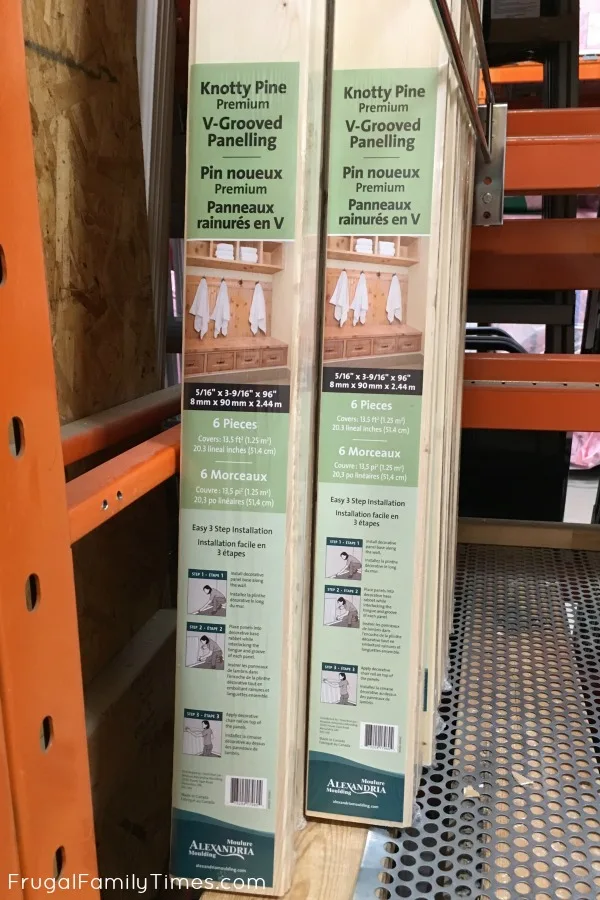
Tongue and Groove Ceiling Materials List:
- Enough square footage of Knotty Pine Edge V-Plank Boards for the ceiling space you are covering.
- Nailer (we love ours!)
- Mitre saw or Circular saw
- Nails
- Paint, Caulk, crown mould, any materials needed for your desired finish
Step by Step: How to install tongue and groove ceiling
Step 1: Choose the best side to start


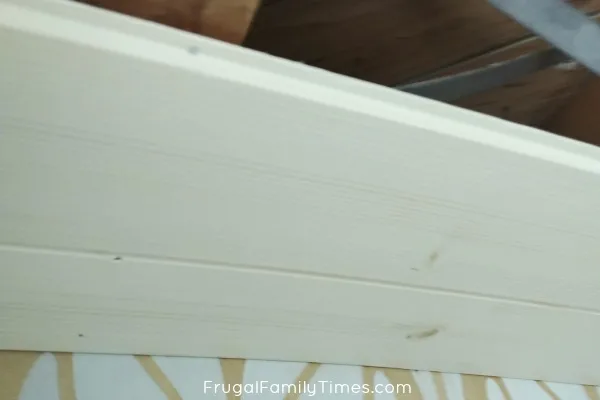
Step 2: Set your first board as perfectly as possible

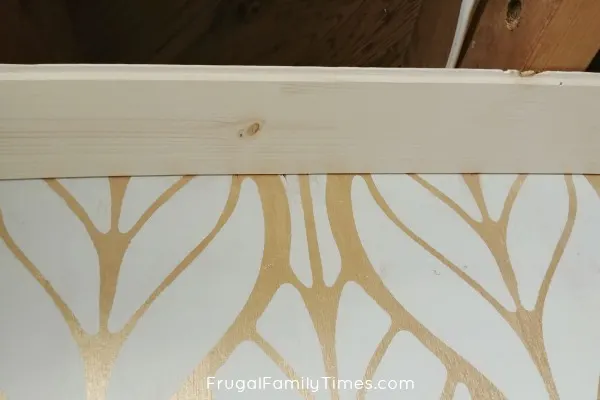
Nail close to the wall on the groove side (Crown mould will hide this nail) and on the V-groove part of the tongue side.
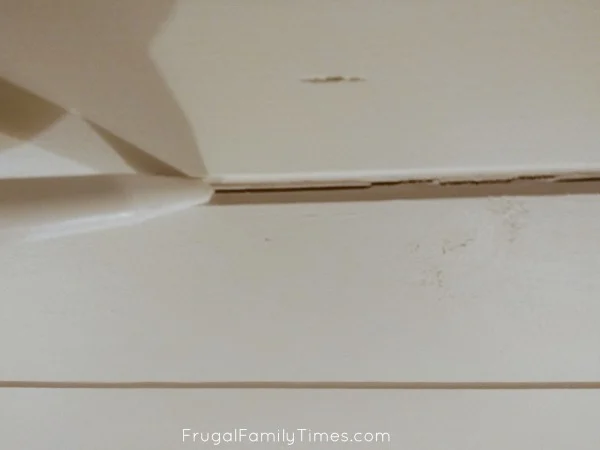
Step 3: Nail on the tongues

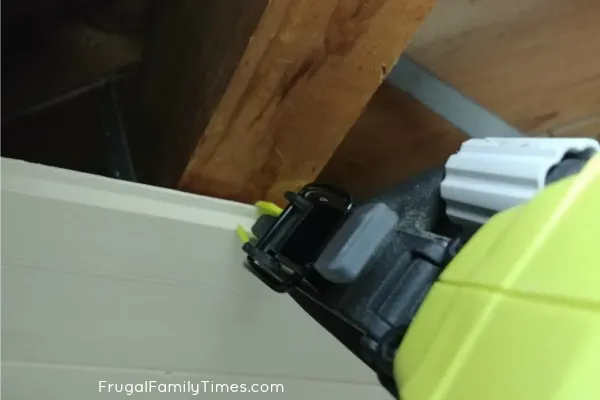
Carefully work the tongue into the groove and, again, nail along the V-groove side near the tongue.
You will now only need to nail on the tongue side, as the groove will be held in place by the previous board.

It actually goes pretty fast and the payoff is great.
Step 4: Cut around objects in ceiling (lights, fans, etc)

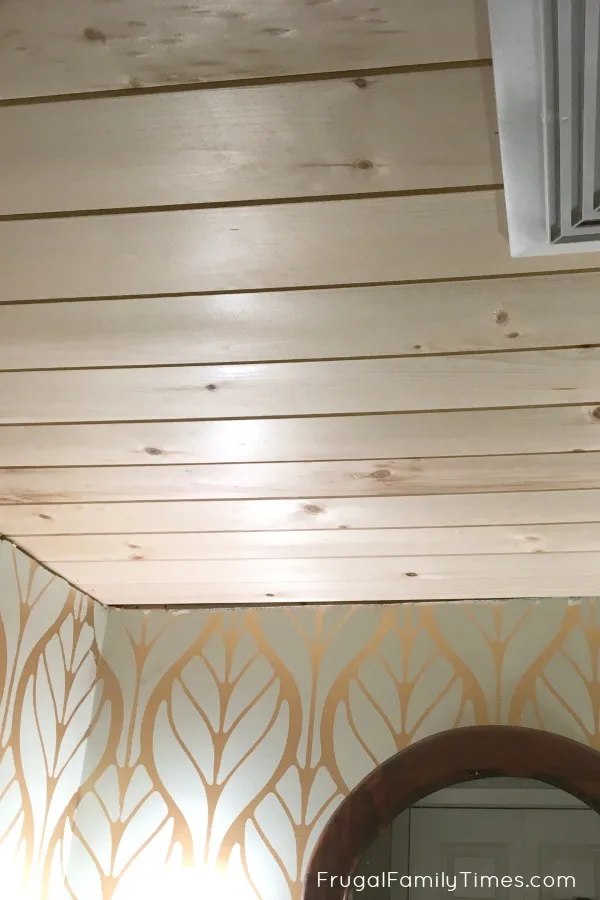
Add in extra backing pieces between joists if needed for nailing.
In another style of room these natural wood ceiling planks would look pretty, too.
Step 5: Cover edges with crown moulding

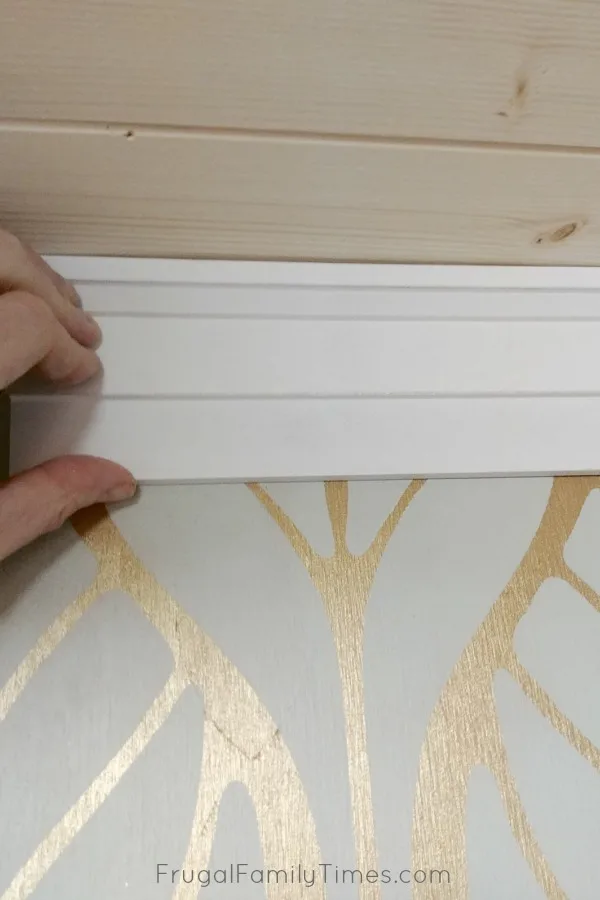
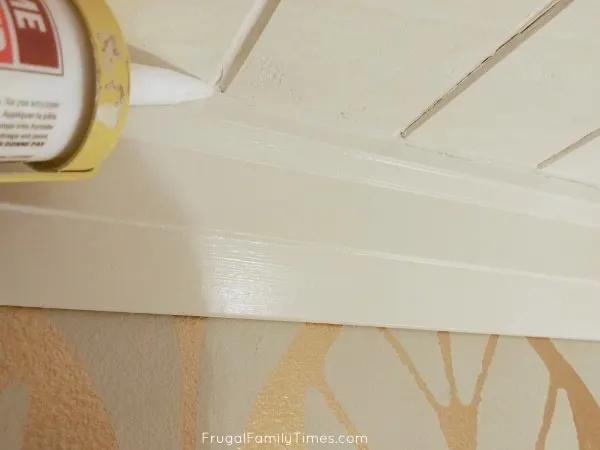
Step 6: Fill and caulk any holes or gaps – then paint

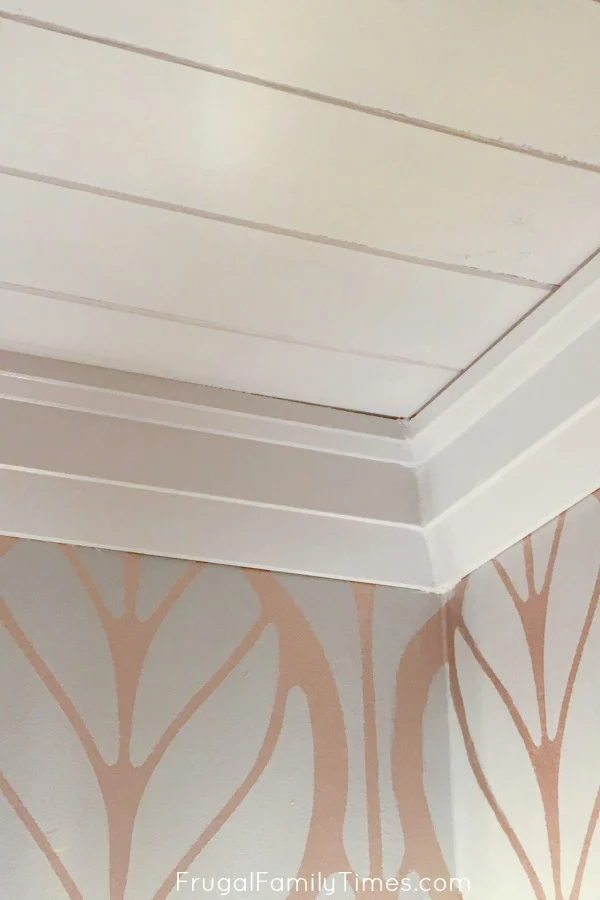


So how did it all turn out? Here it is! Our DIY tongue and groove ceiling…

Here are all the details for our Closet to Basement Bathroom Room Makeover…

Below are all our how-to tutorials.
- We devised our own DIY alternative to ridiculously expensive wallpaper – and we’ve shared how we did it here.
- We took an IKEA sink and made our own floating wood vanity from $30 in supplies – it makes this small room seem so much bigger. (And you know we love IKEA hacks.)
- We did a reclaimed wood stain finish on our vanity – with things from around the house – for pennies!
- We’ve got a detailed tutorial with the steps and tips on how to install a bathroom in a basement without breaking concrete.
- And the finishing touches on our Classic, Modern, Natural Powder Room:
- the gorgeous faucet
- board and batten wainscotting (which we have done before with beautiful results)
- simple to install crown moulding
- the beautiful lighting and more!
This is just one of our DIY low basement ceiling ideas! Check them all out here.


Robin and Ed are a DIY-loving couple with over 25 years of design and build experience. Also, Robin is a Nutritionist and former Registered Dietitian and Ed is an award-winning Business Educator. We share strategies for living a rich life on a DIY budget: creative money-savvy ideas for a stylish home, healthy meals and family fun. Our work has been published in the pages of Do It Yourself, Farmhouse Style and Better Homes & Gardens magazines.
Shannon
Tuesday 24th of January 2023
Love this idea, but how do you access anything if the ceiling (if needed)?
frugalfamilytimes
Friday 27th of January 2023
Glad you like it, Shannon! In this part of our basement we don't have anything we need to access above this ceiling, so it's aok. :)
Tongue And Groove Plank Ceiling | Stunning Ceiling Design Ideas - Best Ceiling Decor & Painting
Friday 17th of July 2020
[…] Download Image More @ www.frugalfamilytimes.com […]
Stephen A Justin
Monday 13th of July 2020
Your ceiling looks great! I did my master bath ceiling to cover the mushy looking popcorn, but i chose to go with "car siding". At half the cost of the premium tongue and groove. You just have to sort through the boards a bit to get the better of the lot. They come in a variety of lengths, from 6' to 14' at my big box stores.
Melinda
Wednesday 8th of July 2020
Beautiful and very crisp, contemporary, and quite ingenious. Thank you for sharing.
frugalfamilytimes
Wednesday 8th of July 2020
Thanks so much, Melinda! You’re kind to leave this message. :)
Debbie
Wednesday 8th of July 2020
Love it!! Great job!
frugalfamilytimes
Wednesday 8th of July 2020
Thanks so much, Debbie! :)