

Faux Brick Backed Bookshelf: An IKEA Hack How to
by Robin
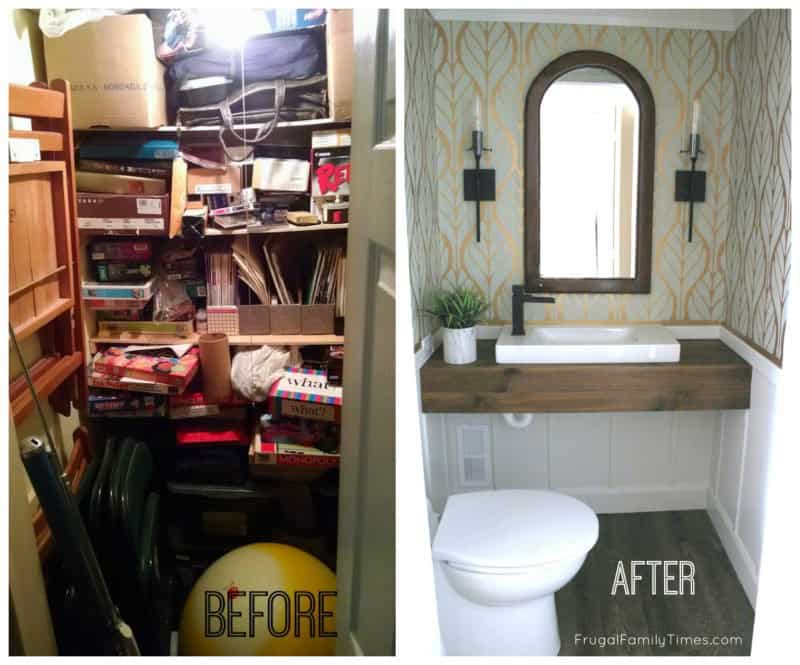
We’re working room by room to create a comfortable and beautiful basement retreat. We are so proud of the basement bathroom we built (from a closet!) – but it’s beauty only exaggerates how blah the guest room is. So we’re fixing that! We’re adding character and colour and function.
Our basement guest room had what a guest needed: a bed, a door, functional lighting, hand-me-down furniture to hold stuff and sleep on.
A guest could not complain too loudly that we didn’t provide the basics – especially since we added a beautiful powder room next door!
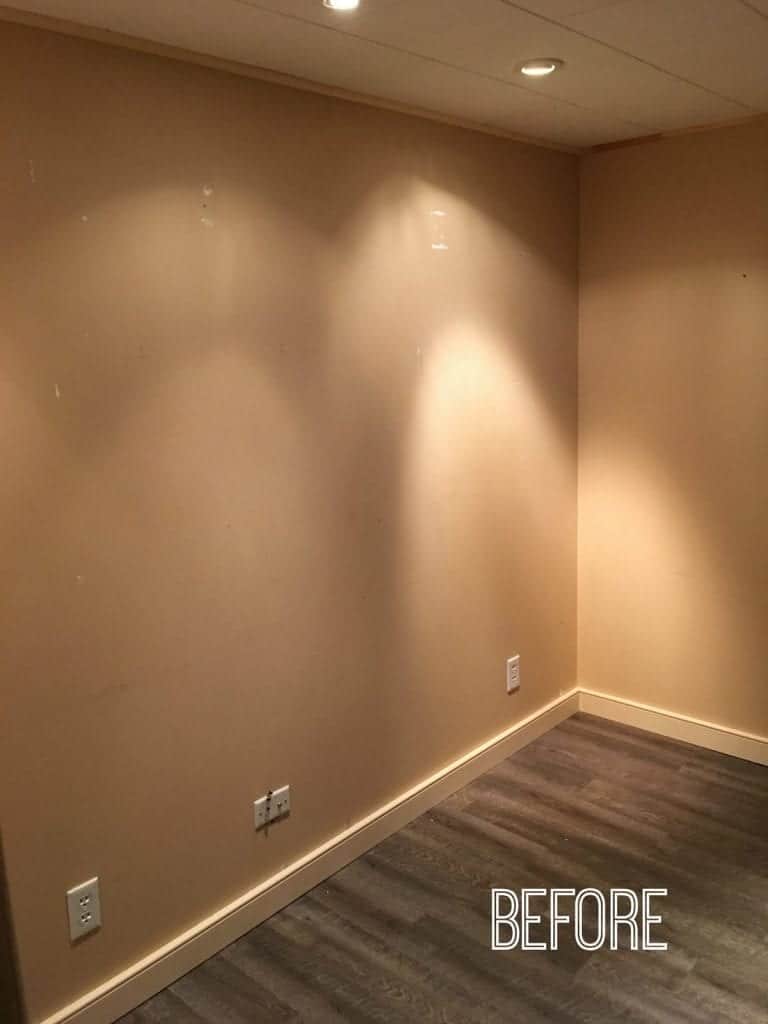
What the guest room lacked was any sort of character. A beigey-peach box is the most eloquent description possible for this super bland space:
We are a family of bookworms – despite our recent Kindle love – we have lots of actual paper books that we treasure. We needed a dedicated space to display them.
If you’ve hung out here before, you know we have a fixation with building built-ins too. So, of course, Billy bookcase built-ins are on our list and this room was begging for them!
The built-in would provide lots of character – but we wanted to guild the lily a bit.
We love the look of exposed brick. Our basement is a concrete block foundation – not exposure worthy – decidedly not romantic looking – a bit more prison-y.
We considered adding a brick look tile
But on a trip to Home Depot we discovered their faux brick panelling. Cue the happy piccolo! The texture is wonderful! The colours are…well…the texture is wonderful!
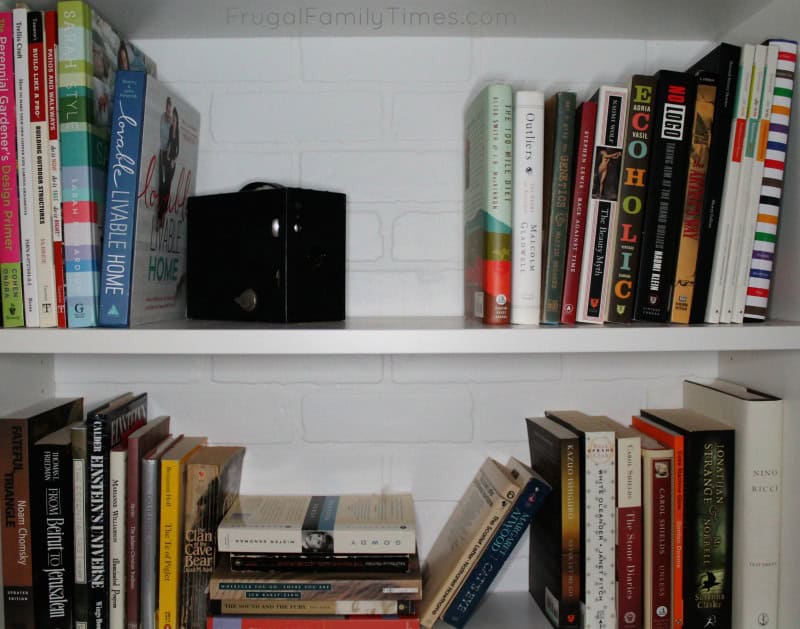
So we’re adding a lot of character to this room with PAINTED exposed brick – including the backs of these DIY wall to wall bookshelves. When lit from above the texture will be subtle and charming.
(You could also do the same look with any panelling – we did beadboard in the back of our upstairs staircase built-in bookcase).
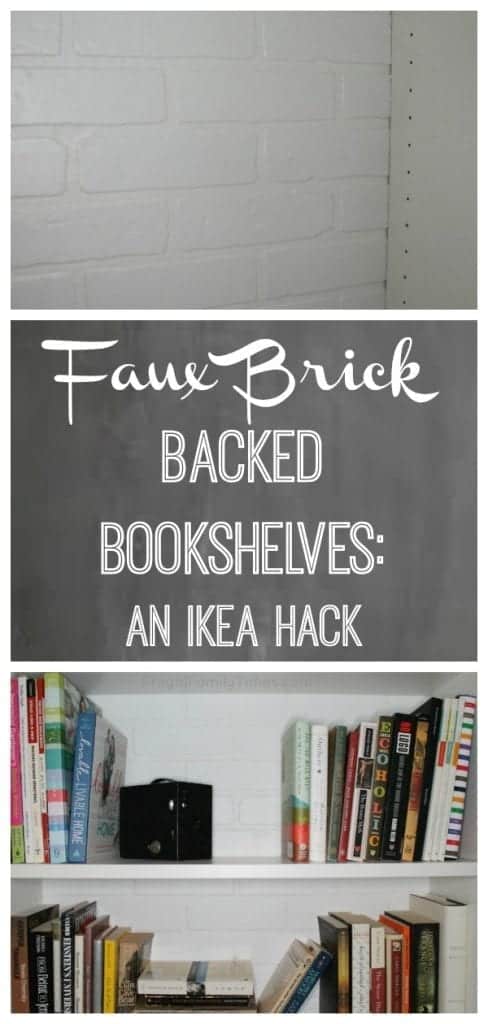
Here’s how we added faux brick panelling to the back of our IKEA Billy hacked built-in wall-to-wall bookcase…
DIY Faux Brick Backed Bookshelf
Materials:
- Billy bookcase
(or another similar like this
)
- Brick texture panel(s)
- Saw (we used a table saw – but a circular saw would work too.)
- Finishing nails
- Primer and Paint
Brick Backed Bookshelf Steps:
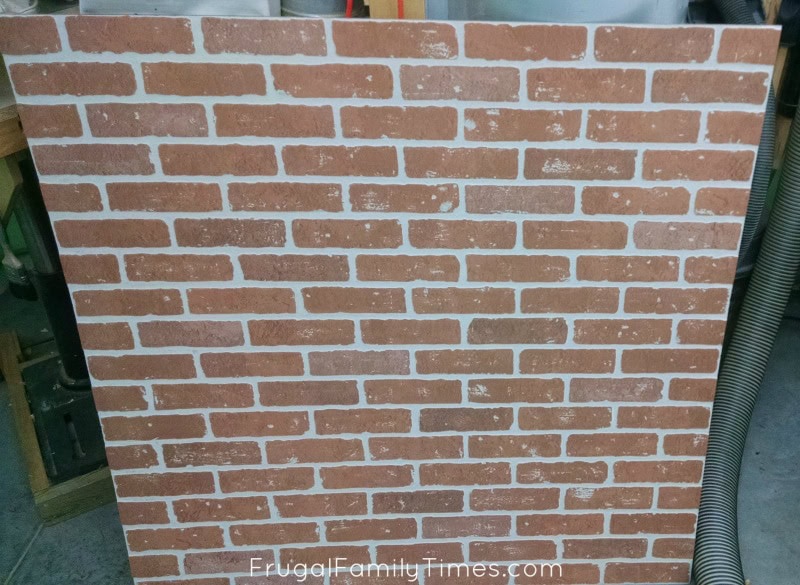
These panels from Home Depot have a pretty great texture. The colours aren’t terrible – but they’re not perfect.
Think: high school play set vs. cool, downtown bistro.
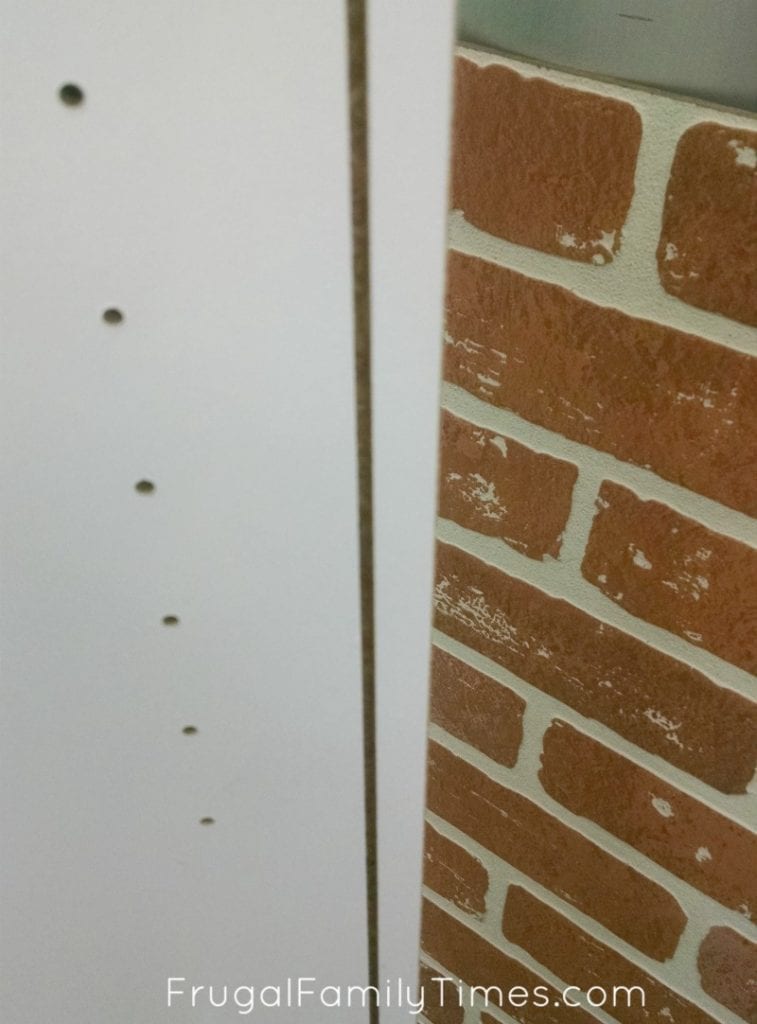
That slot is where the back that comes with the bookcase would slide into. Our brick panel was a bit too thick to fit in it.
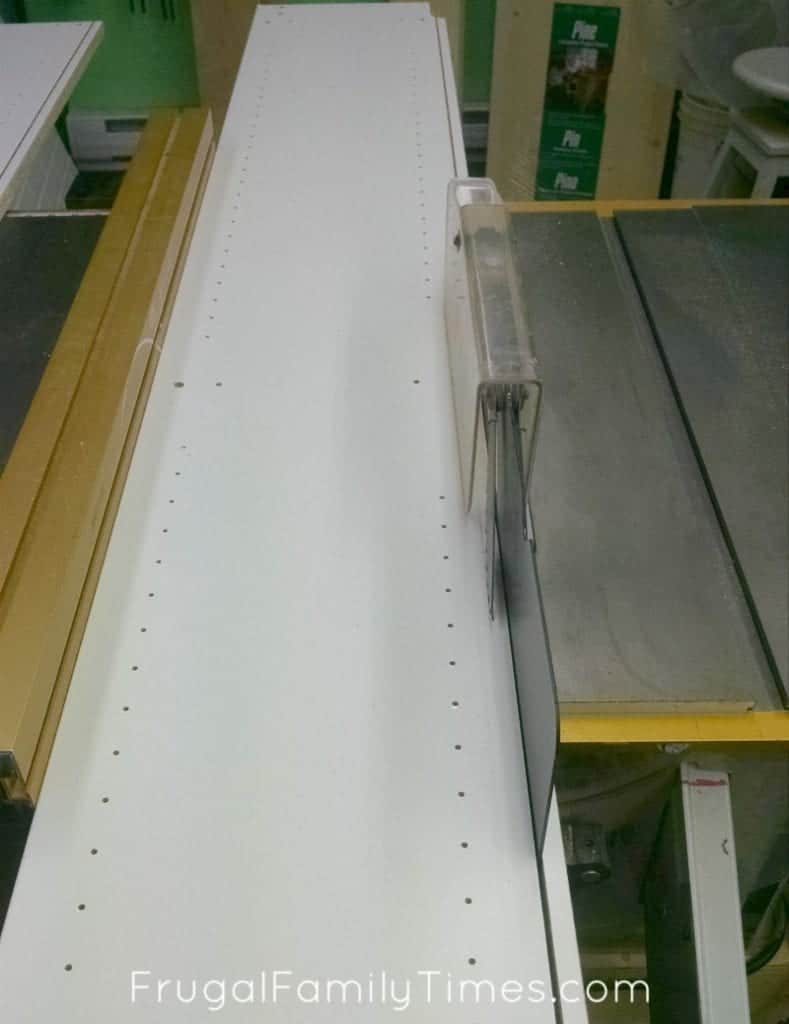
This helps to give the finished shelf a cleaner look.
A side benefit was making the bookcase a little less deep – which is a perk for our tiny guest room. And don’t worry – even cut down, all the shelves still fit without trimming and assembly steps stay the same.

Measure the opening that you want to fill with brick. We chose to just put brick in the top open part of the bookcase – the lower half has doors and we didn’t bother carrying the brick down there.
VERY IMPORTANT: Make sure you note which way your brick pattern will run! Draw a picture, like above. You don’t want to cut your panel to the perfect size only to find your bricks are running up and down.
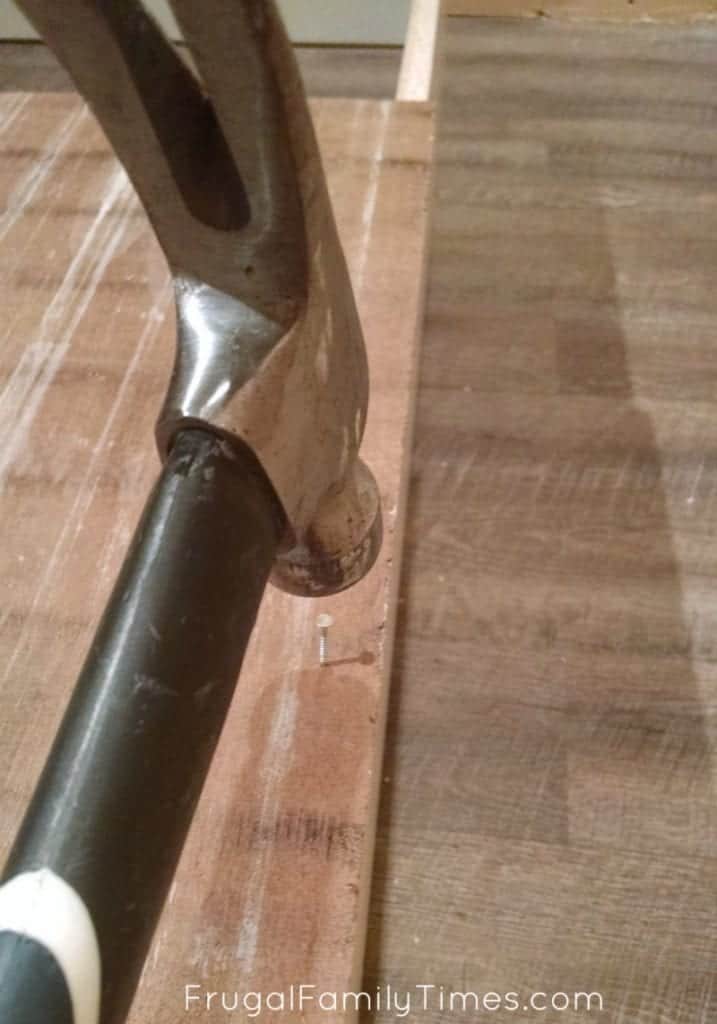
Cut your brick panel to the size of your opening – plus the thickness of the bookcase sides so you have room to nail it.
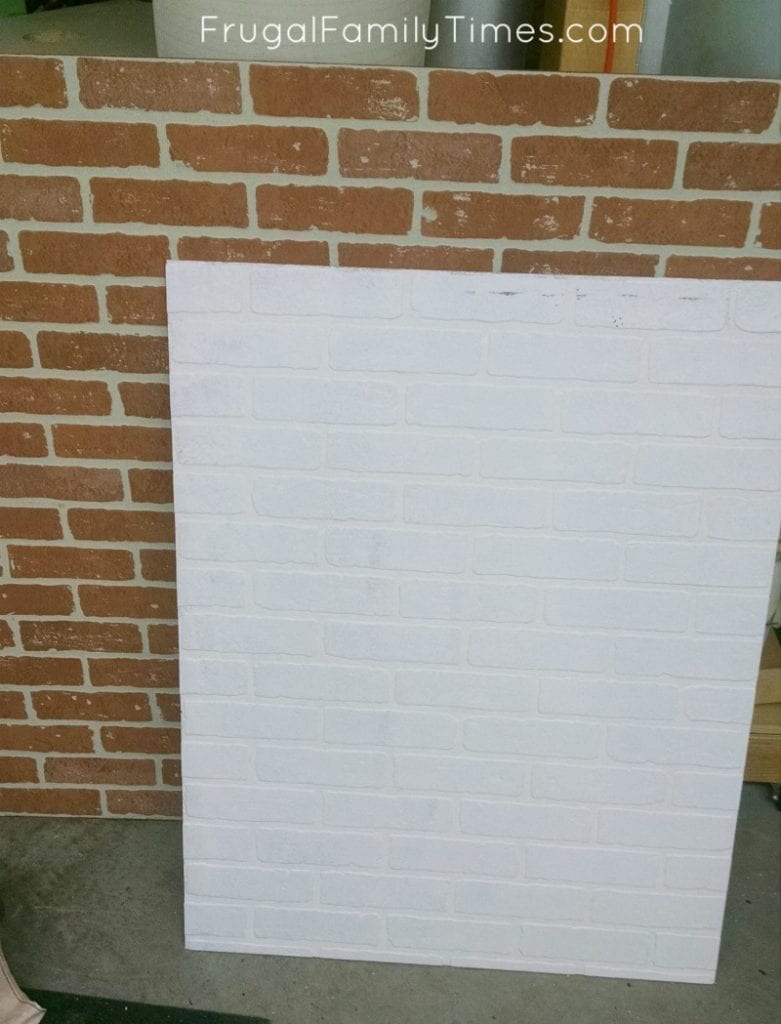
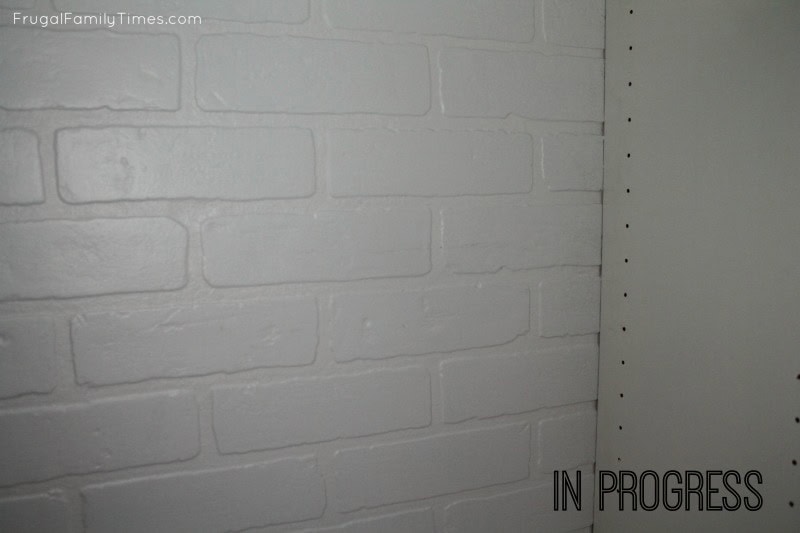
We chose a semi-gloss paint to catch the light and highlight the texture of the brick.
(In person it’s lovely – my “photography skills” do it no justice.)
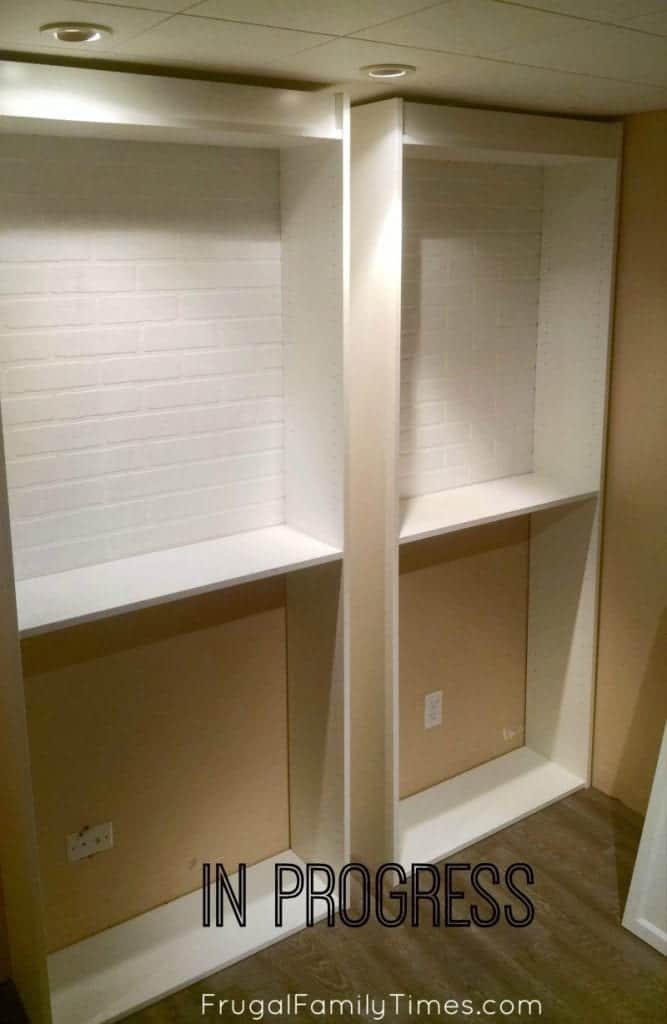
UPDATE: the built-in bookcase is done! Check the finished project out here.
This room is quickly becoming our new favourite in our house – it’s cozy and textured and feels less like a basement with every project we do.
Plus, in our “do more with less” style – we’ve even reused the original backing material from the Billy bookcases for a gorgeous – and almost free – vertical shiplap project in this room. More on here!
We have so many more projects to share in our Guest Room Library – and in our entire DIY Basement Makeover – you can find all the projects here.

Robin and Ed are a DIY-loving couple with over 25 years of design and build experience. Also, Robin is a Nutritionist and former Registered Dietitian and Ed is an award-winning Business Educator. We share strategies for living a rich life on a DIY budget: creative money-savvy ideas for a stylish home, healthy meals and family fun. Our work has been published in the pages of Do It Yourself, Farmhouse Style and Better Homes & Gardens magazines.



Why did you turn the bookcases upside down?
What are you doing with the bottom half of them?
What a great eye you have, Melanie! Yes – we turned them upside down for a reason. That post is coming soon – we have a few things to finish on the bookshelves first. Essentially, did it so that we would have room on the top to mount library light sconces over each bookshelf. There is so little height in our basement we needed to install them upside down to have enough space on top. Coming soon!
Lovely! I can't wait to see the rest of your guest room
Thank-you!! We’re having trouble finishing the guest room because of a steady stream of weekend guests! Coming soon – and I think you’ll really like it! 🙂