
We may earn a commission on purchases made after clicking links on this page.


by Robin
We had an ugly kitchen problem and I knew just what would solve it: DIY open kitchen shelves! And this budget kitchen update may surprise you with just how easy it was!
Our kitchen was full of nigglies. (Is that a word anyone else uses? Or did I channel Luna Lovegood and make that one up?) It’s likely the latter, so I’ll define it: a niggly is a bothersome thing. A small one, mind you, but a persistent one. Like a single mosquito at your picnic.
Our kitchen had way more than one niggly. Think: two dozen mosquitos in your tent buzzing around your ears while you’re trying to sleep.

We have two sections of upper cabinets in our kitchen. The section over our stove was neutral. It functioned fine enough. And this space rarely bothered me – it is really only visible when you come up the stairs from the basement or backyard.

The section over our counter space bothered me plenty.
Not only did it holler 1990’s, but there was also the enormous microwave shelf that stuck out so far that you couldn’t actually use the counter below it. In our small kitchen, this was a really big deal: 1/3 of our counter space was unusable.
Also, this giant microwave shelf attracted clutter like white pet hair on black pants.

Yep. This area was ugly.
Plus, this section of uppers is visible from our entire main floor. When we added our second storey we blew out tons of walls making the main floor open concept.
There was no unseeing it.
So one day, as I scowled at this space trying to make it smarten up, it came to me: open shelves! It would take a few steps, but my mental picture told me it would be worth it.
It was!

How to DIY Open Kitchen Shelves from Old Cabinets
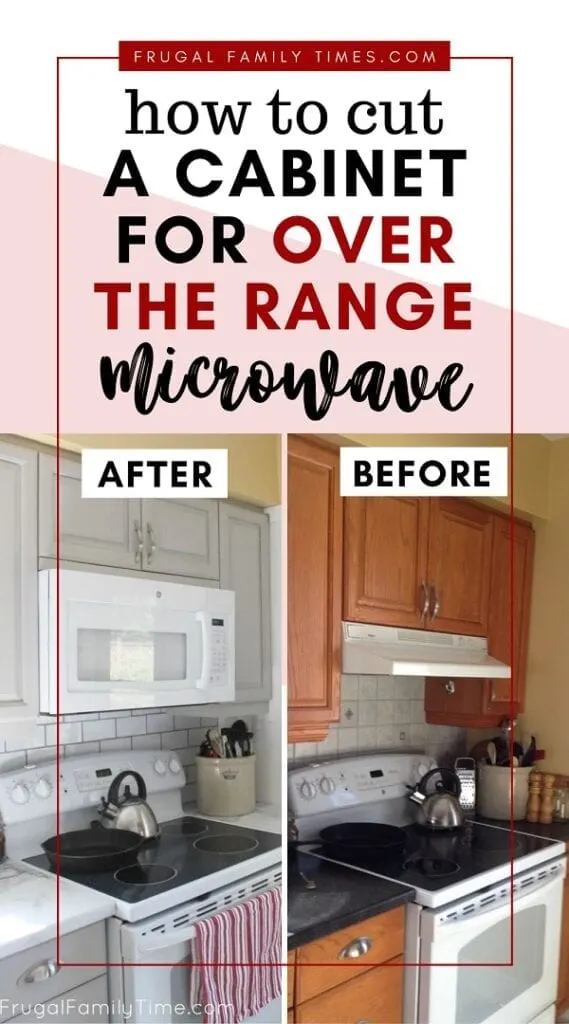
The first step was to relocate the microwave. You can read about that here.
(The Coles notes is: we installed an over the range microwave after some serious MacGyvering of a cupboard. Here’s How to Cut a Cabinet for Over the Range Microwave )
Next, we tore out that beast of a microwave shelf to make room for open kitchen shelving
I had to smile when I found this photo. My dad wrote this on the wall behind to commemorate installing this kitchen together. (Our house was his house back then – and my grandparents before him. They’re the owners of the mint green paint of yore.)


(other than stocking up on canned goods, bottled water and shotgun shells to prepare for Y2K 😜).
The next step was to remove the cupboard above the shelf-beast.
That was pretty straightforward – it was screwed to the cupboards on either side. We unscrewed it.
Then we painted the sides of the old cabinets
We had an amazing idea to buy an electric paint sprayer to paint the cupboards.
Amazing is written with extreme sarcasm. The sprayer was a piece of junk and caused more problems than it solved.
The POS paint sprayer worked just long enough for us to spray the sides of the cupboard where the open shelves would live. That idea was a good one at least. It would be hard to paint these sides when the tile was in.


(Electric paint sprayer = tragic outcome)
After the shelves were removed we tiled the backsplash and all the way up the open shelf home.


How do you make open shelves?
Now, after all that prep, what you came for: the open kitchen shelves how to!
Here we simply cut shelves from the cutoffs from our butcher block counters. Those lovelies came from IKEA. The finish is tung oil. We love the tung!
So the usual steps came next: measure the space – twice of course – and cut them.
We’re lucky enough to have a table saw to use in my dad’s workshop in our yard, but this would be doable with another saw and a saw guide


The shelves were pretty easy to install: we screwed through the sides of the neighbouring cupboards. And voila – open shelves ready to give us a bit more storage and a whole lot more pretty.

Our view from lots of angles has improved with this change alone.
I didn’t want to buy anything new to style it, and I’d hoped to actually store useful stuff on them, so that’s what I did. Everything here gets regular use and has freed up other shelf space.

For fun, we added a third shelf at the top. Due to gravity, we can’t put anything on it, but I like the little bit more wood tone it brings to break up the paint on the cupboards and walls. A little wood island in a sea of paint.


I now have hearts for eyes.
There you go, our open shelving! Niggly-free and oh so pretty. Got any questions? We’re keen to answer!
You can find all the posts for our DIY budget kitchen update right here.


Our Honest Ruggable Review: Sure They’re Washable, But Are They The Best Kitchen Runner Rugs?


How to Hack In-Stock Cupboards to Make a Custom Kitchen (on a Budget!)

How to Cut a Cabinet for Over the Range Microwave (Our Budget Kitchen Update)


Lynn at Nourish and Nestle
Wednesday 11th of March 2020
What a huge improvement! I struggle with microwaves as well. I don't like appliances out and about, but they need to be accessible. But I agree, yours was...well...unfortunate and niggly. I know you love this area now. And those countertops!!!! 😍😍😍😍😍
Cindy
Friday 24th of August 2018
what did you use to attach the shelves to the side cabinets. I want to do this in my kitchen but not sure what to use to attach them to cabinets
Anonymous
Saturday 3rd of February 2018
NICE change indeed!! Love the new look tho I am not a fan of open shelves in the kitchen [I keep thinking that everything would become sticky from grease in the air]. The color change is great. Did you change the rest of the kitchen to match?
frugalfamilytimes
Saturday 3rd of February 2018
Thanks! We love how it turned out. :) We’ve been living with the open shelves for almost 3 years now and have had no problems with grease. We don’t do a lot of frying though. Yes! We made lots of other changes to the kitchen - you can see them in the linked posts. :)
Unknown
Monday 27th of November 2017
Nice update. How did you attach the bottom shelf? You would not be able to screw straight in from the sides.
Ed from Frugal Family Times
Tuesday 28th of November 2017
We were actually able to screw in through the side cabinets to attach the bottom shelf. Pre-drilled and carefully anchored it. Not sure what we'd do if that wasn't an option...
cred
Thursday 15th of October 2015
I just love it! Big fan of open shelves- it certainly does bring a kitchen up to date. And I love the contrast of wood and grey. Nice job!I love the sweet note from your dad.
frugalfamilytimes
Thursday 15th of October 2015
My dad IS sweet. I was sad to tile over that note. (And no one calls him Willy anymore. His silly daughter added that part of the note. ;). Thanks for your kind compliments, cred! :)