We may earn a commission on purchases made after clicking links on this page.
Here you’ll find how to make wall to wall bookshelves with our surprisingly simple IKEA Billy Bookcase Built-in tutorial.
Intro by Robin Steps by Ed
A small basement bedroom is tricky. When that bedroom is in an equally small basement that needs to function for a lot of things – it requires some creativity and mad DIY skillz.
Enter our Basement Guest Room-Library with wall to wall bookshelves. I’ve dreamed of having built-in bookcases my whole life! (Is that a normal dream?)
Now, of course, if we didn’t want to make our guest room beautiful as well as functional, we could have just pushed some premade bookshelves up against the wall and called it a day.
But, as you may know, that just isn’t our style. We demand function AND beauty. PLUS we love the challenge of creating rooms on a budget. That’s what all our DIYs are about. (Have you seen the closet we turned into a basement bathroom? We’re still gaga for it.)
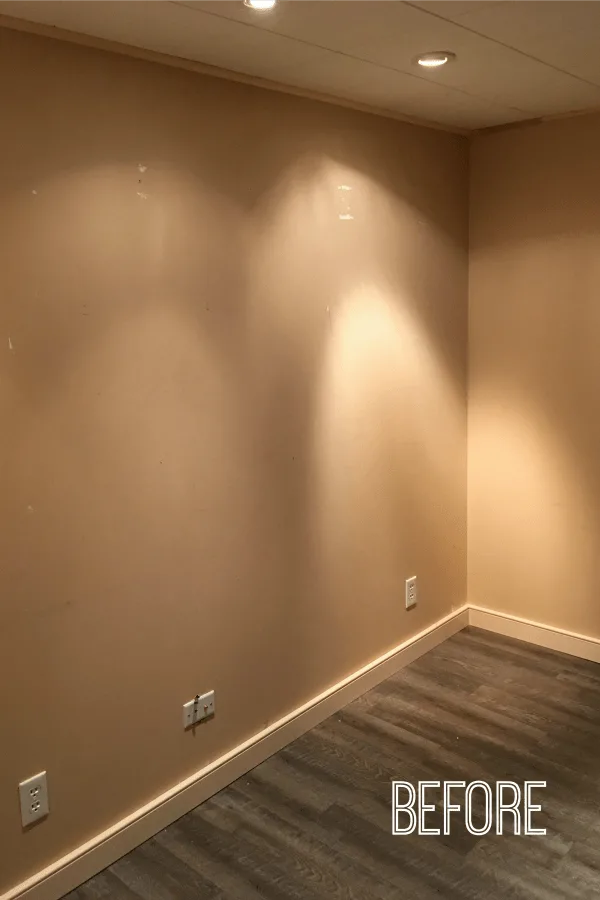
This basement guest room needs to work really hard for us:
- It must make our guests feel comfortable and loved.
- It needs to hold the bulk of our book collection (our house isn’t huge and we LOVE books)
- It also must have hidden storage for less than beautiful things (I’m thinking bedding, gift wrap storage and files.)
- And it needs to look great. (And it does! Despite what my beginner photography skills show…sigh.)
And yet another problem to solve…
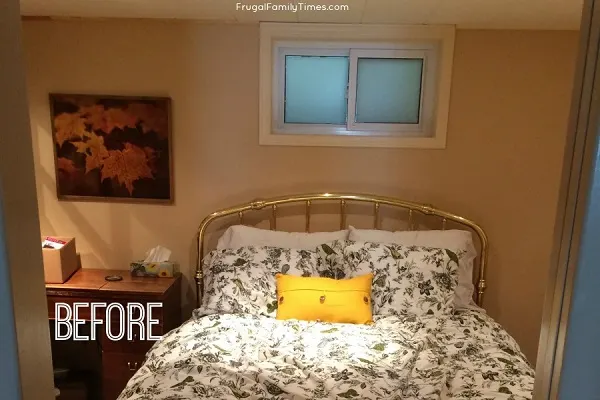
This IKEA Billy Bookcase Built-in is a problem solver.
Like most basements, ours has small windows. The one in the guest room is weird and it isn’t centred. This made me bonkers! (Though we figured out a clever way to make it look bigger!)
The only comfortable spot for the bed was under this window. With the window off to one side – the bed wasn’t centred. (It made me twitchy just looking at it.)
That’s one of the reasons this bookcase built-in was so perfect down here. By building it along the left wall it took up enough of the visual space to make the weird window look a bit more centred. Win!
Another reason this built-in bookcase was a win is the character and personality that it adds.
You know from the other built-ins we’ve made that we are Co-Presidents of the Built-ins Fan Club. Seriously, built-ins are amazing small space solutions – and they aren’t as hard to build as you may fear.
Last fall IKEA had the sale I was waiting for: 30% off all their Billy bookcases and matching Oxberg doors.
The bookcases are already pretty affordable, especially in white. The Oxberg doors were more costly – a pair of the doors cost as much as the whole bookshelf! But I knew that we needed the doors for the hidden storage they’d give us.
So I added it all to my cart and paid to have them shipped.
That was a tough extra cost to pay – but these Billy bookcases are dang heavy! And we didn’t think we could fit 3 Billy’s plus 6 doors in our Rav4. There are times that delivery is worth splurging for.
Without further ado, here’s how to make wall to wall bookshelves with our IKEA Billy Bookcase Built-in tutorial. (And we added bookcase lighting to them too, so pretty!)

How to Make DIY Wall to Wall Bookshelves (an IKEA Built-in Bookcase Hack!)
What you need:
- As many flat-pack bookcases as will fill your wall.
- IKEA Billy’s are great – but it’s not the only option, you can find similar bookcases at
- Comparison shop!
- Bookcase doors – we used Oxbergs
- 2x4s
- sandpaper and sander (we use this random orbital one)
- clamps
- screws
- paint – We found Behr’s “White” in eggshell matched the IKEA finish really well.
- MDF trim, casing and crown moulding, as needed
Optional: How to Add Faux Brick to the Back of a Built-in Bookcase
This is totally optional – gilding the lily really – but we love the look. You can find how we did this interesting step in the tutorial here.
Optional: How to Add Bookcase Lighting to Any Bookshelf (without hiring an electrician)
We added these super affordable picture lights to our bookcase. Rather than create one post with 4000 photos, we broke it down.
Here’s the tutorial – we include 4 ways to add lighting – and 3 of them don’t require ANY electrical skills!
If video tutorials are more your style – just press play here:
How to make a Billy Bookcase Built-in:
Step 1: Assemble the BILLY bookcases.
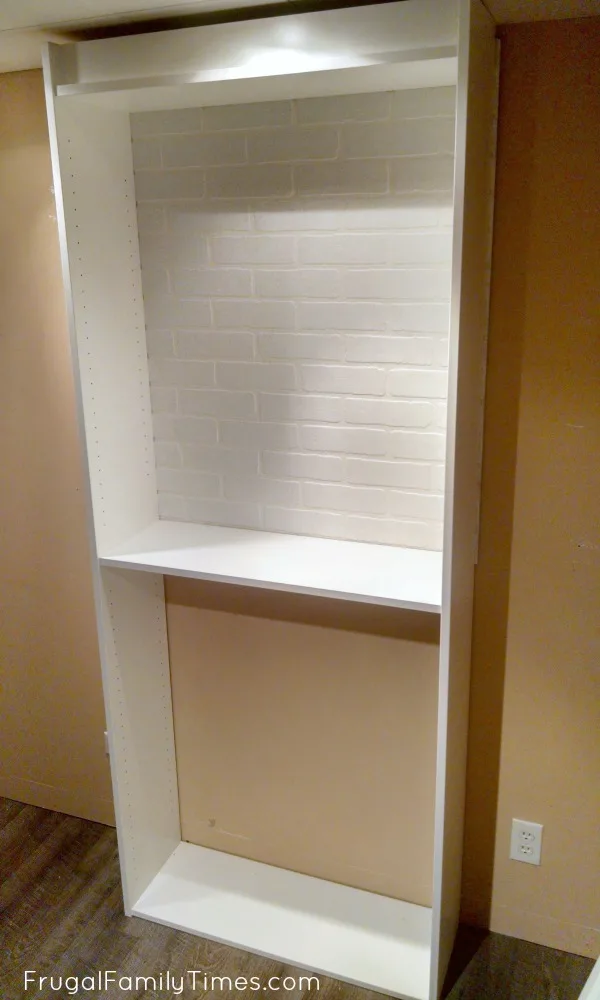
If you want to add the character of the faux brick, this is the post to help you to do that. Here’s the tutorial. Otherwise, use the existing backs that come with the bookcases.
- So, you may wonder, why the heck did we install these upside-down?!?
- A fair question. This room is not tall – about 6.5 ft. But we knew we wanted to add library lights to the top of each shelf.
- By installing them upside down we had room for lights and crown moulding!
- The uniform nature of the BILLY meant that we could do this – have the doors still fit on the bottom half.
Step 2: Decide on the spacing
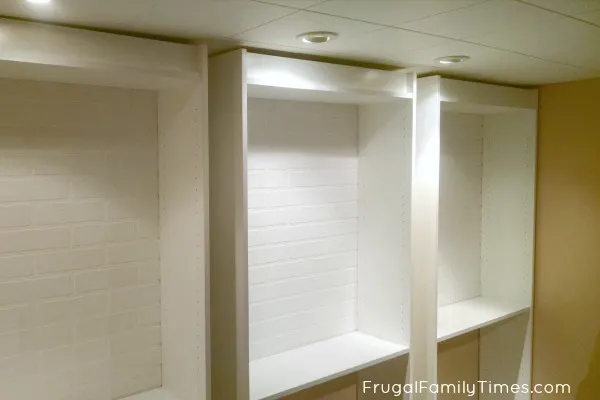
We ended up using 2×4 stock as the gap between units to make them look a little more substantial. We set them back by about 3/8″. (And 2×4’s are super cheap! They just need sanding like crazy.)
Step 3: Clamp and Commit
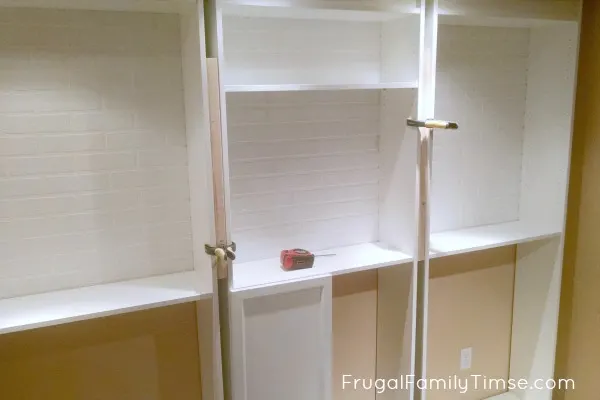
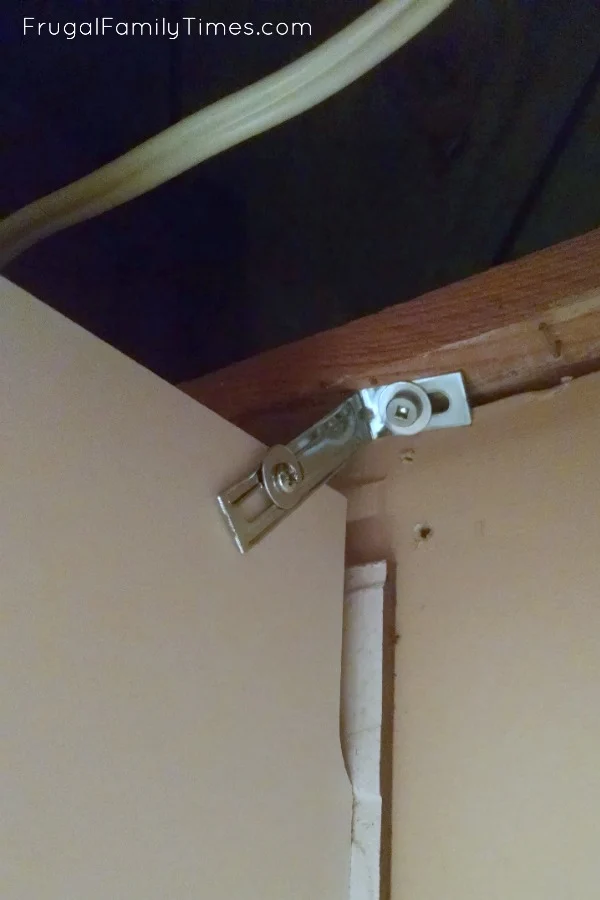
IKEA provides brackets to attach to studs to prevent tipping over: use them.
Even though you’ll be putting lots of framing around it, the brackets will help hold things in place, and keep them square, while you build everything else.
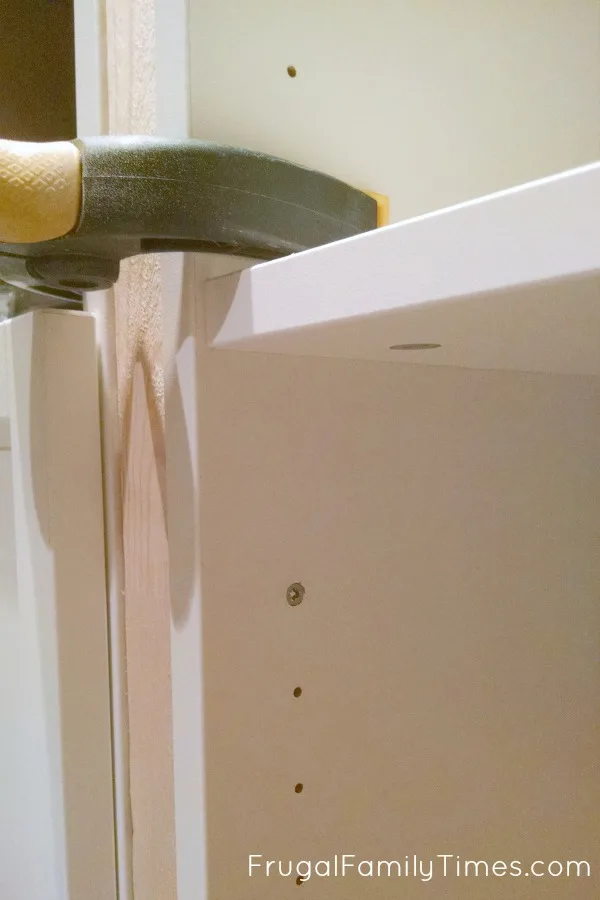
Step 4: Screw the bookcases to each other
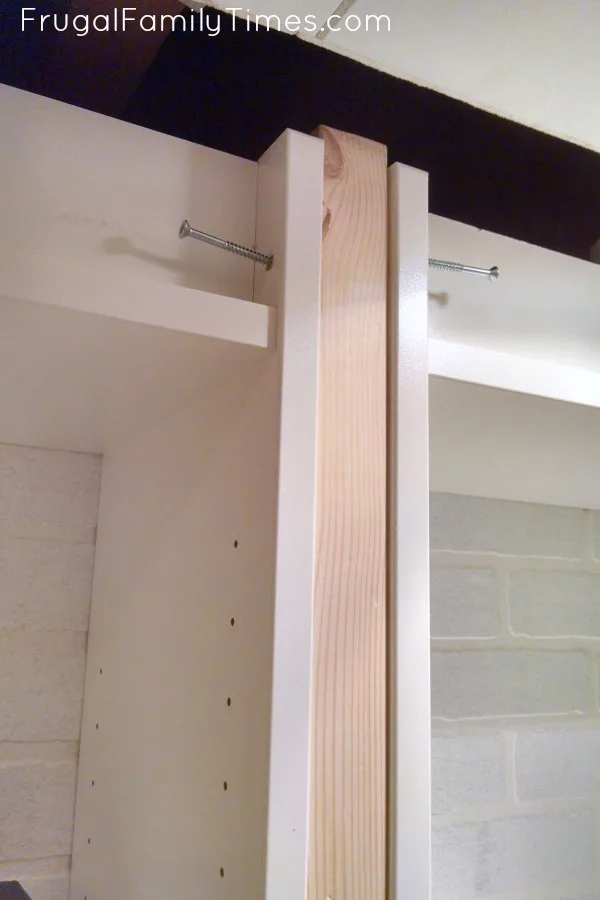
These ones will be hidden by the crown moulding

And if you have doors, the hinges can be used to hide screws too.
Locate where the hinges will land and then use one of the predrilled holes that will be behind the hinge.
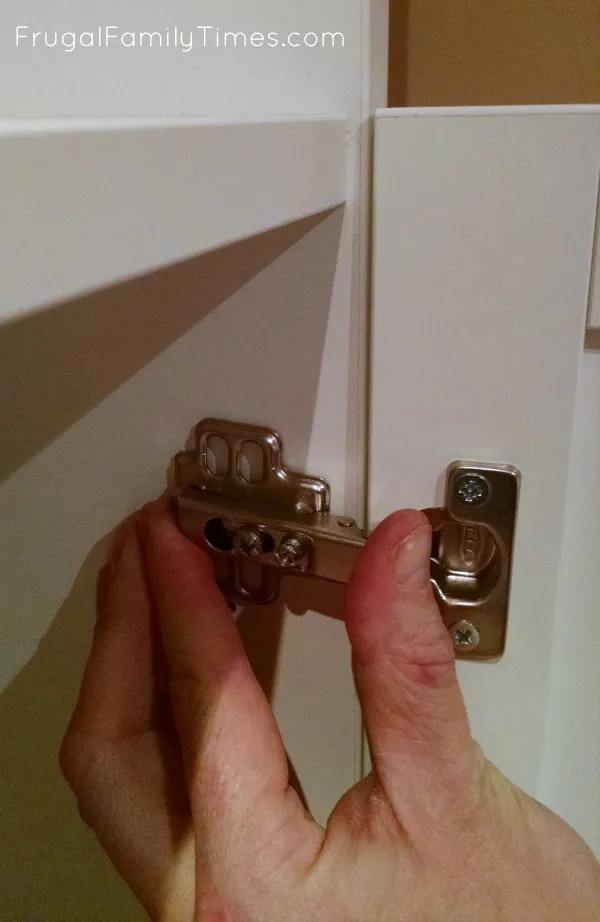
This was really just an aesthetic issue – not a functional one.
Step 5 – Fill in next to the walls

Side Question: Does anyone else begin styling their projects for ‘After’ photos while they are still in the middle of construction? Asking for a friend…

Give yourself lots of room to nail into. Primed MDF will give a nice, finished look – consistent with the rest of the BILLY unit – but they are not very rigid and need support.

The MDF may need some trimming and sanding to fit in next to the wall. (Unless by some miracle your walls are perfectly square.)
Keep trying it in place till it works.
Step 6: Crown Mould and remaining finish trim
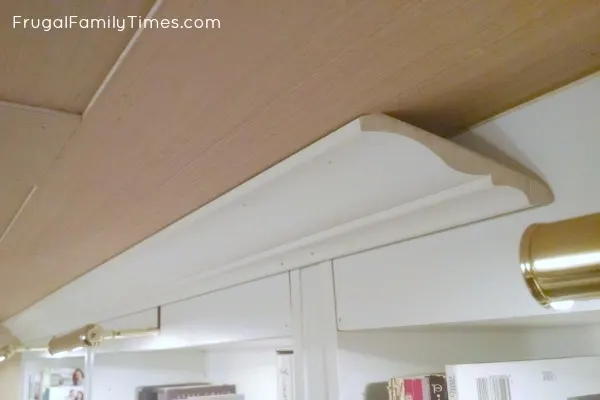
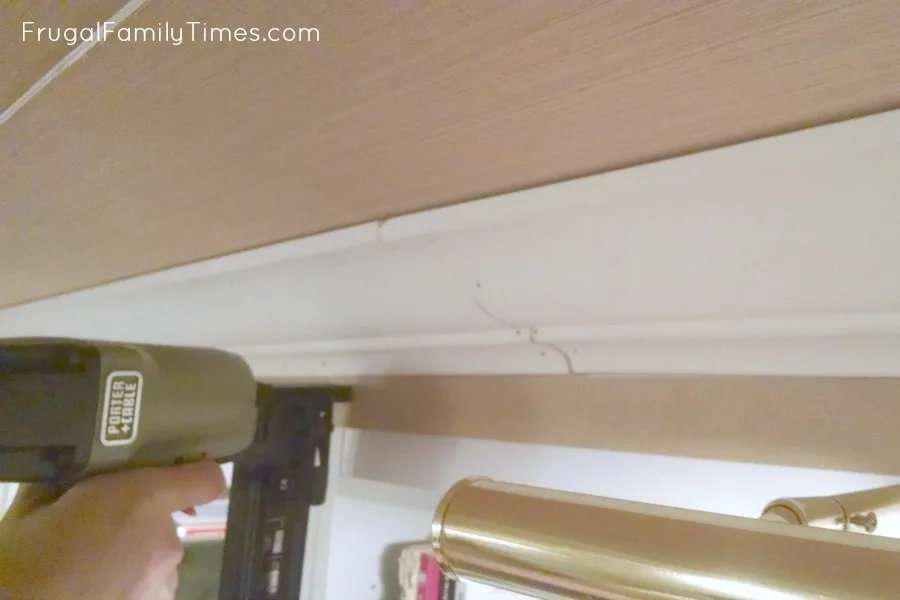
First, over where the kick plates would be, we added a thin piece of pre-finished MDF panel.
Then we added crown moulding at the ceiling.
Step 7: Fill and Sand, Caulk and Paint

Fill those gaps with caulk and holes with wood fill.
Sand it smooth and paint.
Optional: Add Bookcase Lighting!
We have a whole post on how to bookcase lighting to bookshelves – without hiring an electrician! You can get the whole tutorial there (thousands of readers have!)
Here are some great bookshelf lighting options:

2. This one is big and bronze and beautiful.
3. A sleek classic one in brass.
NEW! (not shown) This one is a bit spendy for us – but it has such a unique design I had to include it.

1. This light is gorgeous and I can’t get over the price.
2. This brass one is sleek and modern.
3. This other brass one is classic and pretty.
NEW! (not shown) This one is battery-operated and so sleek – it’s rechargeable and has a dimmer. A great price too!
And then you’re done!

We are bookworms, so filling these wall to wall bookshelves with books was easy. And we all love the look of a well-loved library.
You might have noticed that we didn’t put any hardware on the doors – that’s intentional – though we may change our minds when the final room comes together.
We left it without pulls because the room is tight and we wanted to keep the area beside the bed as open as possible. This way our guests aren’t snagging their jammies on any knobs when walking by the shelves to climb into bed.

Other projects in our Basement Guest Room-Library:
- How to Add Bookcase Lighting
- Antique Treadle Sewing Machine Tables
- How we made our small, high basement window look bigger and fabulous
- Our Faux Bricks Wall Treatment
- Natural Wood Panelled-look Plywood Ceiling
- Green Vertical Shiplap Panelled Wall treatment – which cost us almost nothing



Laura v
Monday 28th of March 2022
I found your blog after looking for "faux brick wall" but stayed for a lot more. Your basement bedroom is beautiful and tastefully decorated. Looks like a million dollars! Your hacks are written so clearly and concise. Thank you.
frugalfamilytimes
Monday 28th of March 2022
Thank you so so much for your comment, Laura! We're so happy to be helpful. You've absolutely made my day! :) Robin
Michel Romage
Thursday 10th of June 2021
This is a great and beautiful project. One of the best I've seen. I will definitely be building this unit in my home office.
frugalfamilytimes
Thursday 10th of June 2021
Thanks so much, Michel! Let us know how your project goes! :)
ellen
Tuesday 17th of November 2020
Love your ideas. You guys are really clever.
frugalfamilytimes
Tuesday 17th of November 2020
Thanks so much, Ellen! So glad you like our work! :)
Beliza
Thursday 17th of September 2020
I love this tutorial! Where did you get the lights? Pretty! Thank you!
frugalfamilytimes
Friday 18th of September 2020
I'm glad you like it! Here's a source for the lights: https://amzn.to/2FJwDB1 :)
Rachel
Wednesday 12th of August 2020
Could I do doors on the top half also? Would 4 doors fit?
frugalfamilytimes
Thursday 13th of August 2020
Hi Rachel! Yes! The oxberg doors are designed to fit on both top and bottom if you want. :)