We may earn a commission on purchases made after clicking links on this page.
by Robin
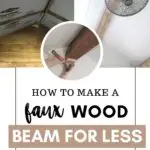
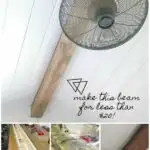
We figured our how to make a faux wood beam from real wood and it cost us less than $20 to make. DIY faux beams can be a lovely accent to a cottage or cabin ceiling and the tutorial is quite simple.
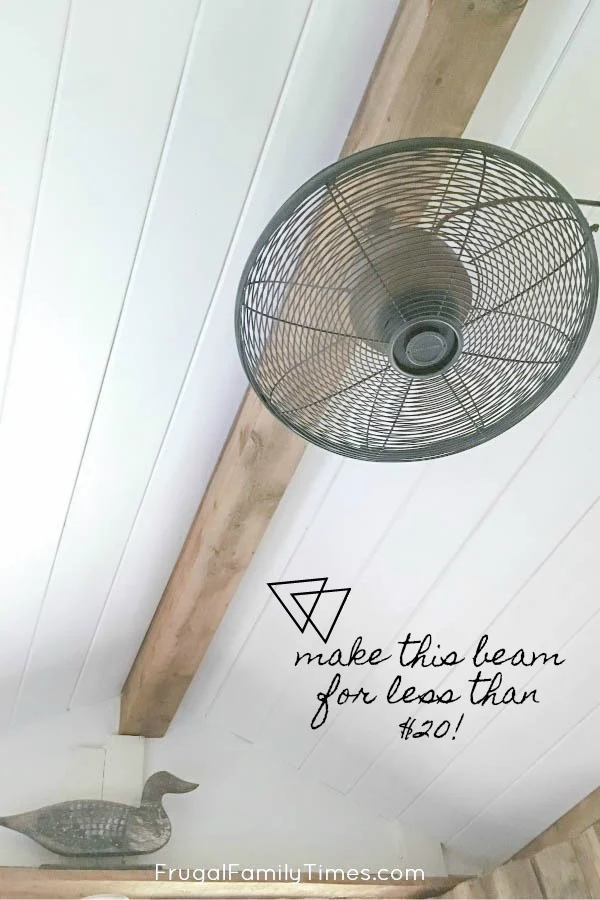
We’re finally making over our bunkie!
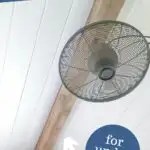
We also added the gorgeous fan you see above – can you believe it can be used both indoors and outdoors?! It’s so good looking and gives a perfect breeze to the bed below. Affordable, too.)
Building a fake beam can be a great project for beginners! We’ve got the full tutorial below – plus some updates about our Mobile Home Makeover.
First, Some Mobile Home Makeover Updates…
Like all of the projects in our Mobile Home Makeover – there were a dozen awful things we needed to do before we could get to the fun pretty stuff.
The makeover of our rustic log bunkie was like all the rest: years of neglect and poor workmanship led to a long list of horrible surprises.
Our first “quick and easy” upgrade to the bunkie was covering the plywood floors with the same laminate that we love and laid inside the mobile home. Notice the quotes around “quick and easy”?
This project should have taken two hours tops. Well, the previous owners saw to it that it should take days instead. Water damage and rodents were hidden instead of taken care of. We needed to tear up most of the subfloor, replace some rotted joists, add downspouts and seal a bunch of mouse entry points.
This ceiling was no different than the floor: more water damage and more rodents. (Here’s our Rodent Proofing Guide – we’ve learned tons about how to get rid of mice!)
In our sweet naivete, we thought we’d simply cover the plywood ceiling with plywood shiplap (similar to what we did here) and build a faux wood beam and take photos for you to enjoy!
Nope. After closer inspection, the spreading stain on the ceiling told us we had squatters we needed to evict and repairs we needed to make.
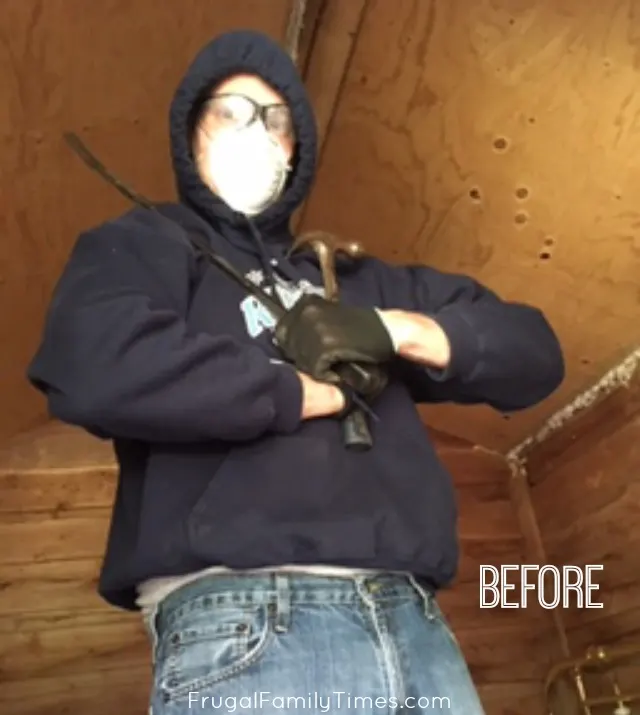
Basically plywood damp with rodent urine. Blech.
What to wear when pulling down poop-filled ceiling: Ed’s sporting long sleeves, eye protection, mask, gloves, hood.
Intimidating stance is entirely optional.
We needed to put in a few days work to pull down the poop-insulated ceiling (what R-value does vermin poop have?) and seal the leaks. Then we insulated with something less – organic. Sigh.
But with that nonsense taken care of, we got to the pretty stuff!
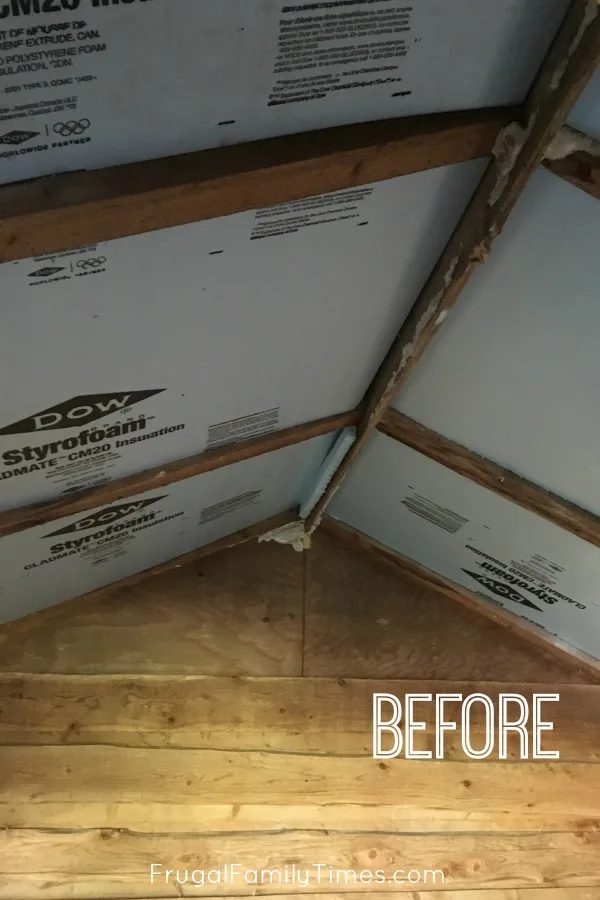
This is the clean and insulated ceiling. Before adding the styrofoam we scrubbed and primed the worst of the areas.
After this we added a very simple DIY shiplap ceiling (that tutorial is here.)
How to Make DIY Faux Beams
What you need to build a wood DIY faux beam…
- 1″x6″x8′ pine boards – the cheap ones! Minimum 3 to make 1-8 foot beam. (A longer beam will need longer boards.)
- Scrap pieces of pine for blocking and attaching the beam to the ceiling.
- Supplies for the reclaimed wood stain can be found here with the full tutorial
- Our favourite cordless nailer
- Nails, wood glue (this one is our favourite)
- Table saw or circular saw with a blade that can be angled to 45 degrees. (If using a circular saw – a cutting guide will really help)
- Block plane
- Optional: this lovely indoor/outdoor fan and mounting hardware.
How to build a faux beam…
1) Select the right wood
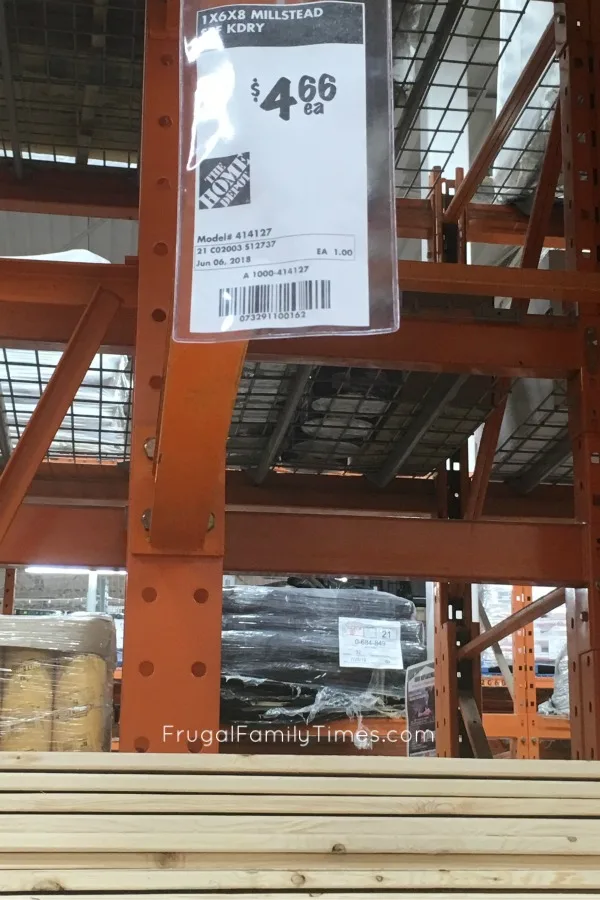
All the coolest looking spots on the beam were from ugly boards. They still need to be straight and you’ll need 3, so pick carefully.
If you need a run longer than 8-feet, you’ll be joining some together.
2) Cut the mitred edges
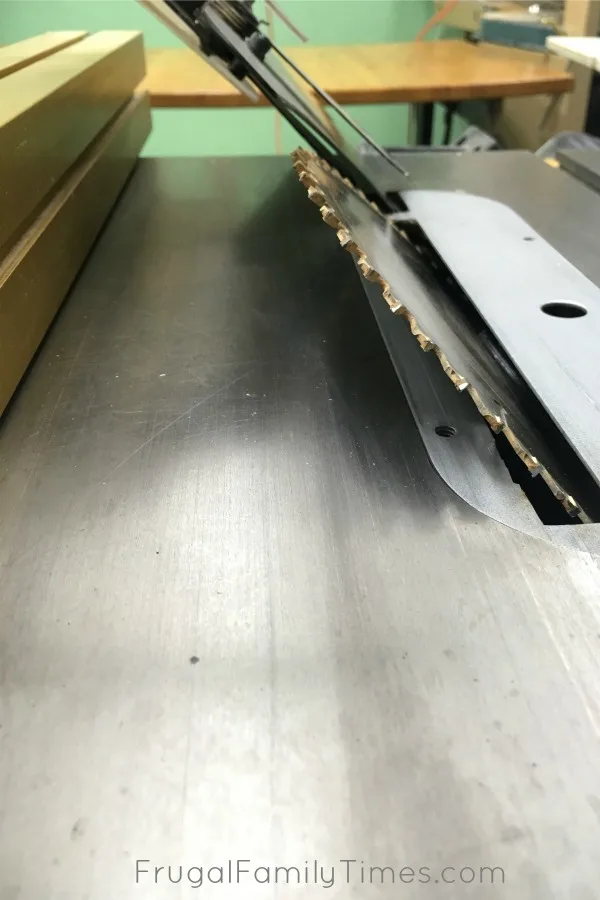
Don’t have a table saw? You can achieve these cuts with a circular saw where you can angle the blade to 45. You will need a very steady hand – a circular saw cutting guide would help a lot – but it’s doable.
Can you do with without the 45 degree cut? Totally. Your seam will show more and people will be less likely to believe it is a solid beam, but work with the tools you have.
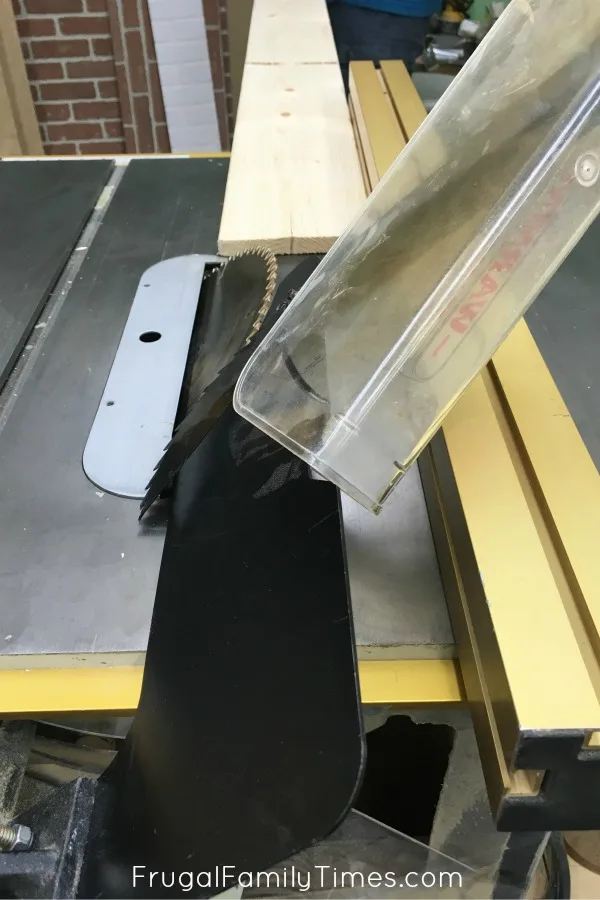
This is a two-person job, for sure. Use any fences/guides at your disposal to try and get the boards mitered as consistently as possible.
3) Build the faux beam box
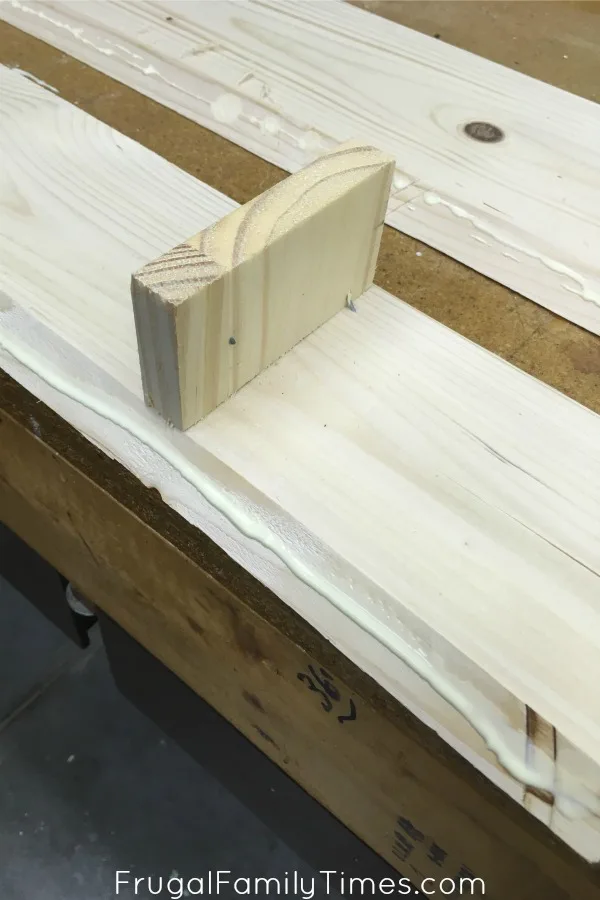
We just used scrap wood and spaced it evenly along the beam.
Glue and Nail.
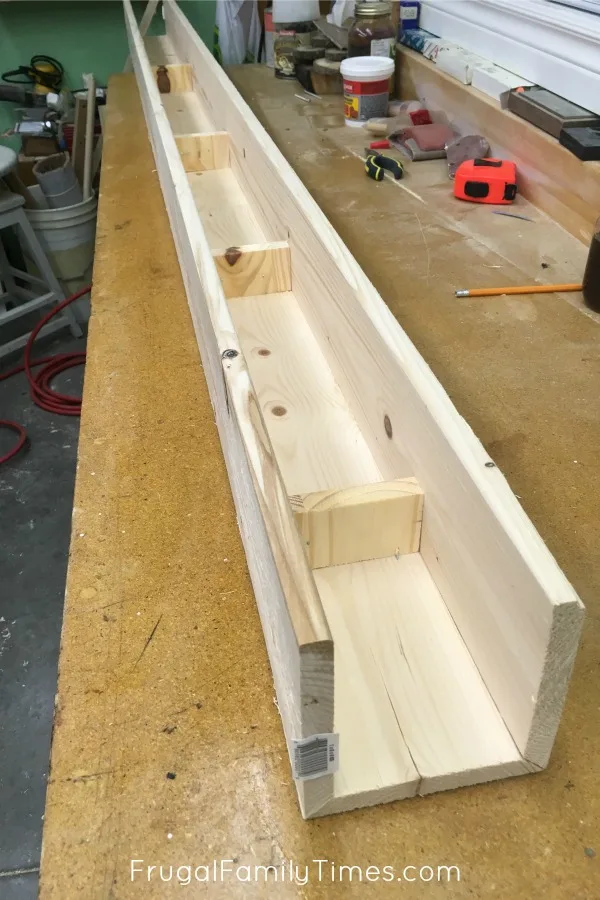
Have a look at all the seams and try and clamp/nail them closed wherever possible.
Use a damp paper towel to wipe up any wood glue that squeezes out.
4) Finish the faux beam edges
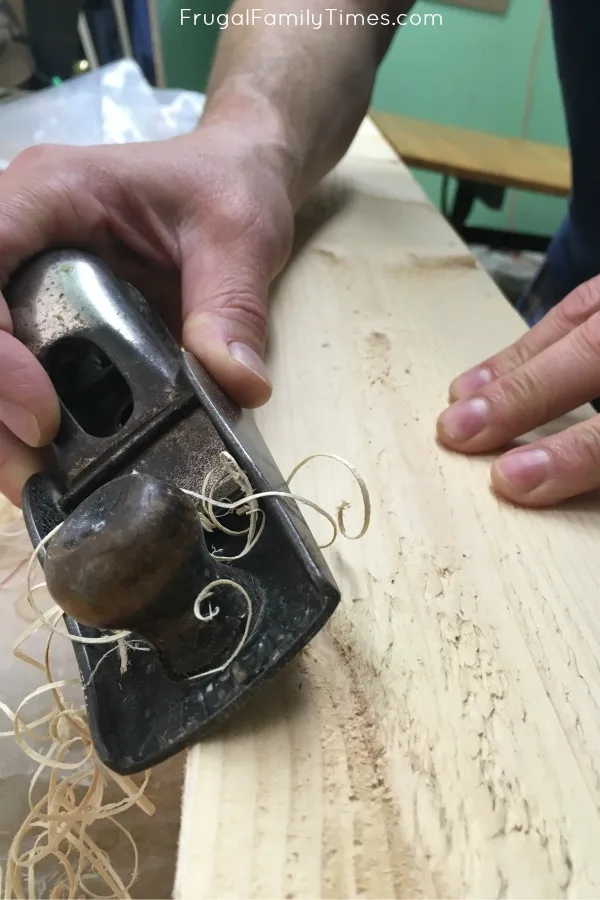
I used a block plane to round things over a bit, which has the added benefit of looking really cool in photos and making you feel like a pioneer.
5) Make the faux beam look like reclaimed wood
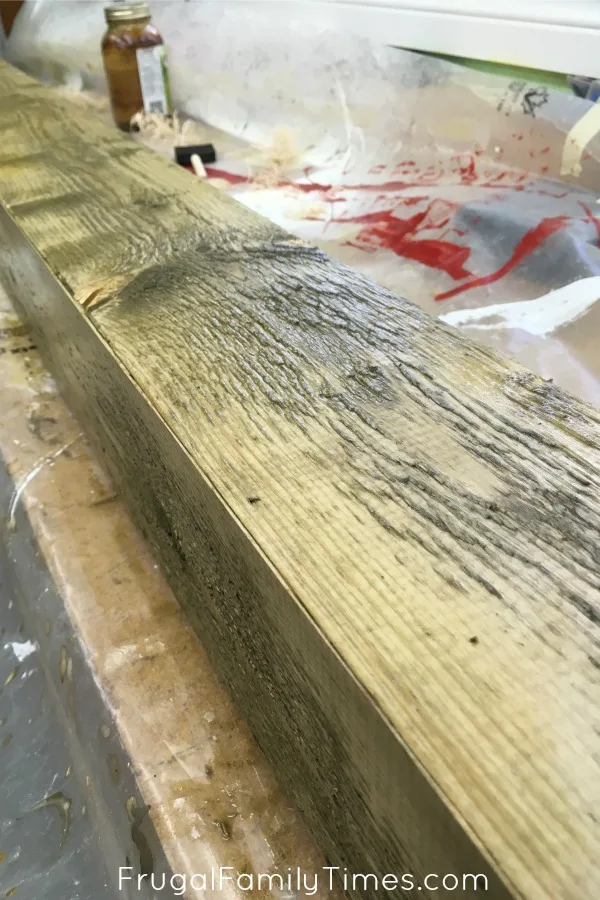
The one difference for this beam, vs the floating wood vanity in the tutorial, is that you want your beam to be rough, not sanded smooth. The rougher your beam is first the better the treatment will swell and darken.
6) Install the faux beam
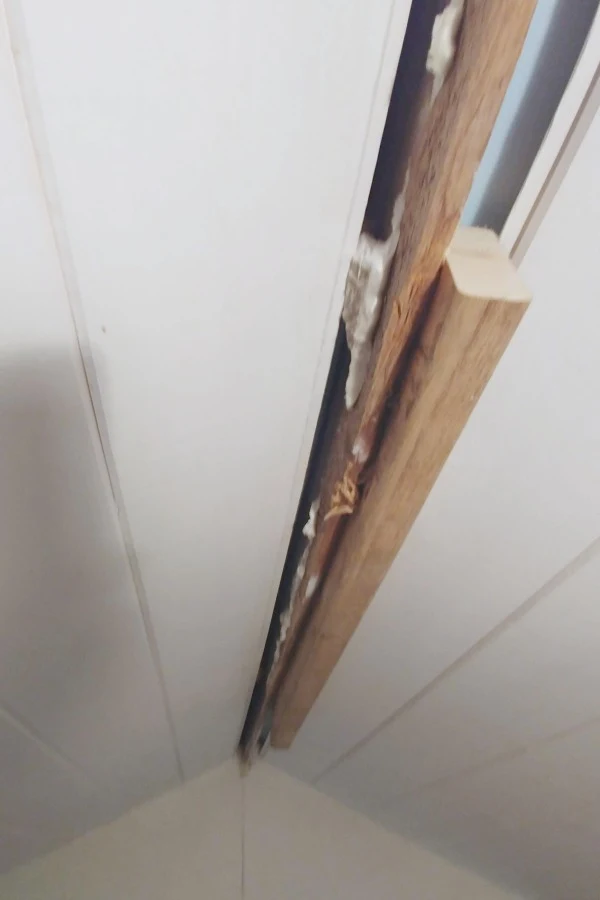
It isn’t structural, but you want to make it nice and secure so it looks solid and, you know, is strong enough to hang a fan on.
We added a piece of 2×4 to the rough lumber on our ceiling to create a secure attachment point.
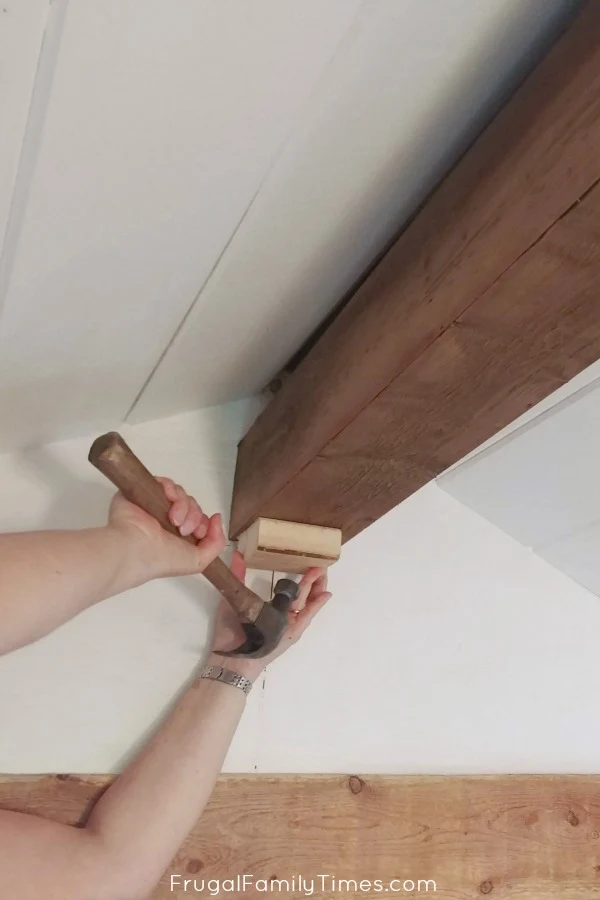
Nail in place. (Nails are easier to hide than screws.)
The antiquing reclaimed wood stain finish is only skin deep and any damage you do will reveal that is just fresh 1×6’s from Home Depot.


Ceiling Fan Rough In | Stunning Ceiling Design Ideas - Best Ceiling Decor & Painting
Wednesday 15th of July 2020
[…] Download Image More @ www.frugalfamilytimes.com […]
Steve Carter
Tuesday 13th of August 2019
Enjoyed reading about your faux wooden beam project. Did exactly the same construction details but distressed the beams further! "Imagination is the only limitation!
Process: Using a draw knife, I rounded the metered edges, using the hatchet, I made gauges randomly along the flat sides. Using a ball pean hammer I hit the flat edges with the ball end to make dents. Using a scratch awl, I scratched long cracks randomly along the flat edges, A 16 penny nail was used to make worm holes by hitting the side of the nail head. I used random drill bits to add random holes all over the beam. I used a short chain for randomly adding marks on the beams. I used a belt sander with 60-80 grit paper to smooth the rough edges. All of this to distress the beams prior to staining the beams. Use you imagination!!
After all of this, the final beams looked like very old reclaimed cabin beams.
I would post photos, but that project was about 35 years ago! But I found your post because we are about to do six 14 ft. beams again in our latest home in Magnolia De.
"Lazy Dog"
Brian Cro
Friday 20th of January 2023
@Steve Carter,
Hey Steve - Liked your tip on distressing the wood. I have a similar project to yours coming up...only it's five 14' hanging beams that I need to wrap.
How did your job go? Any tips...starting where to pick up some 14' x 1" x 8" pine boards?
Let me know. Thx. Brian (bvcronin@yahoo.com)
Cindy
Thursday 13th of September 2018
That came out really nice. (We are in 'the middle' of evicting rodent tenants in our bunkie, too. My husband has pulled down half of the ceiling insulation but the other half has been put off for fun summer activities) I'm looking forward to see the rest of your bunkie. That fan is awesome, btw
frugalfamilytimes
Thursday 13th of September 2018
Thank you!!!I've never had to deal with rodents until we got this place! Yuck. They're such a pain. We even needed to open up walls in the mobile home to stop them. But two years now and we're mouse free in there! Hoping we did well on the bunkie evictions.