


We may earn a commission on purchases made after clicking links on this page.
Intro by Robin Steps by Ed
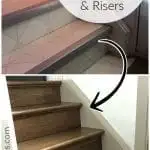
In Part 1 of this Stairs Makeover series, we shared the reasons we chose to cover our steps with hardwood stair treads – and we outlined some other choices you may want to consider to upgrade your own steps.

Before attaching stair treads it’s best to stain and finish them – this post discusses all of that too.
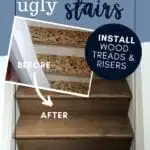
The point we’re at here is the install. Is it hard to install wood stair treads and risers? Not especially, but there is one tricky part. Our tutorial will help you learn how to install wood treads and be successful!
What is the cost to install stair treads and risers?
For how beautiful they look, you’d think they were really expensive. At least a few hundred, right?
Nope! This is actually a pretty affordable way to upgrade your stairs. Here’s a cost breakdown:
- Stair Tread and Riser Kit
- We waited for a sale and bought them all for less than $30 each (We used 4 sets.)
- If you’re going to do a painted riser vs. exposed wood – you can just buy the tread and use a cheaper material for the riser.
- Stain – approx $10 (we used the rest for the other run of stairs)
- Our new favourite matte floor finish – $40 a can (We had plenty left for the rest of the stairs and other projects too. I will just allocate 1/4 the cost to this part of the project.)
- Construction adhesive – $5
- Total: $145
Was it cheap? No. But cheap is never what we’re after with our projects. I hope you’re not either. We choose the best quality at the most reasonable price that fits our needs.
Hardwood Stair Tread Install Materials:
- Oak Tread and Riser cover kits – 1 per stair that you will be doing.
- Oak tread and riser kit (USA)
- Canada: We used this one
- Drill
- Screws
- Construction Adhesive
- Circular Saw
- Reciprocating Saw
- Oscillating multi-tool
- Electric Nailer -optional – (we swear by this one!)
- Piece of flooring to bridge the small gap between your floor and stairs after you’re done
Start here ⇒ Part 1: Preparing and staining stair treads
- Measure and cut your treads and risers
- Colour match and stain the wood, and
- Apply the recommended coats of polyurethane.
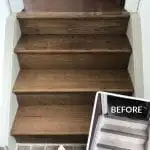
Part 2: How to Install Wood Treads
Step 1: Remove the old stair tread material (i.e. carpet, vinyl, etc.)


Your stair tread will only be as secure as your least adhered layer – pull off everything if you can.
Step 2: Trim the plywood stair tread to size.


This will allow you to cut it off and ensure a clean fit for your new tread


Note: always use two hands on your reciprocating saw – unless you are very strong and talented like me. 😉 (I’m totally faking this for the photo.)
Step 3: Start Attaching the Stair Treads.

Use a generous amount of construction adhesive under each tread and riser.
Then screw from the back to secure. Verify that your screws are long enough to secure everything, BUT – not so long that they go all the way through and pop out the finished oak surface(!)
You can also use nails in spots that will be hidden like the top edge.


Any parts that need a gentle nudge into place should be protected.
Here I use a piece of softwood trim to cushion the blow as I pop a riser in place.


Proceed up your stairs repeating this.
While screwing each tread down, it helps to have someone come and stand on it. No squeaky treads for you!


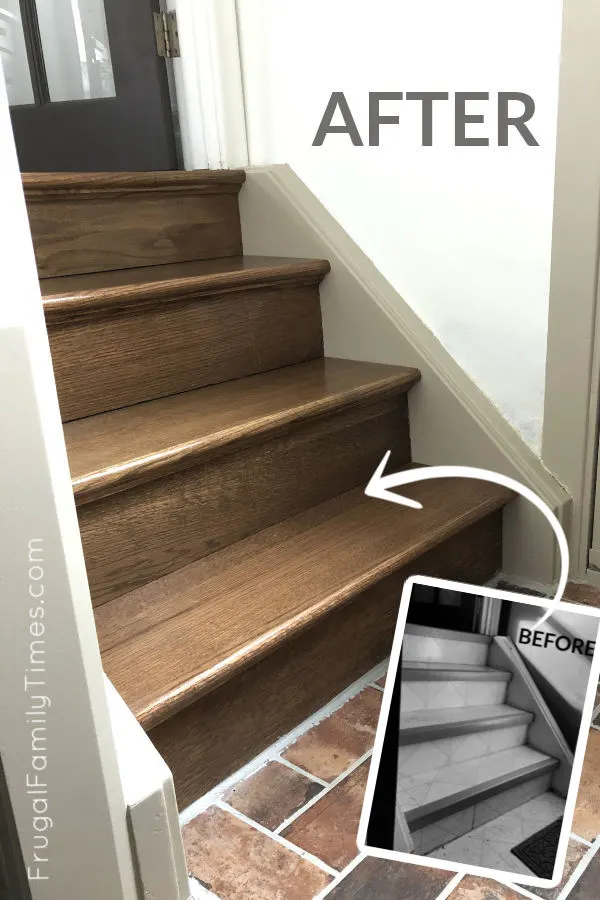
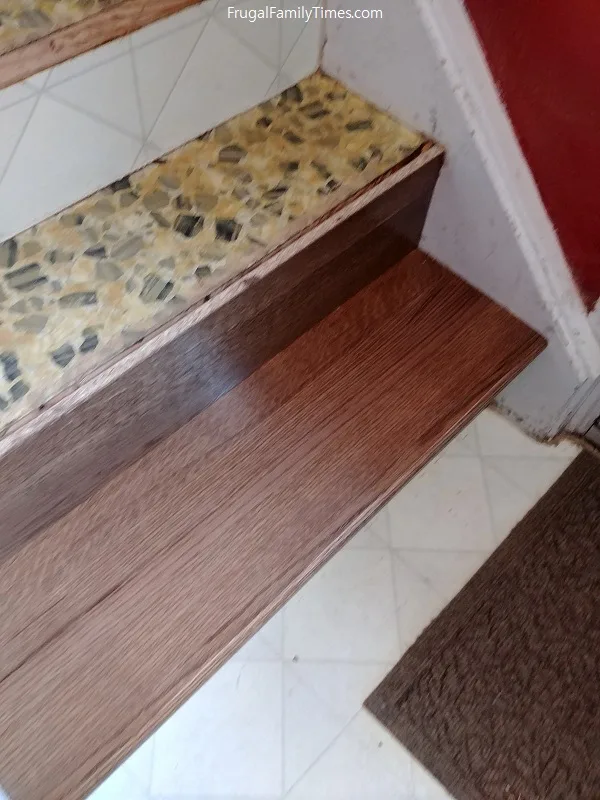
Step 4: The Tricky Part – Where the top floor and stairs meet.
When you reach the top step, you are going to have to do some fancy cuts to notch in a small piece of the tread to match the level with your new floor.
Rather than just do a nosing, we wanted a couple of inches of tread that would be anchored securely and stand up to traffic flow.


I used a circular saw to do the main cuts and a multi-tool to finish the end cuts.


We added the riser to the face of this and you can see in the next photo that this makes a nice big place to secure the tread.


Lastly, the space between the luxury vinyl plank (LVP) floor and the tread will get filled with a 1-inch piece of LVP that I will rip to size and glue down after all the stair tread things are done.


The nosing was cut to 2.5-inches of tread to fit in our groove.


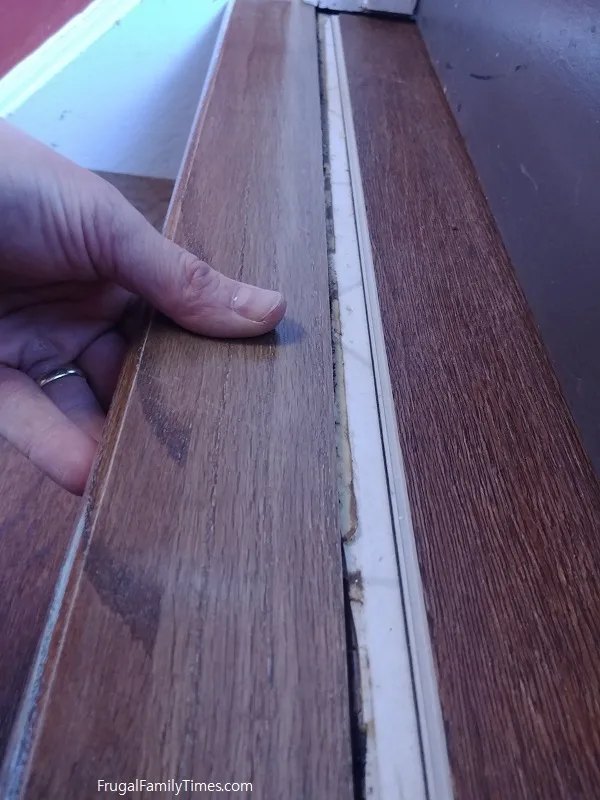
Between that and the construction adhesive, it is locked in pretty tightly.
You can fire some nails or a couple of well-placed screws into yours if you don’t have anything else that will secure it.


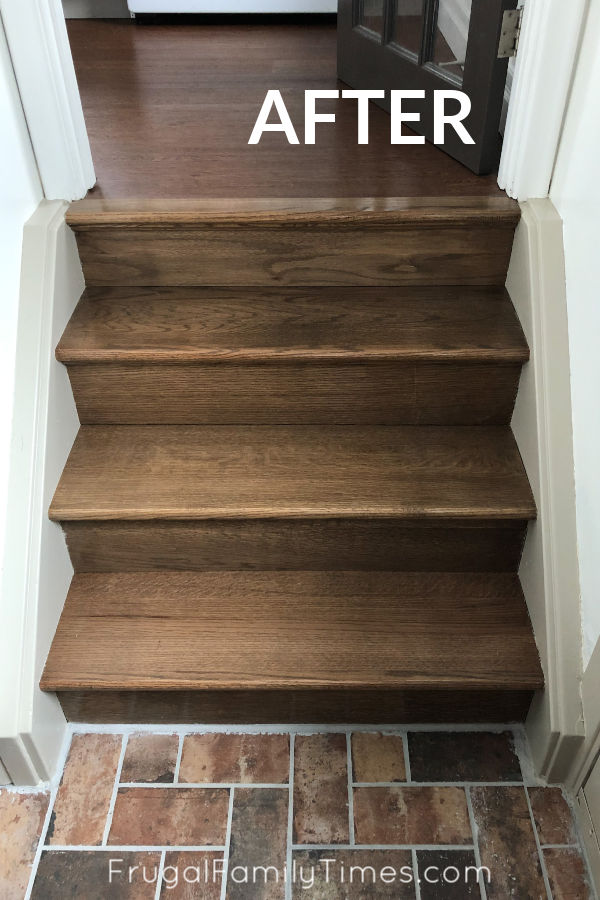
And yes, all the dinged up, ugly moulding gets a coat of paint on it because an awesome new floor like this deserves to look its best!
More in our Mudroom Makeover:

- How we carved out space for a tiny but super functional built-in mudroom in this small landing – we’ve got tips on how you can find potential storage too!
- Our Mudroom Flooring: DIY Brick Tile in Herringbone Pattern
- The coolest DIY industrial look stairs ever: our DIY Copper Stair Risers project! (We are totally NOT humble about this one.)
This project is one of many in our Basement Makeover – you can see all the progress and DIY tutorials here!


Robin and Ed are a DIY-loving couple with over 25 years of design and build experience. Also, Robin is a Nutritionist and former Registered Dietitian and Ed is an award-winning Business Educator. We share strategies for living a rich life on a DIY budget: creative money-savvy ideas for a stylish home, healthy meals and family fun. Our work has been published in the pages of Do It Yourself, Farmhouse Style and Better Homes & Gardens magazines.
Sarah
Friday 14th of March 2025
Can I ask what stain colour this is? as it looks like it would match our existing stairs and I am hoping to do our downstairs to match.
Robin & Ed Hicken
Monday 17th of March 2025
Hi Sarah! We custom blended this stain and you can find all the details here: https://www.frugalfamilytimes.com/2020/02/staining-stair-treads/
Caleb
Friday 24th of February 2023
Hello. What was your paint color for the staircase skirt??
frugalfamilytimes
Sunday 12th of March 2023
Hi Caleb! It’s Loggia from Sherwin Williams. It’s a gorgeous colour! :)
Brenda Wolfe
Wednesday 1st of July 2020
Our threads R short (81/2") the 13 stairs are very steep. I read they should be 11" ...by extending the threads will they be less steep? Trying to sell our home and that is a bone of contention.
frugalfamilytimes
Friday 3rd of July 2020
Sorry, Brenda - they will still be steep. Making the treads bigger will not change the angle of the steps. A larger tread may make climbing them a bit more comfortable?