Easy DIY Computer Desk Plans to Build a Modern Wood PC Work or Gaming Station

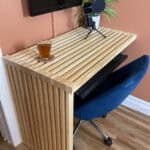


Welcome! You’ve found the DIY computer desk plans to build our unique modern wood computer desk / gaming station. They were easy and fast to make: we built, finished and installed both in one afternoon! Keep reading to learn how to build your own desk with our step by step tutorial…
A few days ago we revealed our DIY Home Office Music Room. It was a much-needed, but bittersweet, transition from our children’s playroom to our new multifunctional space.
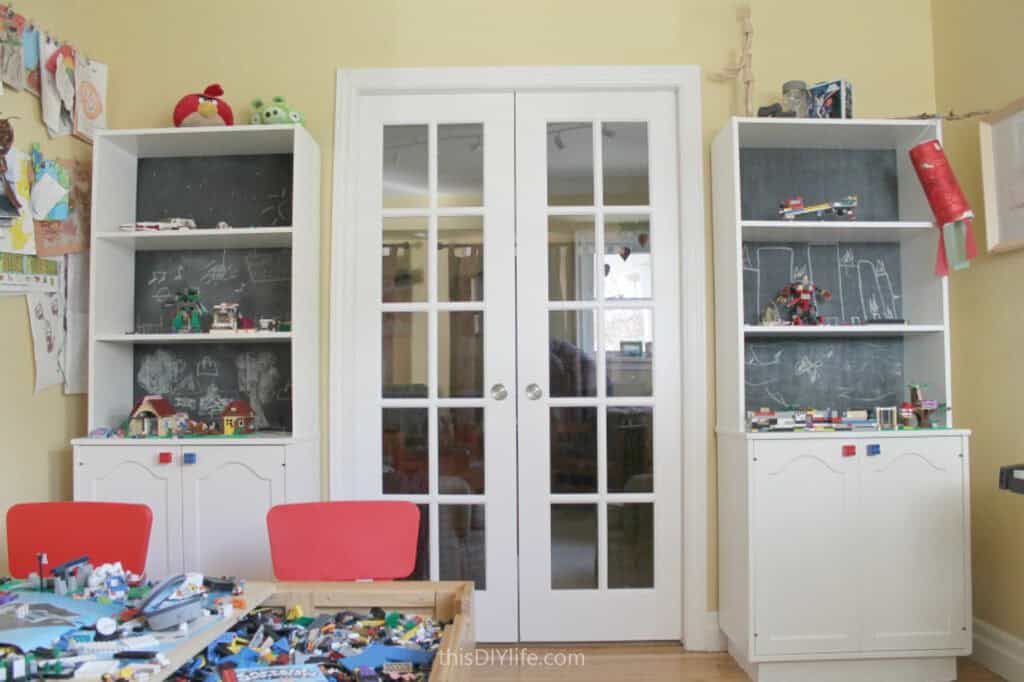
Our old playroom featured some DIY projects: flanking the doors were the Interactive Lego Display and Craft Storage Cabinets we upcycled. Notice the super cute DIY Lego Cabinet Knobs?
But our kids grew up and away from what our playroom provided. It was time to change this room into something that met their new interests: game design/playing and music.
Today we are sharing the details of one of the DIY projects: their custom desks for their gaming PCs. (And sometimes these get used for homework 😂.)

Two stylish matching gaming stations that were affordable and easy to build!
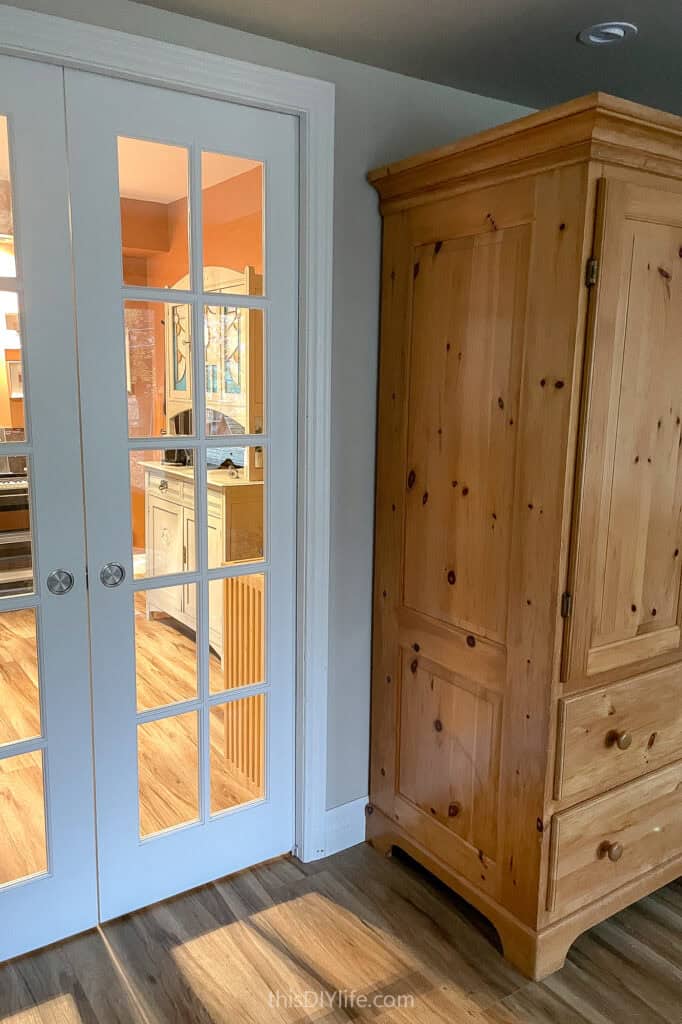
One of my goals was to have these computer desks be as invisible as possible from the adjoining room. We wanted them small and tucked away.
Sucess!
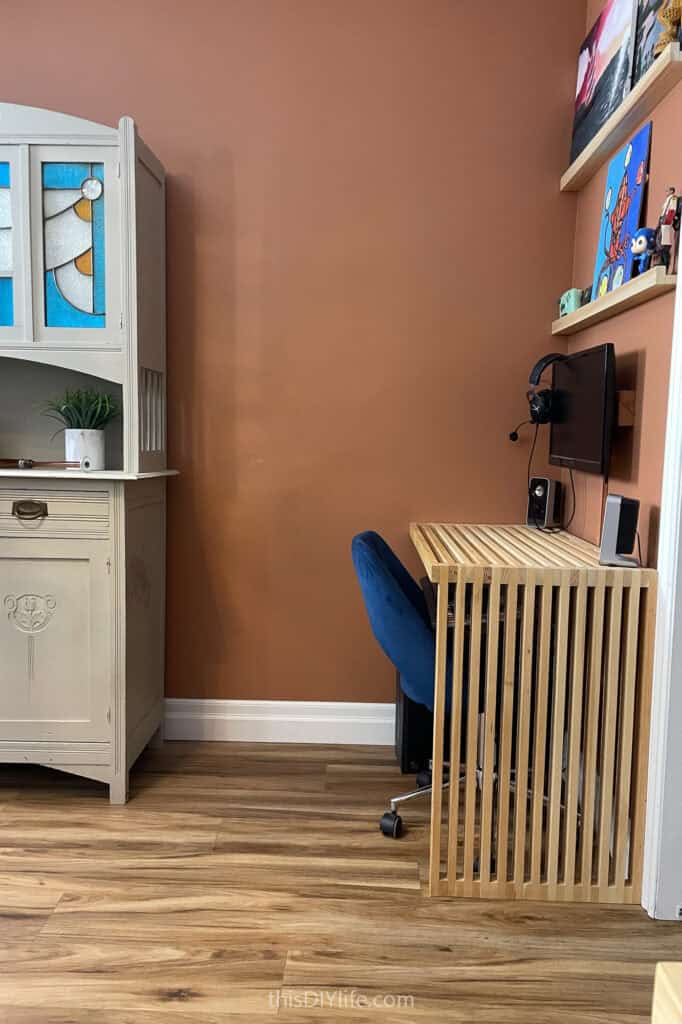
Another benefit of these DIY desks? They are VERY simple and fast to build. Both of these were built, finished and installed in one afternoon!
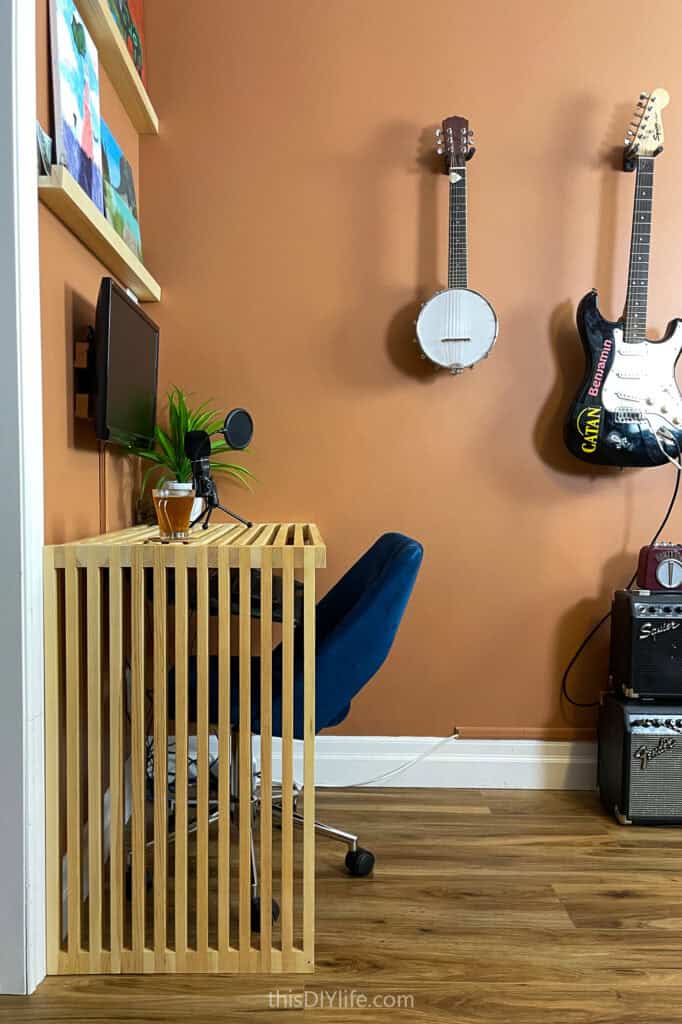
You just need coasters under drinks and perhaps a binder or hardcover under paper.
We’ve added our own design to this collection of 20+ Unique Home Office Desk Ideas You Can DIY. Check that roundup out if you need more inspiration!

How to Build a DIY Computer Desk with Modern Style: DIY Computer Desk Plans
Materials
- We chose this pull-out computer keyboard and mouse tray – (good width, adjustable)
- 1X2X8 select pine (whitewood) – “select” is important because any knots or imperfections will make the desk look shoddy
- sander and sandpaper
- wood glue
- finishing nails
- brackets
- our favourite matte finish
- clamps
Steps for Building a Computer Desk with Style!
1. First, as always, make a plan.
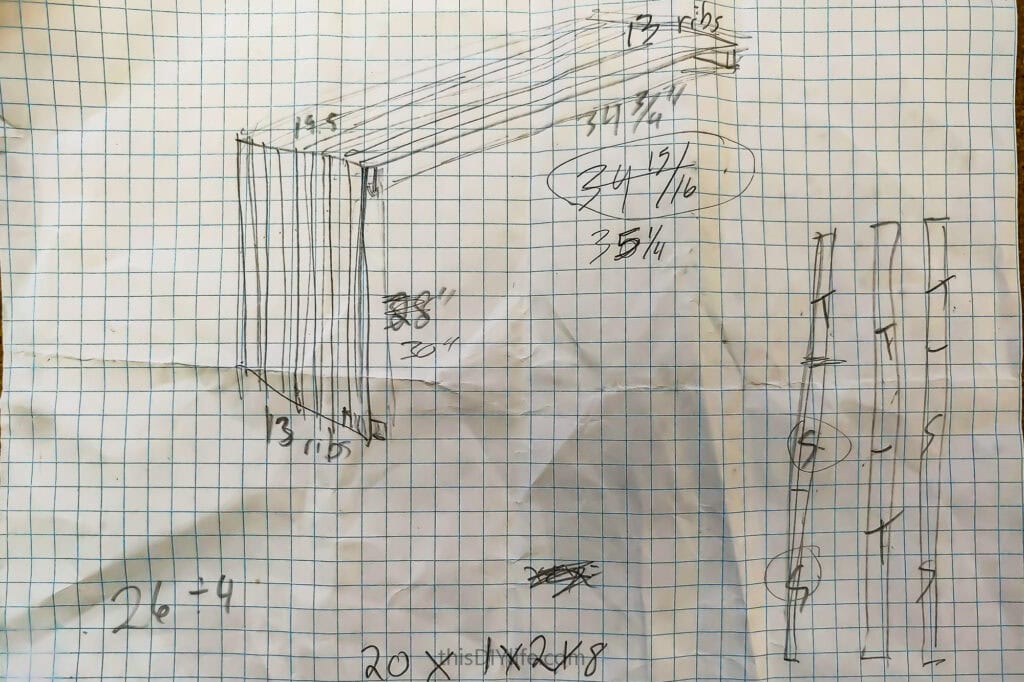
Be sure to account for the keyboard tray if you plan on under-mounting it like we did (see below).
I also like to plan out my cuts and see just how many pieces I can get out of the stock 8′ material.
I calculated how many tops (T) and sides (S) I could get out of each 1″X2″X8′ (3 pieces gave me 4 sides and 4 tops, plus offcuts to make the filler pieces). To make 2 desks (26 sides and 26 tops total), we needed 20 pieces of 1″x2″x8′.
2. Choose your wood.
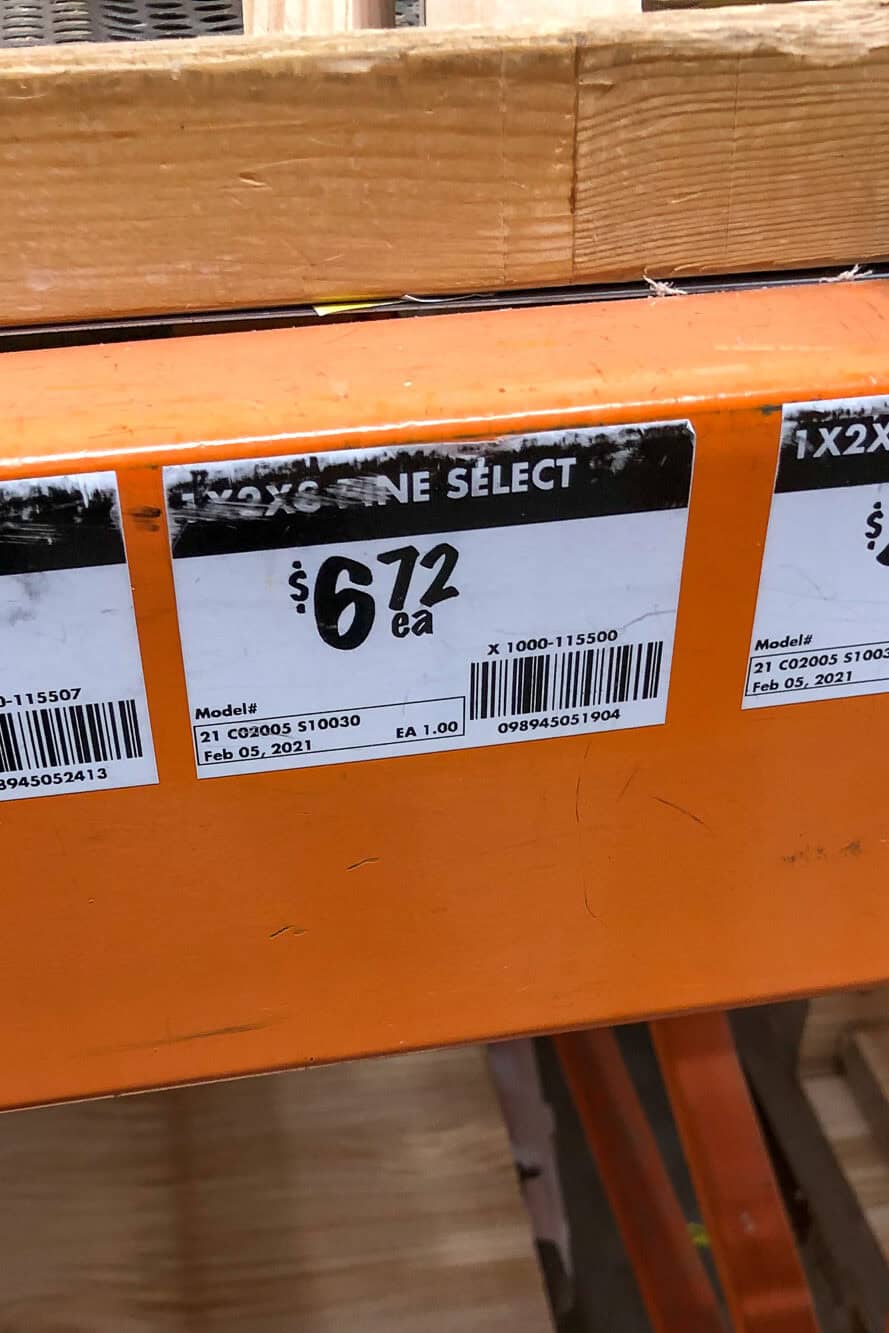
We found that much thicker and the gaps between got too wide to feel like a comfortable desk and much thinner and the desk began to feel fragile.
As we said above, go for select or something with a minimum of knots and imperfections, as they will impact both appearance and strength.
Try and select pieces with minimum warping, curving, twisting etc, as it will save you many headaches in assembly as well.
3. Next, sand.

Once assembled, it is challenging/impossible to get between the desk slats and you will wish you cleaned them up first.
I clamped 10 pieces together and sanded them all at once, turning them over and reclamping till I had each side done.
4. Make your cuts.

I used the 2″ width of the material as my guide for how big to cut the fillers. Sand the ends of all the pieces.
5. Prepare to assemble the desk.
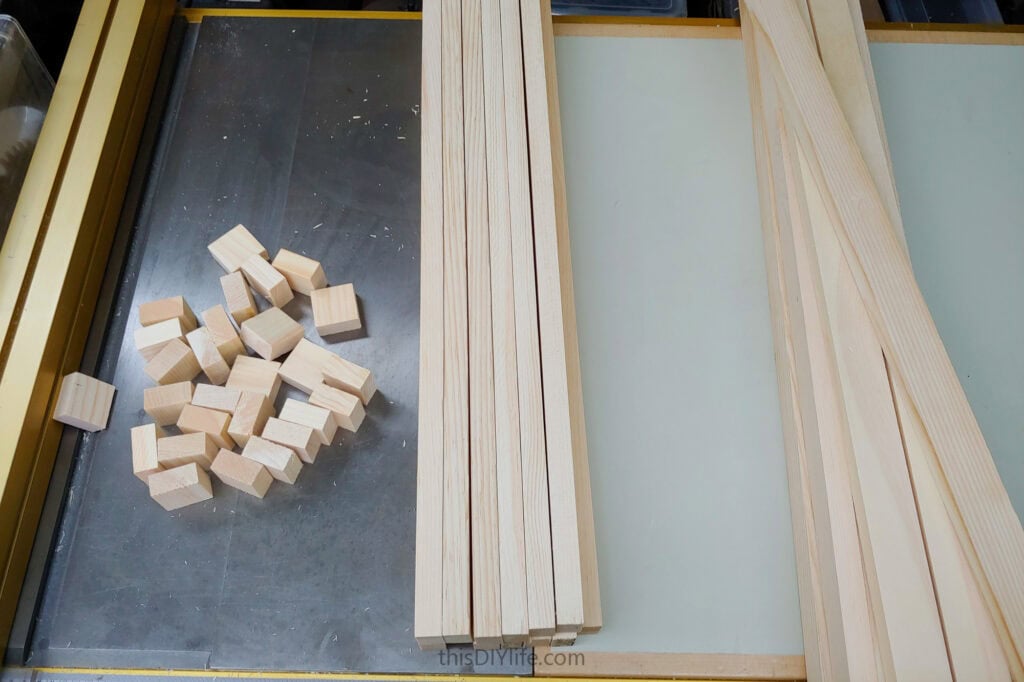
You’ll need as many spacers as you have tops AND sides, as they need to go on the ends of each.
Do a count now and avoid having to stop your project midway through to cut more.
6. Next step Assemble Computer Desk
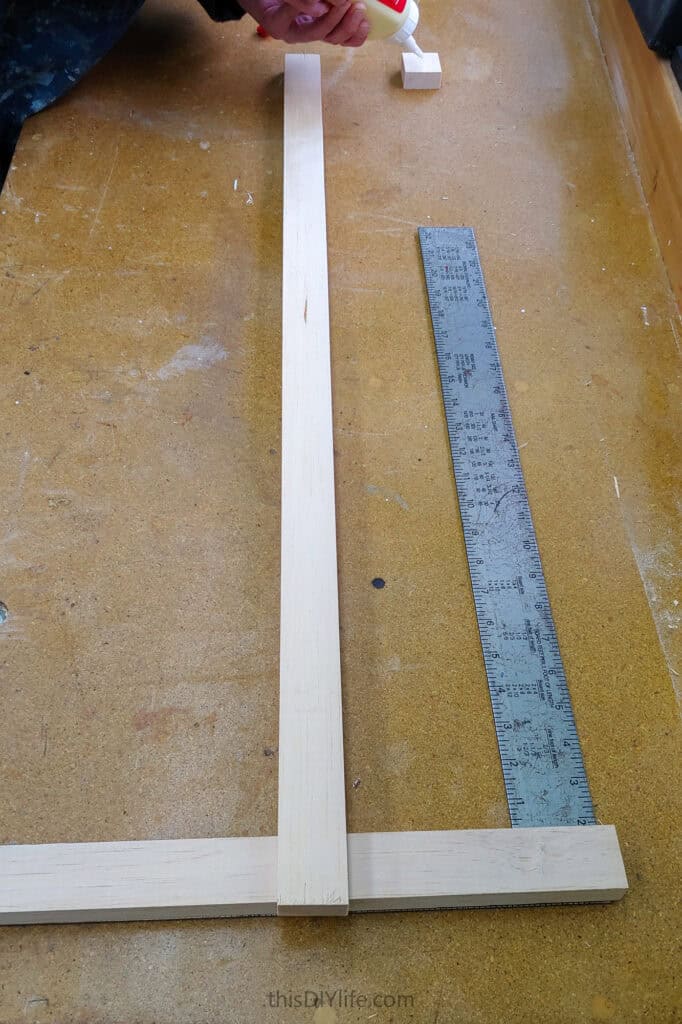
Use a large framing square or some other 90-degree measure (the wall and your workbench, maybe?) to get the first pieces lined up correctly.
Start with a spacer block and a Side, add glue and then place a Top on.
Take your time to make sure it is perfectly 90-degrees to the side; this will dictate the rest of your desk, so a mistake here carries on through the whole project.
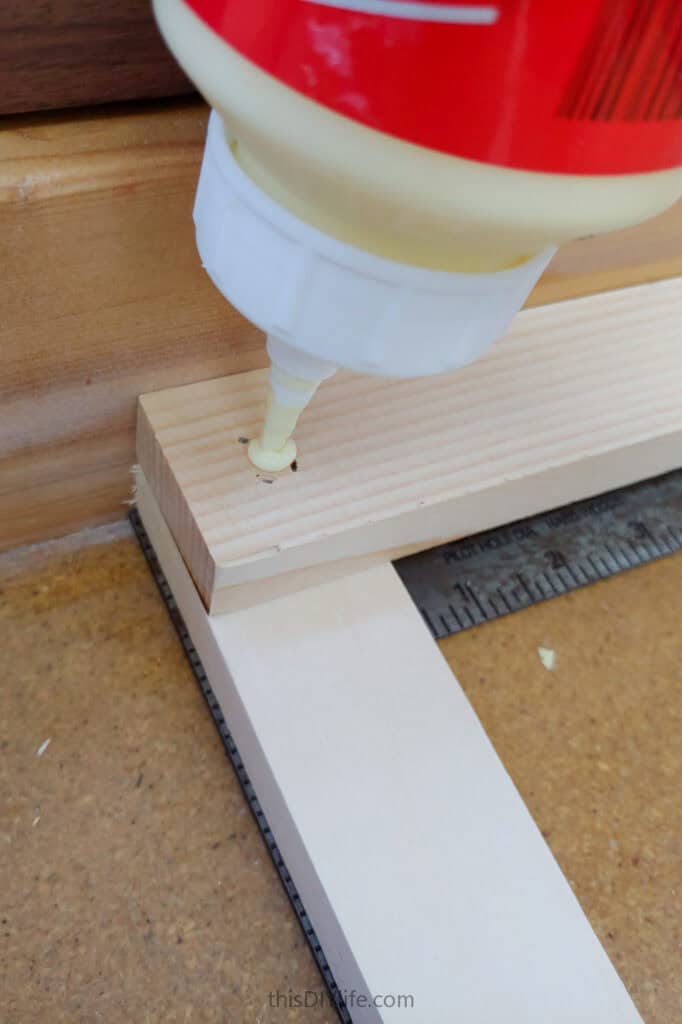
When you have only glue in, you can still make some adjustments before you shoot in some nails (next step).
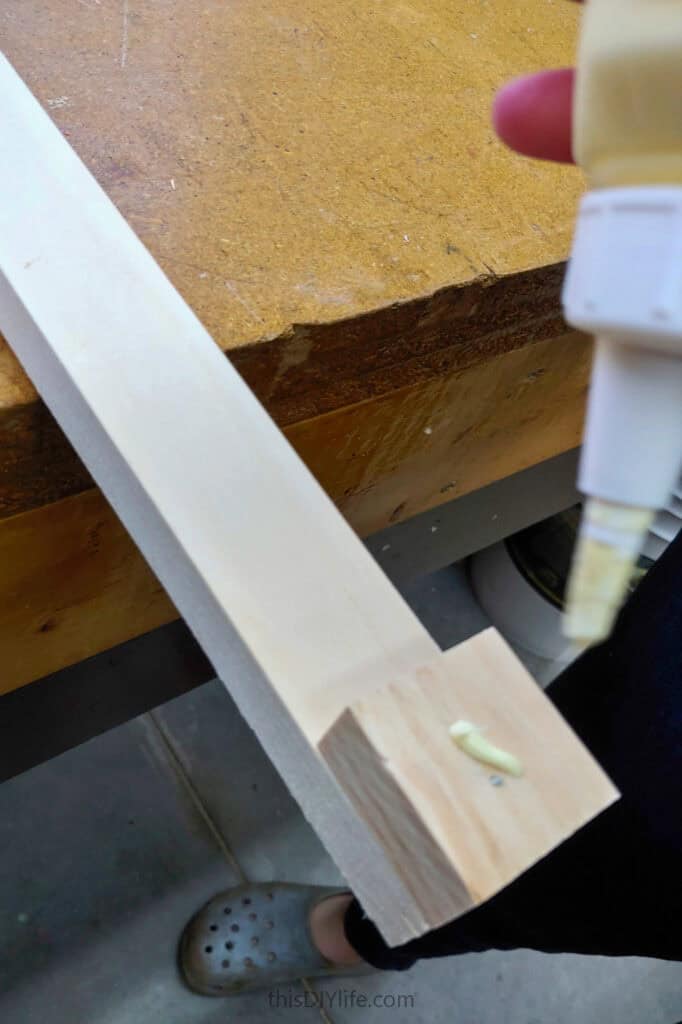
Try your best to keep them lined up, but they are less crucial than the top-side connection.
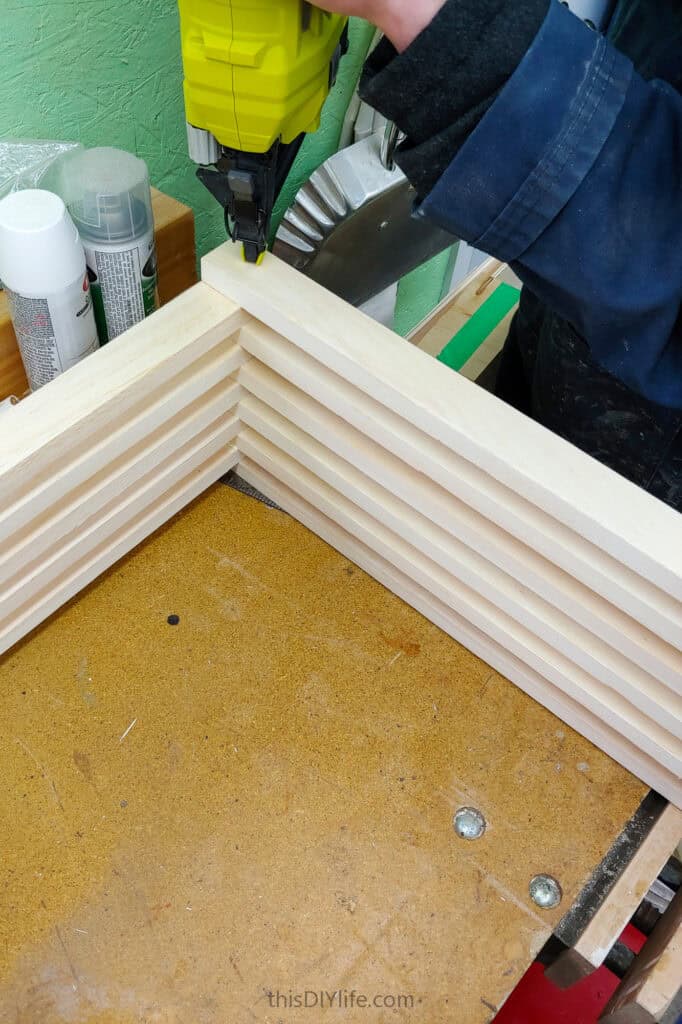
Take care to keep things lined up.
It actually goes pretty fast, even when you are being selective and thoughtful in your assembly, so don’t rush.

3-4 more layers to go!
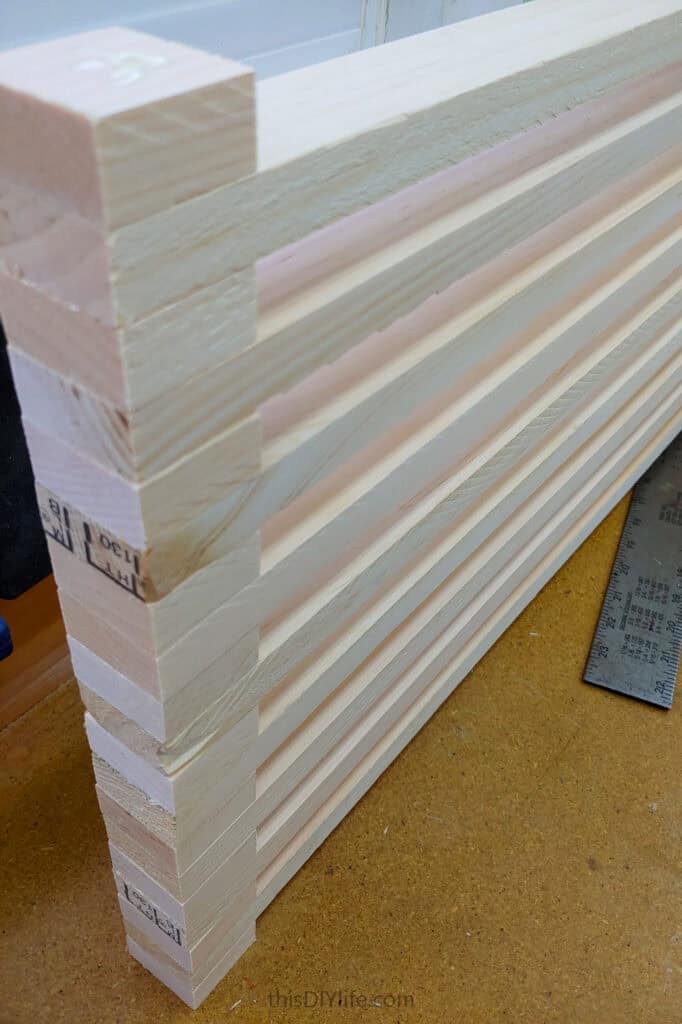
You’ll see the occasional piece slightly less than perfect, but don’t worry – finish sanding will fix that!
7. Clamp and let the glue dry.
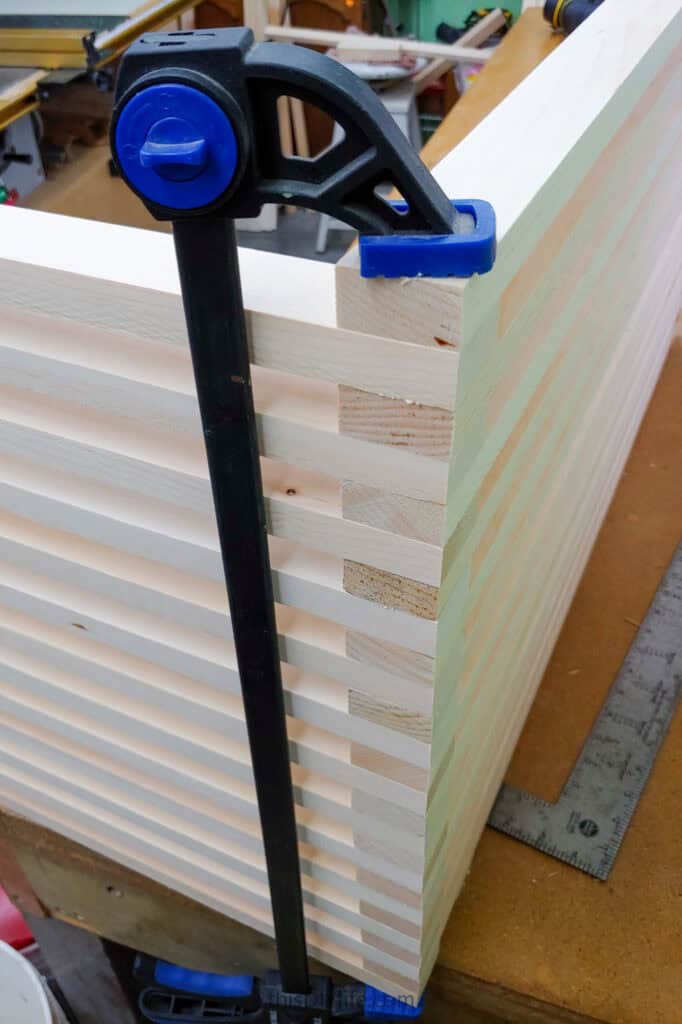
Try to make sure the last, face layer that you add is either just glued (so no nails show) or held on with just a single, well-placed nail.
8. Finishing sand.
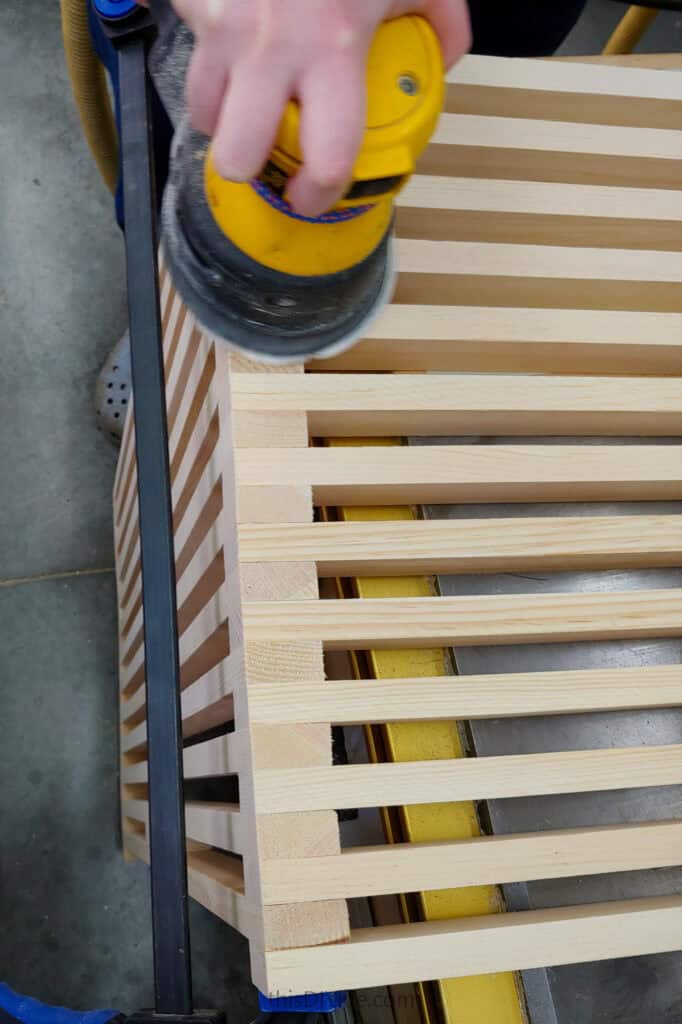
This will clean up any minor pieces that are sticking out slightly(especially on the filler squares).
I left my pieces clamped on the off-chance my sander accidentally pushed two pieces apart.
9. Consider how your keyboard tray will attach – add another filler piece.
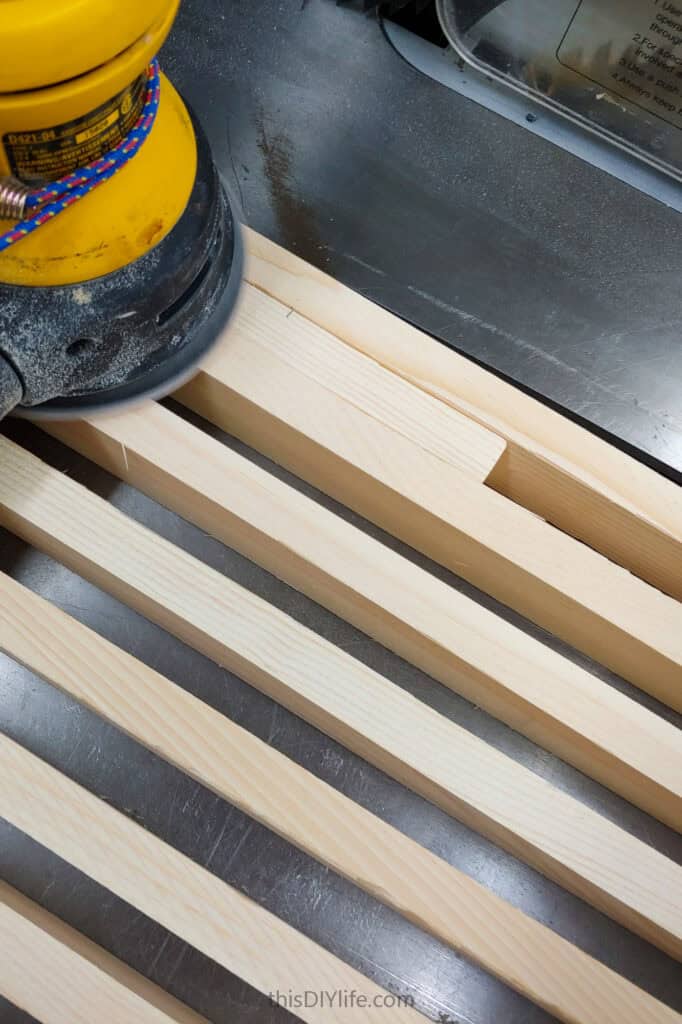
Since every tray and space is different, test-fit your tray on your desk before installation and add in any other support pieces needed. Glue/nail/clamp/sand.
10. Finish.
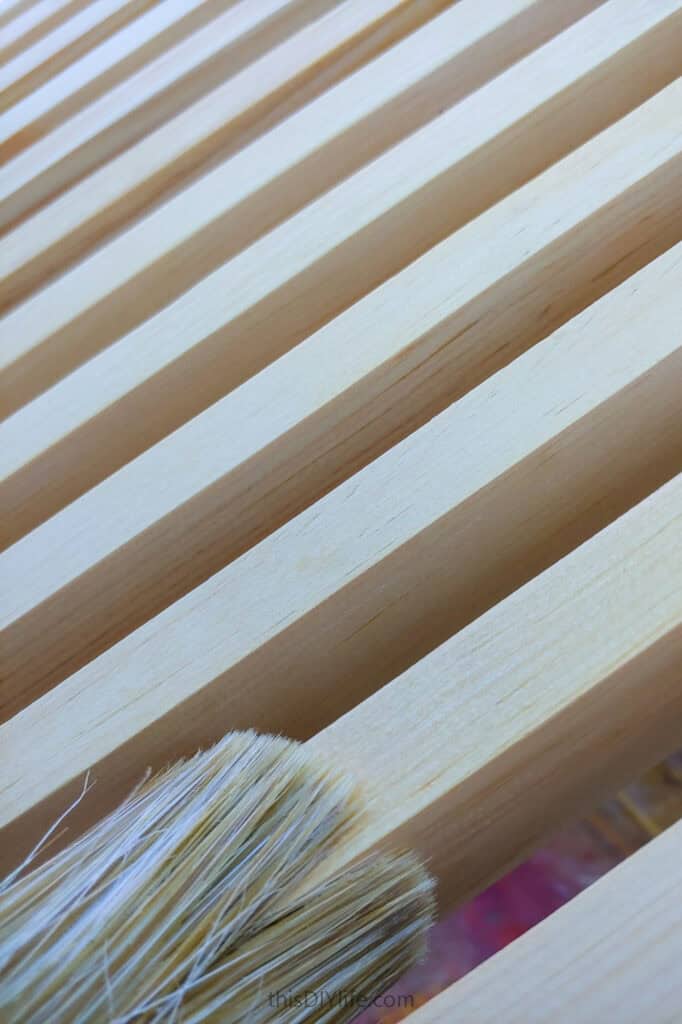
We love this matte polyurethane as it is practically bulletproof (our back landing stairs are still perfect after several years of dog claws and wet shoes). We also wanted a clearcoat look, so that made it perfect.
Getting between all those slats is tedious. Take your time and do at least two coats to ensure coverage.
11. Attach the keyboard tray.
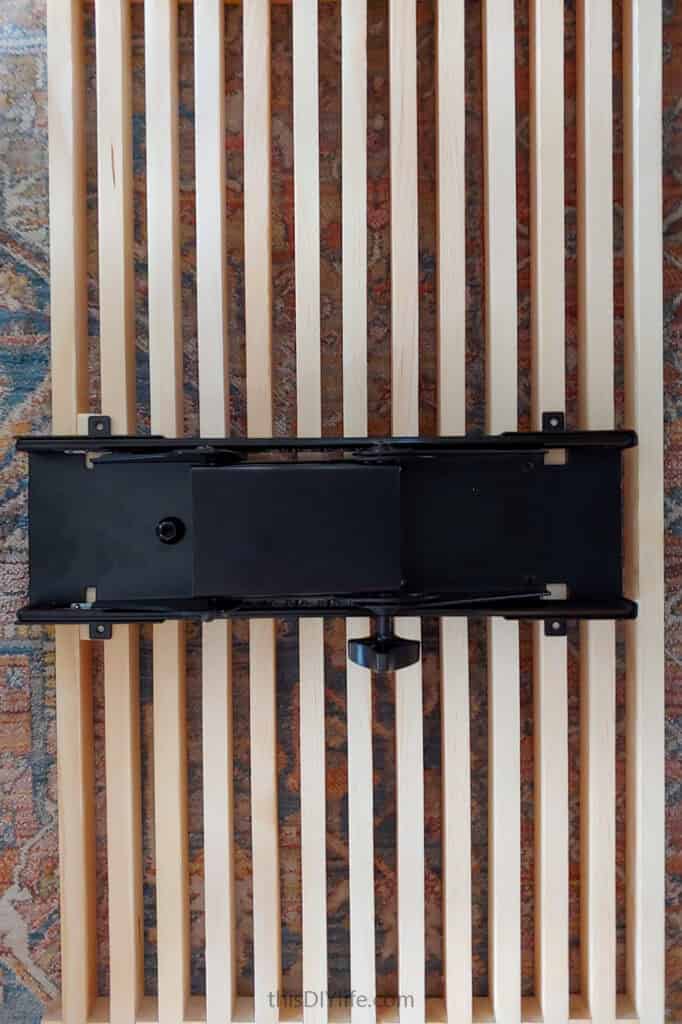
You can then remove it temporarily while you install the desk, knowing the holes will be there when you need them.
12. Install.
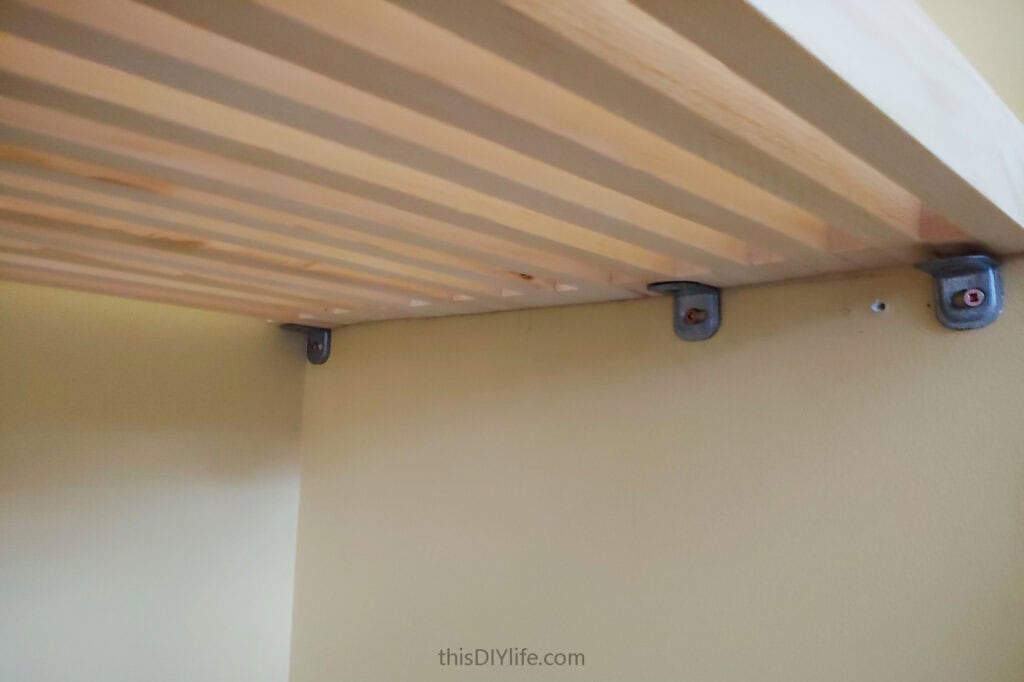
Hit at least one stud with a screw and your wall connection will be solid.
We also used a single screw into the baseboard on the side/leg, angled from the inside of the desk to stay hidden while still providing an additional point to secure the desk in place. Done!
Check out all of our DIY Home Office Music Room Projects:
- Overview and sources of our Home Office Music Room
- The simplest DIY art ledges ever (coming soon!)
- Affordable DIY computer wall mounts (coming soon!)
- Our DIY keyboard stand and bench seat – with just 2X4s (coming soon!)
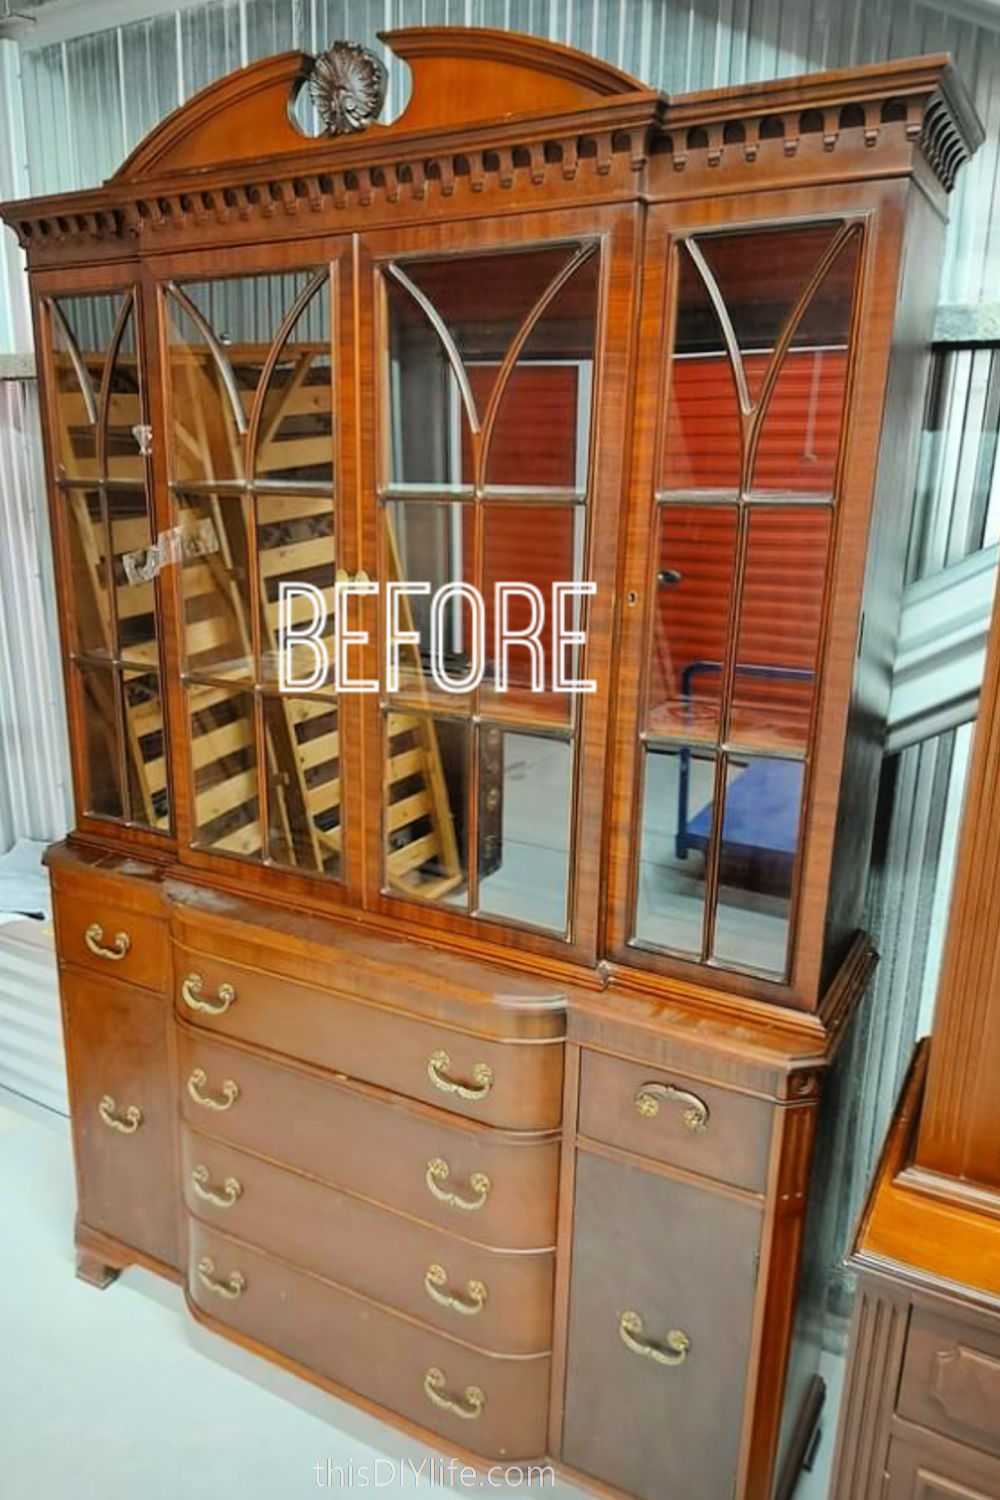
- How we scored this beautiful antique hutch for free – and made it look and smell better (coming soon!)

Robin and Ed are a DIY-loving couple with over 25 years of design and build experience. Also, Robin is a Nutritionist and former Registered Dietitian and Ed is an award-winning Business Educator. We share strategies for living a rich life on a DIY budget: creative money-savvy ideas for a stylish home, healthy meals and family fun. Our work has been published in the pages of Do It Yourself, Farmhouse Style and Better Homes & Gardens magazines.