Mudroom flooring ~ DIY Herringbone Brick Tile Floor
by Ed
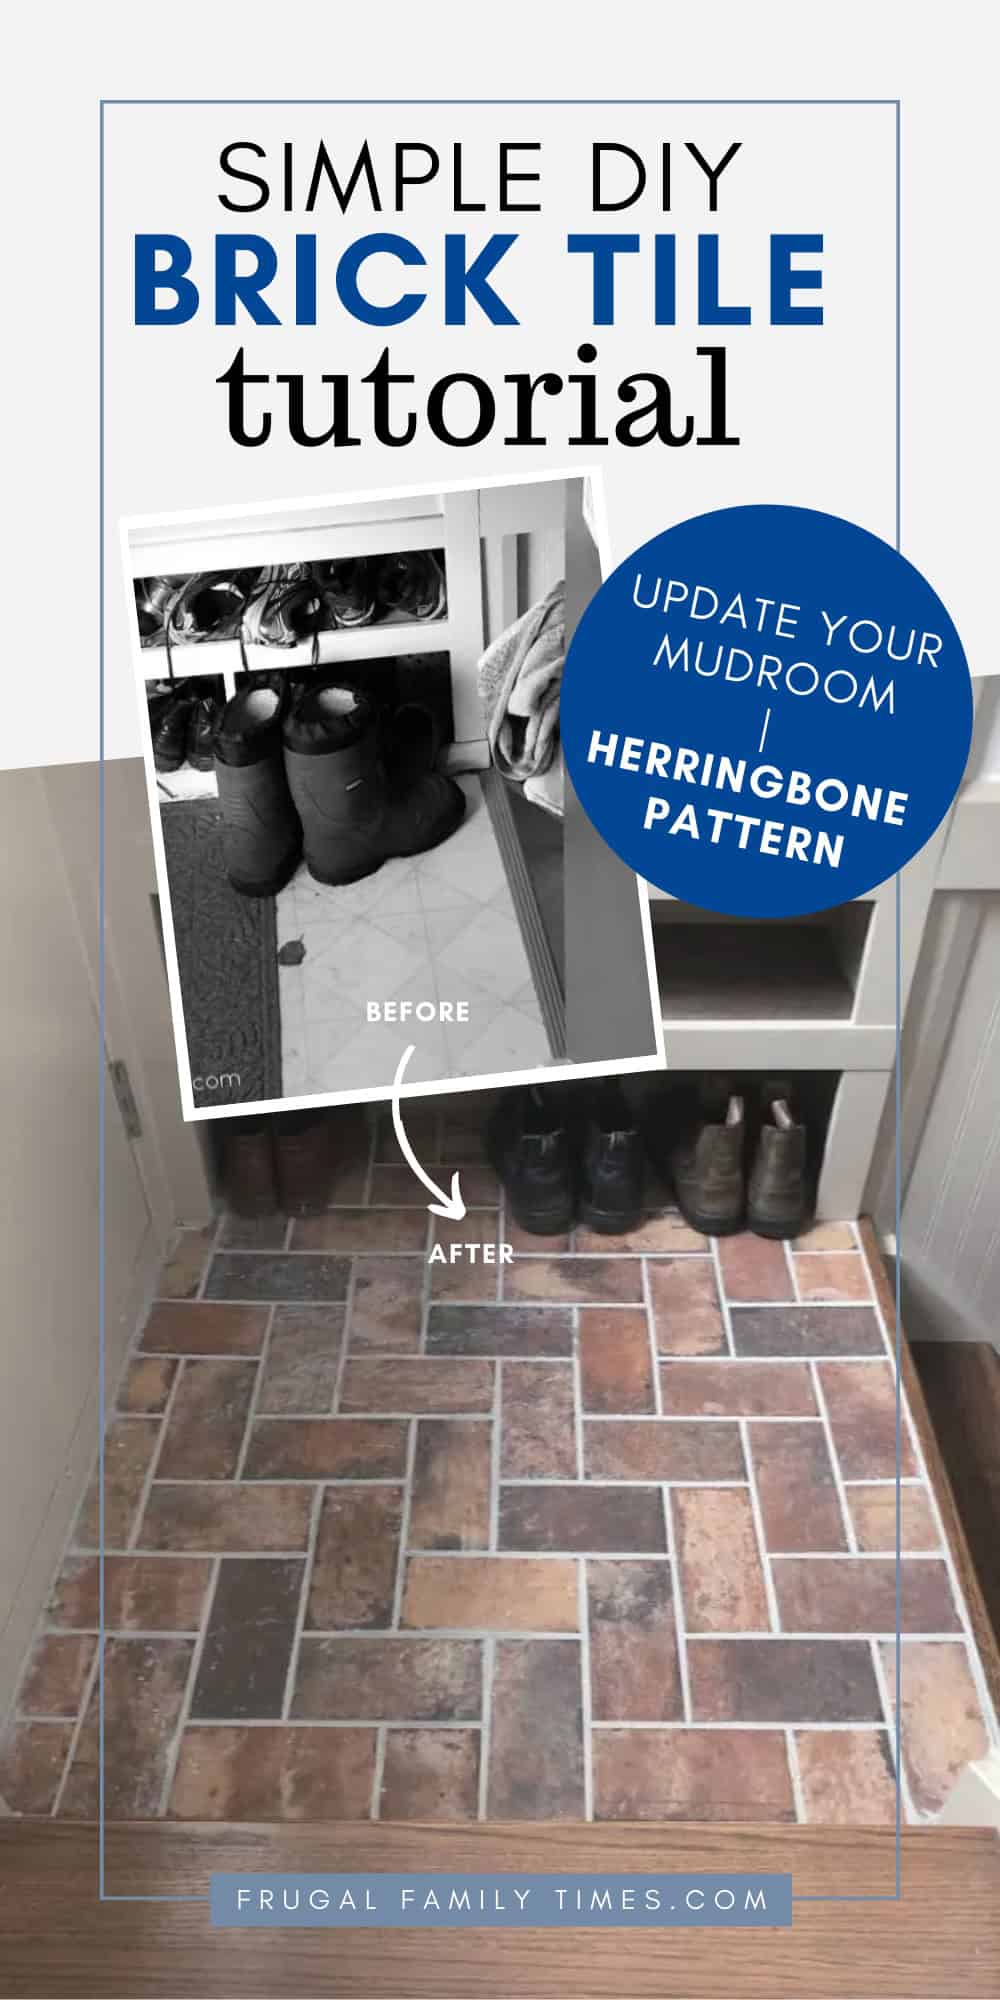
The process of making over our back hallway into something that doesn’t literally look like a mudroom (i.e. a room made of mud) definitely needed new flooring.
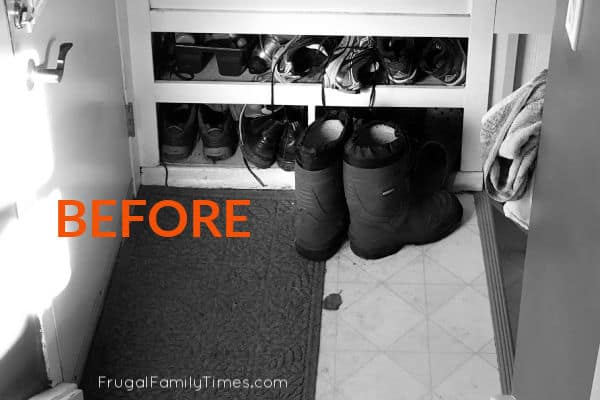
Previously, we had an old vinyl that extended up and down the stairs and through the kitchen. While it was functional and long-lasting, it was long past collecting its retirement pension. We needed new mudroom flooring to replace it that looked historic but still offered durability and ease of care.
Enter this affordable brick porcelain tile.
Inexpensive, easy to install and ideal for high traffic, often wet spaces. Plus, who doesn’t like the look of a brick floor?
We didn’t love all of the tiles, but with two boxes and a small space to tackle, we were able to pick and choose our favourites. Combined with a herringbone install, our new back landing and entrance is SO much better to look at and use than before.
And if you are looking to try your hand at floor tile – a small space like a landing or entrance is a great opportunity to learn!

Mudroom flooring: DIY Brick Tile Floor in Herringbone Pattern
Herringbone Brick Tile Floor Materials:
- Tile cutting tools (wet saw or similar)
- these affordable brick tiles
- this Flexible, fast-dry grout – flexible to prevent cracking and fast-dry is perfect for high traffic areas! This is our new go-to grout.
- Grout float and sponge
- Cement board
- Tile adhesive
- misc screws, nails, other pieces of trim,
Step 1: Create a level and solid surface for mudroom flooring tile.
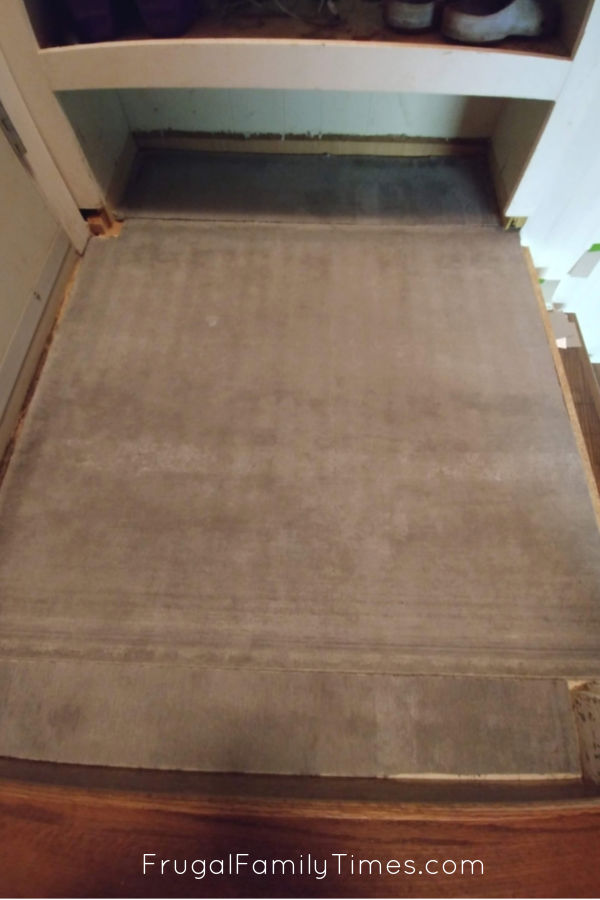
Whatever you are doing with your floor, remember that tile needs a solid surface that doesn’t move around or flex at all. Anything else will lead to cracking and tiles coming loose.
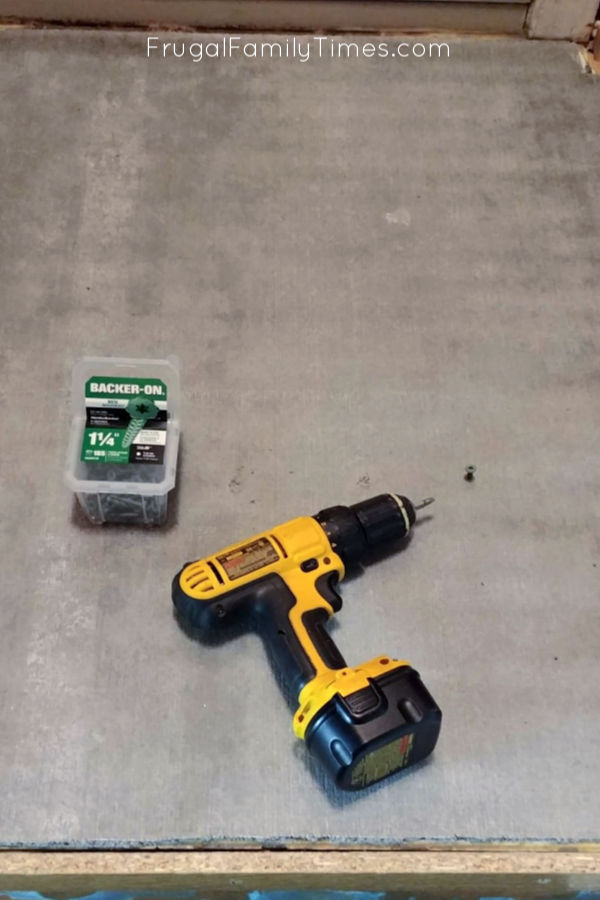
When everything is secure, it should feel really solid and shouldn’t flex at all.
Step 2: Sort your brick tiles & dry run
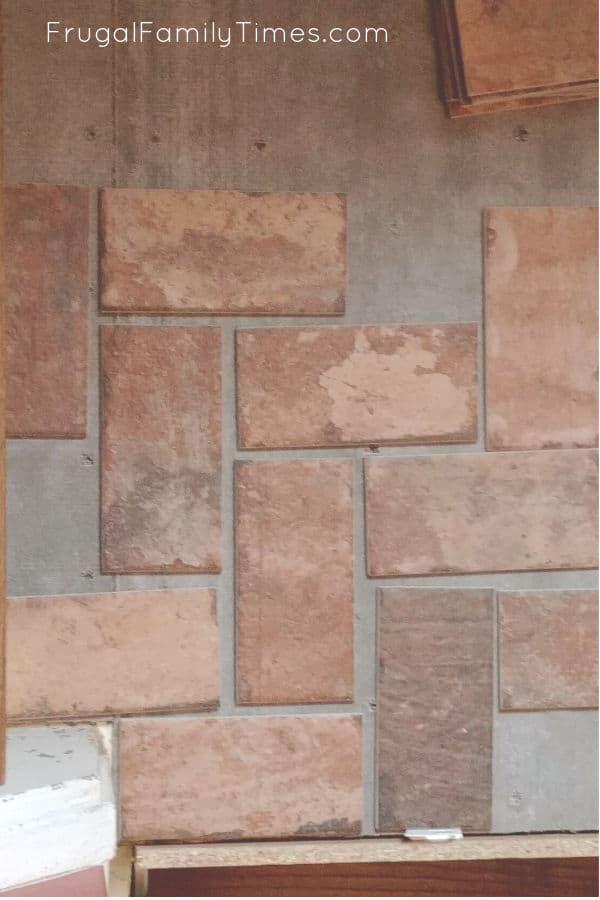
Above are the tiles Robin really DIDN’T like – they read as very peach. Given that the space we were working in was small, we could afford to be picky. Once you have your tiles picked out, lay them out to see what your pattern will look like, how big the grout line will be and begin planning for any difficult cuts.
Keep your receipt and return the tiles that you didn’t like the look of!

We put our wet-saw in our bathtub with a heavy-duty garbage bag under it. The bag is taped up around the edges and catches any of the debris/over-spray that you don’t want in your plumbing; Easy cleanup with contained mess!
Note – if you live in a location where you can cut tile outside in early spring, do that.
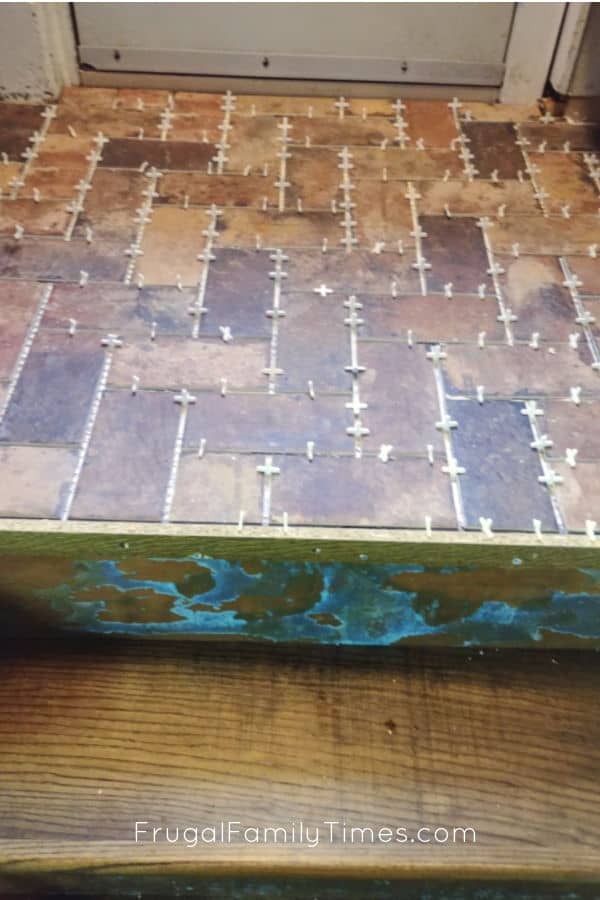
Step 3: Spread adhesive and lay your herringbone brick tiles

I was initially trying to make do with a partial container we had leftover and regretted how thin I spread it in some areas (i.e. I had to re-adhere a couple of tiles that came loose after).
Do all the full tiles first, using spacers to keep things consistent. Do your tough cuts at the end to finish.
Step 4: Leave everything at least 24 hours without foot traffic to set up.
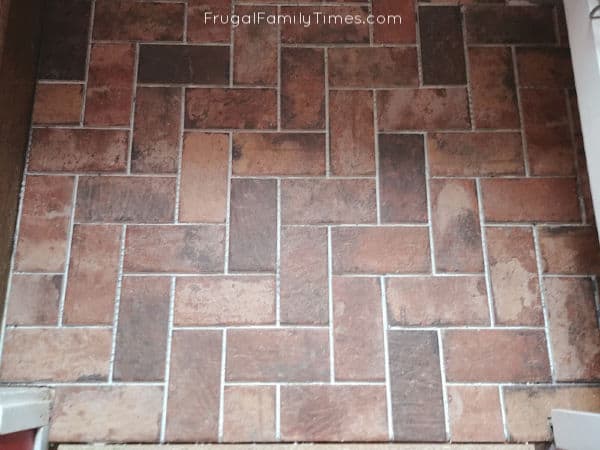
Step 5: Remove Spacers and Grout.
Grouting is somehow both easy and challenging. Thankfully, it is pretty forgiving too. I don’t do it often enough to be really great at it, and midway through any given grout project I always look at it and think, “What have I done”.
BUT! The float clears a lot of extra grout off and as long as you don’t mind changing your rinse water a lot, the sponge can fix a lot of sins. So, you can do this – just give in to the messiness.

I always make more than I need because you don’t want to be mixing more at the last minute to finish a project and get a slightly different colour shade.
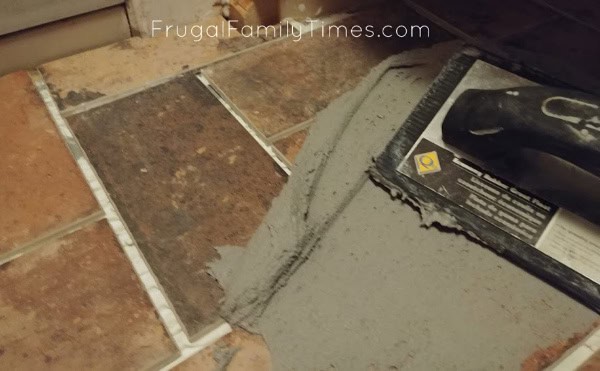
For me, this meant starting by the door/under the far end of the boot shelf and working back to the stairs.

Note- you won’t get it 100% clear. Since this is supposed to have a brick look – it is a great beginner grout project, as brick mortar joints can be wide and a bit messy and actually look more real as a result.
Step 6: Clean off excess grout.
This is a multi-stage process.
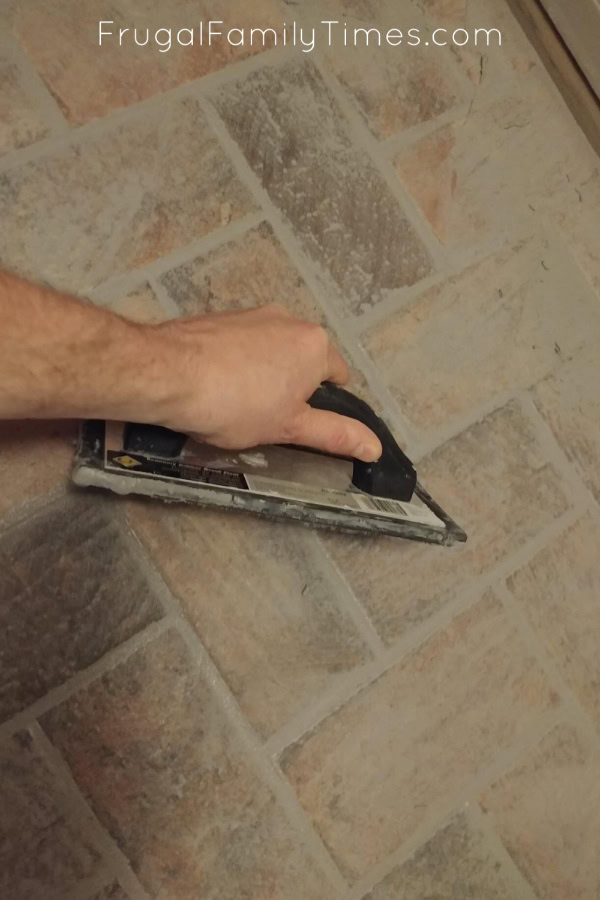

Wait 24 hours.
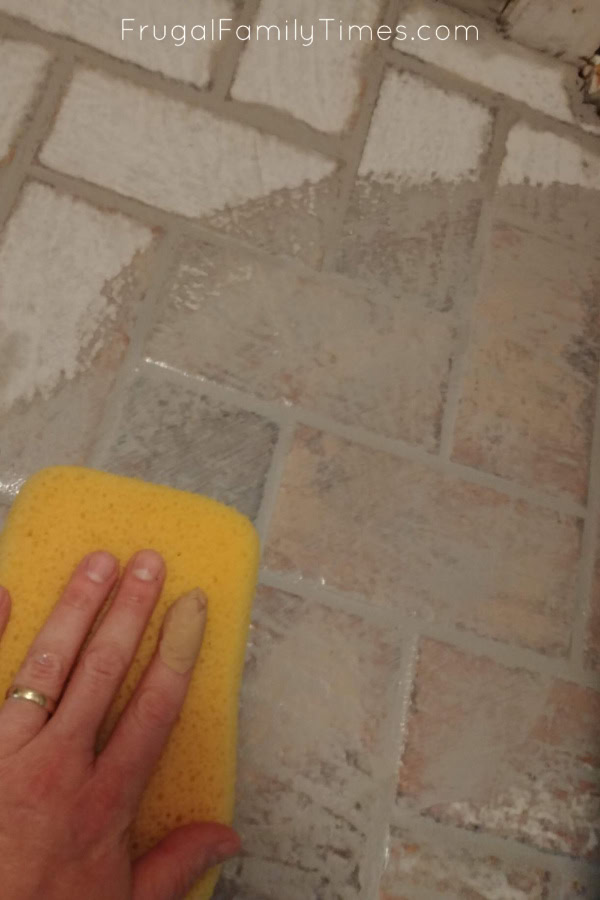
The joints will still be setting, so again, keep to the main tile surfaces, but this step is a little more forgiving.

More from our DIY Budget Basement Makeover…including our DIY Mudroom Built In Storage.

Robin and Ed are a DIY-loving couple with over 25 years of design and build experience. Also, Robin is a Nutritionist and former Registered Dietitian and Ed is an award-winning Business Educator. We share strategies for living a rich life on a DIY budget: creative money-savvy ideas for a stylish home, healthy meals and family fun. Our work has been published in the pages of Do It Yourself, Farmhouse Style and Better Homes & Gardens magazines.