

How to Restore Old Wood and Keep Patina ~ Two VERY Easy Ways for a Beautiful Antique Wood Finish
We found two very easy ways to restore old wood and keep patina. And you can do both without stripping! The patina is what makes reclaimed materials our first choice for projects. Antique wood is so beautiful, and bizarrely, often much more affordable than new mass produced versions. Score for DIYers!
These methods are also perfect for restoring antique furniture. If you have an antique piece that needs some love you’re going to want to learn this too.
We’ve used a lot of different methods and products over the years to restore the wood and make the finish beautiful again:
- Some worked well but were a hassle.
- Some were easy but didn’t work well.
The two antique wood finish methods we’re talking about today are dead easy and look beautiful PLUS they are both super affordable. The DIY trifecta!
Method 1: Restor-a-Finish
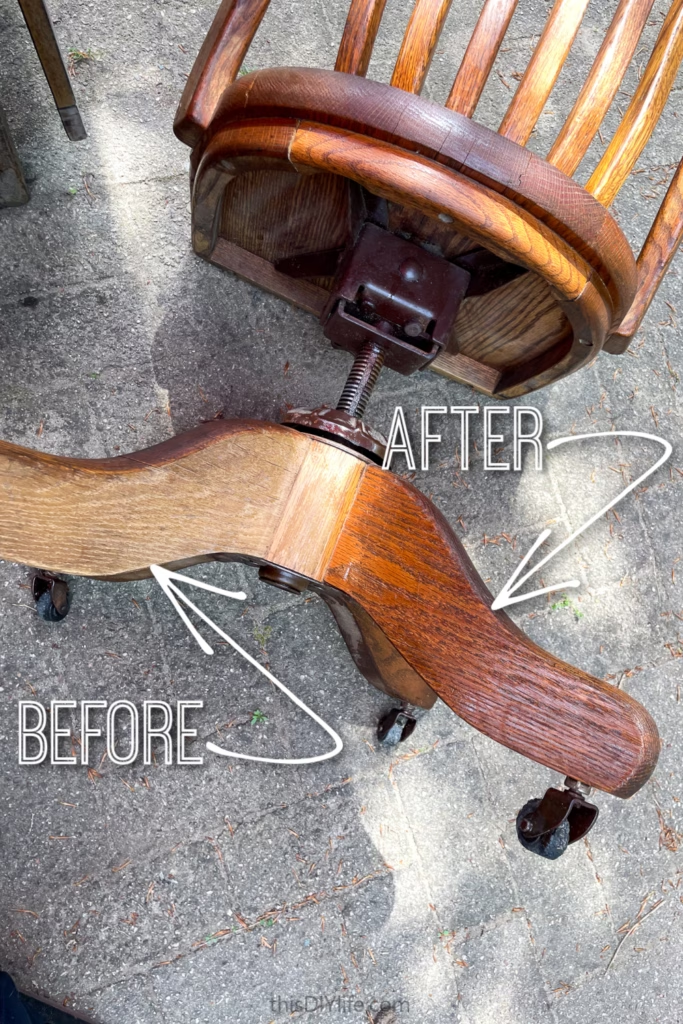
Restor-a-Finish helped us turn this roadside freebie into a really beautiful chair for our son’s room. He has a super cool old oak desk that this chair looks perfect with. In fact, it was this old desk that lead us to this amazing refinishing product to begin with.

The desk had beautiful lines, a super cool hidden shelf for his laptop and was under $100. The top had seen better days with water rings, and a bit of peeling finish. My research lead to finding Restor-a-Finish and I’m so glad it did!
Great features of this product:
- It’s great for dealing with so many finish problems, like white heat marks, water rings and sun fade
- It can go over existing finishes – no stripping or sanding! THIS is worth it’s weight in platinum.
- It absorbs into the wood to restore the finish.
- It’s super simple to apply, just wipe on and off with a cloth.
- Comes in 9 different wood tone finishes – my favourite is Walnut. To my eyes it’s the perfect rich warm brown. But you can pick up a colour that suits just about any wood.
Steps to Apply Restor-a-Finish in Action:
- First, clean your furniture piece. Get off all the dust and grime. We did this with a rough, damp cloth.
- Let dry thoroughly.


The end product is beautiful and imperfect, just like good patina.
It’s recommended to follow up with Feed-N-Wax. We didn’t do that with this chair and still got great results though!
Method 2: Feed-N-Wax

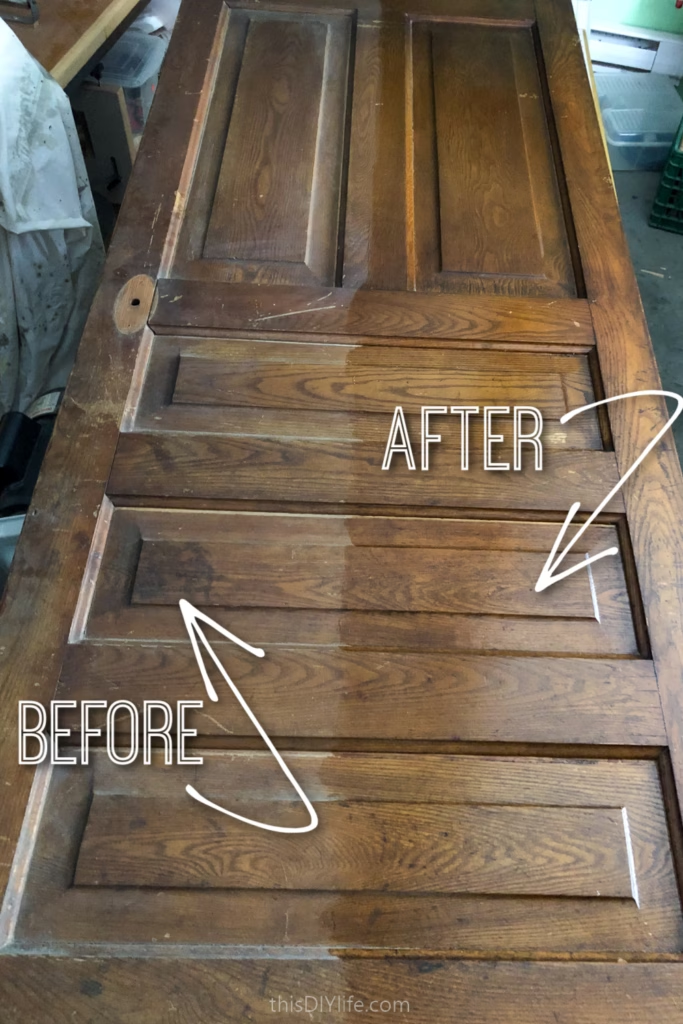
I think we can all agree the door has potential, but the finish needs improvement.
Enter Feed-N-Wax – it is so so good! I wish we knew about it years ago when we added four reclaimed doors to our second storey addition. I used a mixture of linseed oil and turpentine and it was stinky and messy. Feed-N-Wax would have been a godsend for that big project.
Great features of this product:
- It gives a beautiful soft, hand buffed finish
- It’s a wood polish and conditioner in one.
- Oils in Feed-N-Wax condition the wood to keep it from drying out further.
- Beeswax and Carnauba Wax create a protective coating to protect the wood.
- It smells wonderful – for a hypersensitive person like me this is huge! I legit love the smell and don’t get headaches from it.
- Great follow up to Restor-a-Finish
Steps to Apply Feed-N-Wax in Action:
- First, clean your furniture piece. Get off all the dust and grime. We did this with a rough, damp cloth.
- Let dry thoroughly.

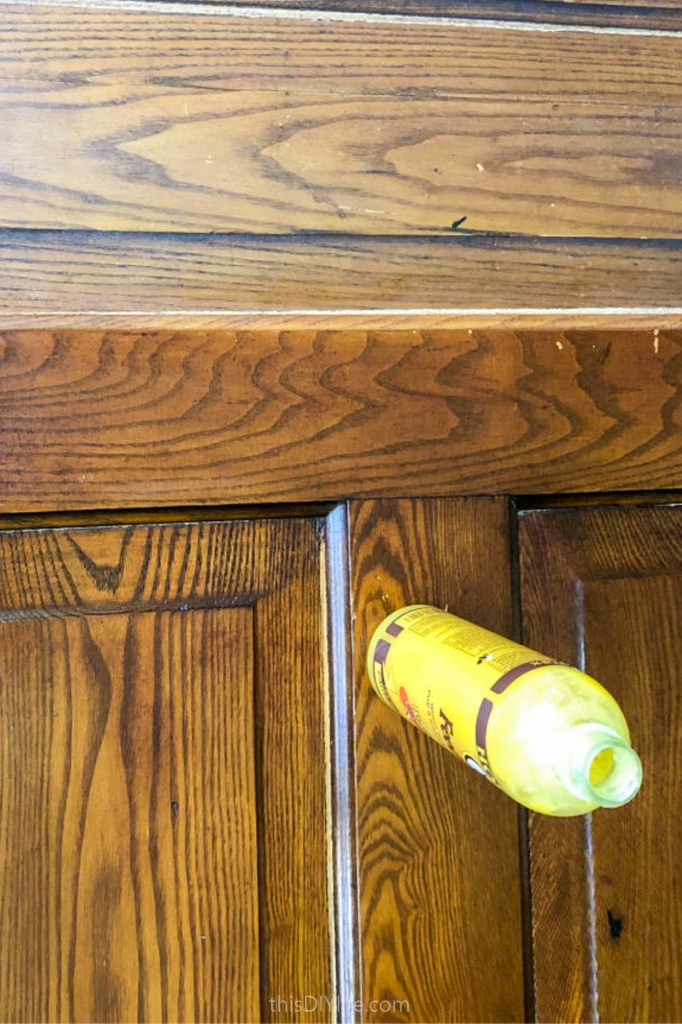
Let dry for at least 20 minutes. Then polish it with a fresh clean soft cloth.
That’s it!
We let it our door cure for a day before messing with it to make it a barn door (tutorial for that coming soon!)
We LOVE to use Reclaimed Materials, here are more of our ideas:
- DIY Buffet with Sink ~ How We Made Our DIY Wet Bar from a Repurposed Antique
- How to Build a DIY Coat Rack Wall with Character (Reclaimed Architectural Salvage for the Win!)
- $20 Easy DIY Reclaimed Wood Coat Rack (and how to hang it invisibly!)
- How to Install a Reclaimed Metal Grate Door Mat in Your Deck

Robin and Ed are a DIY-loving couple with over 30 years of design and build experience. Also, Robin is a Nutritionist and former Registered Dietitian and Ed is an award-winning Business Educator. We share strategies for living a rich life on a DIY budget: creative money-savvy ideas for a stylish home, healthy meals and family fun. Our work has been published in the pages of Do It Yourself, Farmhouse Style and Better Homes & Gardens magazines.


