

$8 DIY Meal Planner Board ~ a Dollar Store Project (with Printable!)
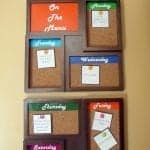
by Robin
My Mission:
- Go to the dollar store and come home with an idea and the supplies for a DIY Menu Plan Board.
- Make it.
- Share the How-to.
Mission accomplished!
If there were mountains where I live I would be singing the joys of Menu Planning from the top of them. (Seriously. Think: twirling Julie Andrews at the start of the Sound of Music. That would be me.)
Though I am a Dietitian, I really don’t love cooking. There. I said it.
I like cooking. But I never have come home from a long day at work and rubbed my hands together with glee at the prospect of chopping and mixing and stirring.
Not. Even. Once.
But you know what? Menu planning is starting to change that for me.
Planning meals in advance has given our lives a simplicity we craved. It all began with our Master List of Meals (you can read about it here).
I have been scribbling our Menu Plan on scraps of paper, which works fine, but it’s just blah.
I had been searching for free printable Menu Planners online. I found lots of great ones. But I had yet to stumble across the perfect one for us.
Update: Here’s some great Free Printable Menu planners!
Last weekend, I got up the gumption to get my craft on and make my own.
My (self-imposed) constraints were: one trip to the dollar store to get all the supplies.
Here’s how I made my diy meal planner board:
Step 1 – Gather the Menu Plan Board Supplies from the Dollar Store
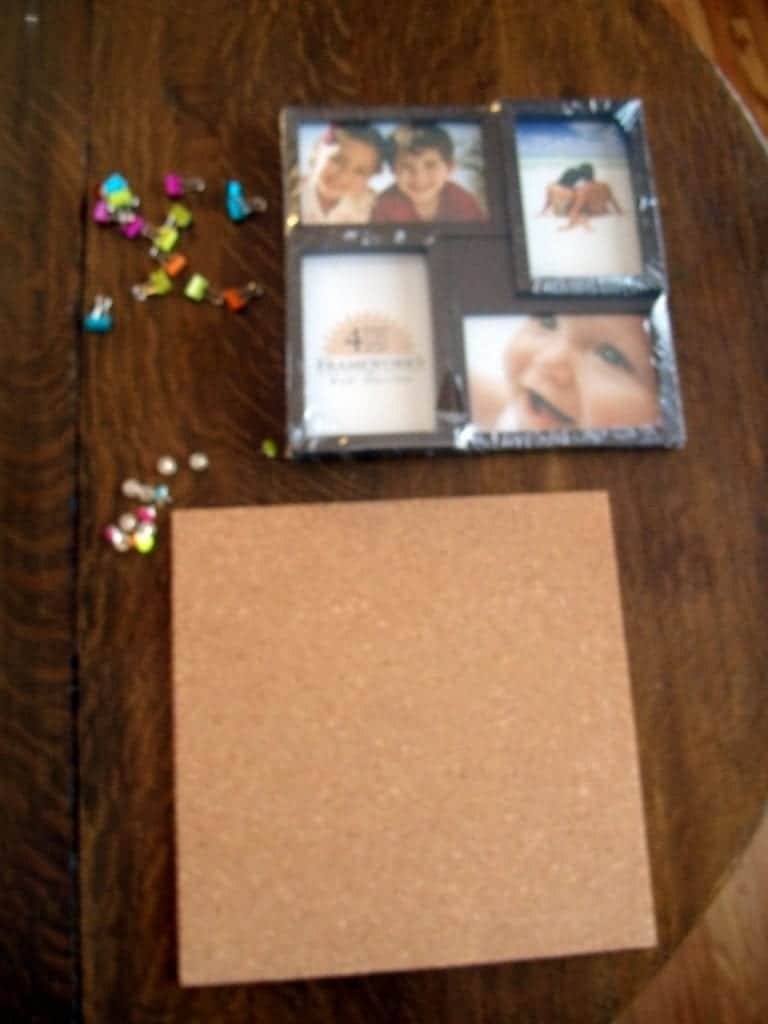
- 2 frames from the dollar store ($2 each). Each frame holds 4 photos.
- 2 corkboards ($2 for 2)
- package of push pins ($1)
- supplies from home (I estimate the value of what I used $1, it’s probably less): photo paper, hot glue, clear tape, Exacto knife
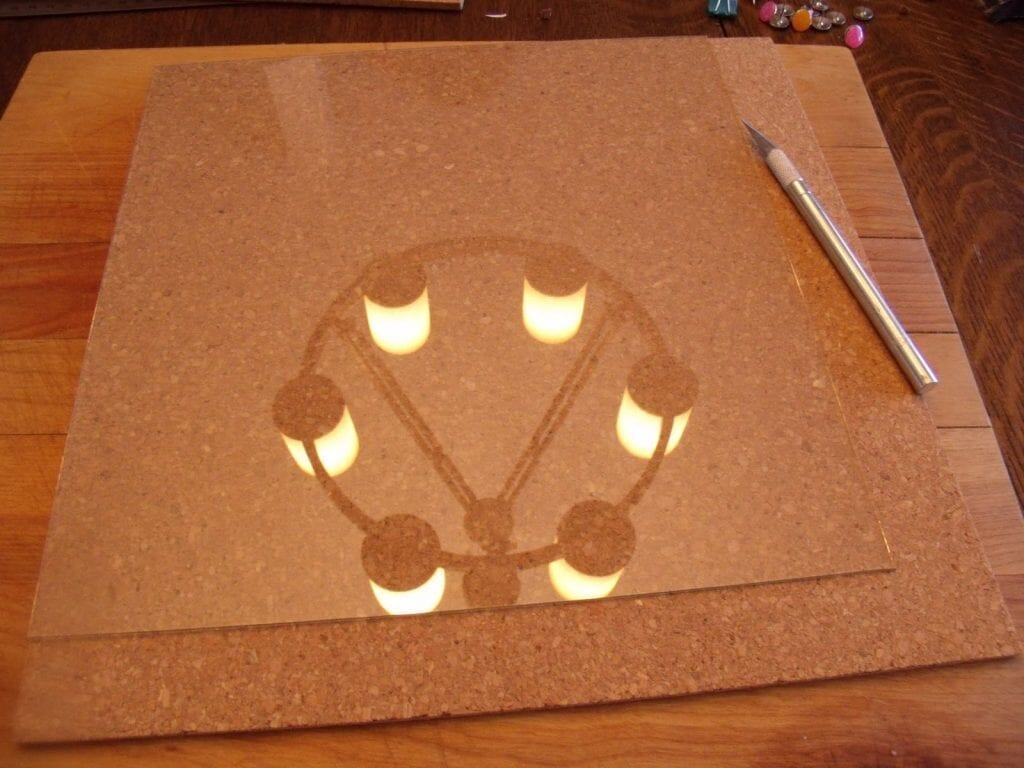
Step 2 – Cut the cork.
Step 3: Print the days of the week on photo paper.
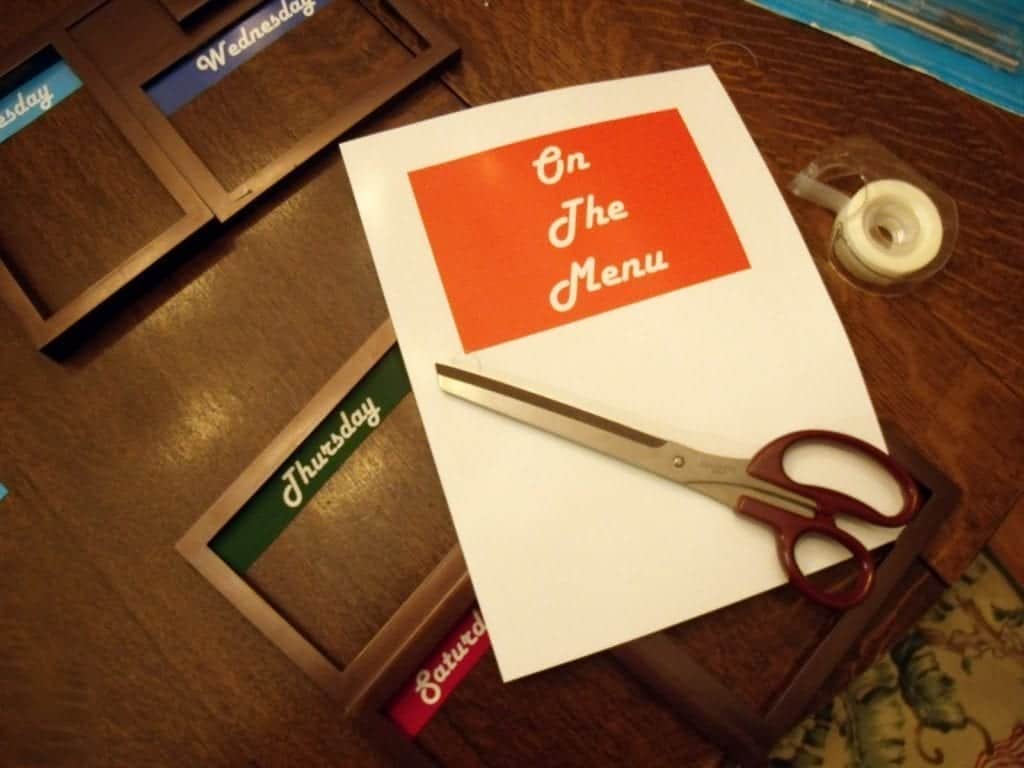
I chose a font that made me think “Diner from the 50’s” and colours that made me think “Happy Days”.
Free Printable Here: If you like this one, it won’t take you long, because you can print my pages from here. (I made a full week of 6″ wide and a full week of 4″, so no matter how the photos in your frame are arranged, they will fit.)
Step 4: Tape the papers into the frame.
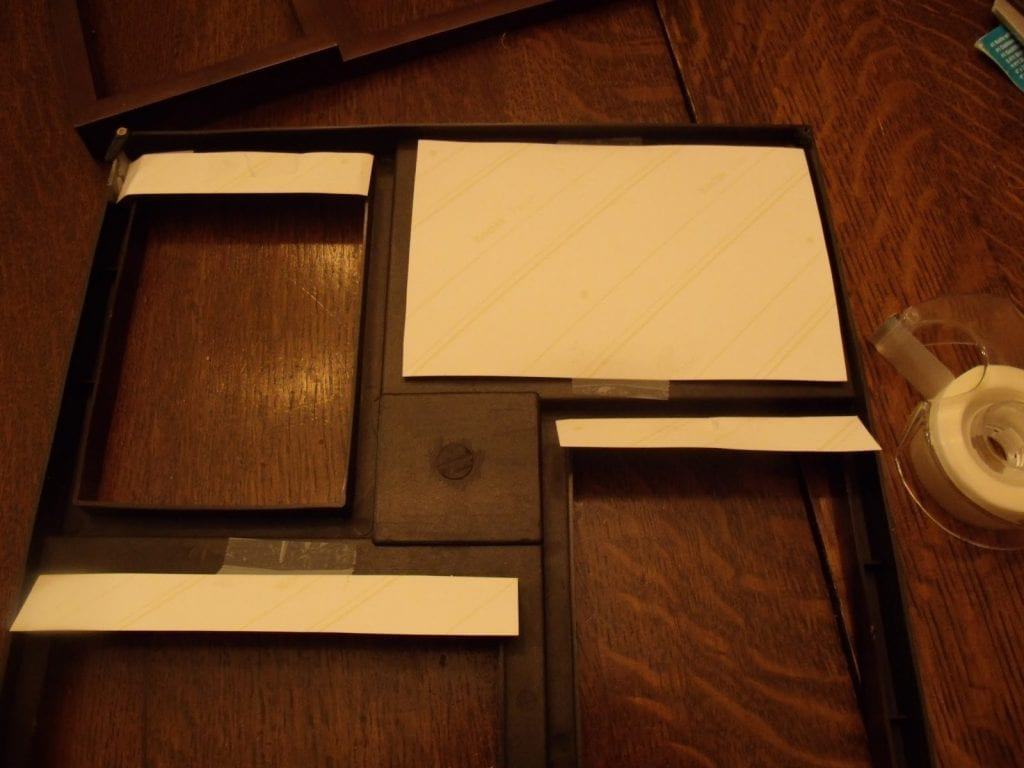
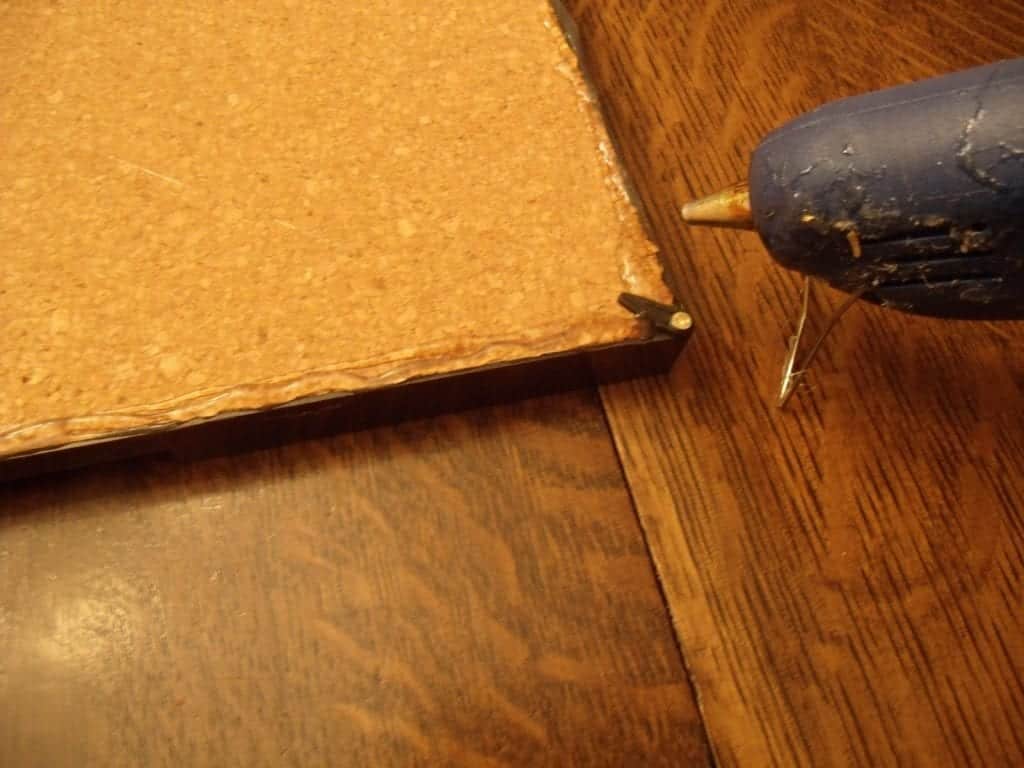
Step 5: Hot glue the cut cork into the back of the frame.
Step 6: Hang ‘er up.
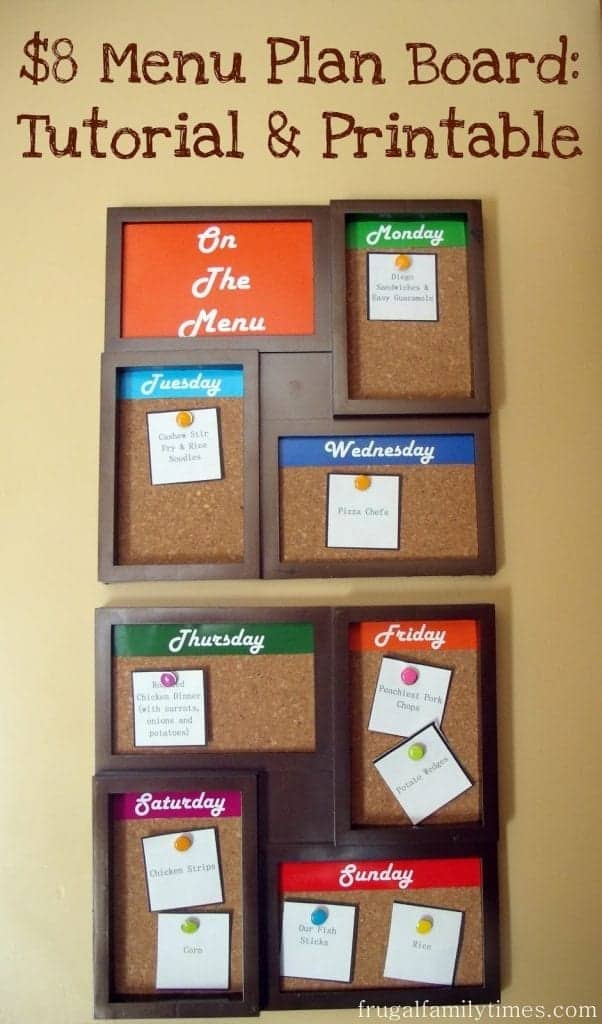
Step 7: Plan Your Meals with your Slick DIY Menu Plan Board.
I made 2X2 squares and wrote our Master List meals on them. Now we pin them up on the day that works for us. It’s working great so far, and makes me smile when I see it.
Here’s another quick and easy Kitchen Organizing Idea: How to Organize a Spice Drawer ~ a Beautiful, Budget, Time-Saver!
We’ve got lots of great dollar store craft ideas! Check them out…

Robin and Ed are a DIY-loving couple with over 25 years of design and build experience. Also, Robin is a Nutritionist and former Registered Dietitian and Ed is an award-winning Business Educator. We share strategies for living a rich life on a DIY budget: creative money-savvy ideas for a stylish home, healthy meals and family fun. Our work has been published in the pages of Do It Yourself, Farmhouse Style and Better Homes & Gardens magazines.




Where did you buy the corkboard?
We got everything for this project from Dollarama. It's a Canadian dollar store chain. 🙂
Love this idea! I keep wanting to be more organized with my menu!
This Menu Planner works amazingly well for us. It's such freedom to have a good menu plan for the week. Hope you find something that works for you, Carolina!
I missed this one last spring–very cute! I'm doing our weekly menu planning right now and looking for recipes. 🙂
Thanks, Rita! We swear by how easy this craft has made our menu planning. Seriously, it takes 5 minutes to plan a week's meals. Love!
Cool! Love the idea and how it came out! Master-list is also a good idea! I might do both…at some time later…just need the idea to sink in:-)
Ruthe
Thanks for your comment, Ruthe! I can't say enough about how great it is to have your Master List. It saves 10 times the amount of time it takes to make. 🙂
Looks great. I too don't love cooking but with meal planning it makes it a little bit more bearable 😀
Ain't that the truth! I have started to have a little glimmer of actually liking to cook since starting to meal plan – yippee – here's hoping it sticks! ~ Robin
Great idea!! You make it sound pretty easy; I just might try it 🙂
It really IS easy! Quite honestly, this board works better for us than I even imagined when I wrote the post. Let me know if you make it! ~ Robin
Very Cute!
Thanks for the compliment, Amber!