


We may earn a commission on purchases made after clicking links on this page.
Intro by Robin Steps by Ed
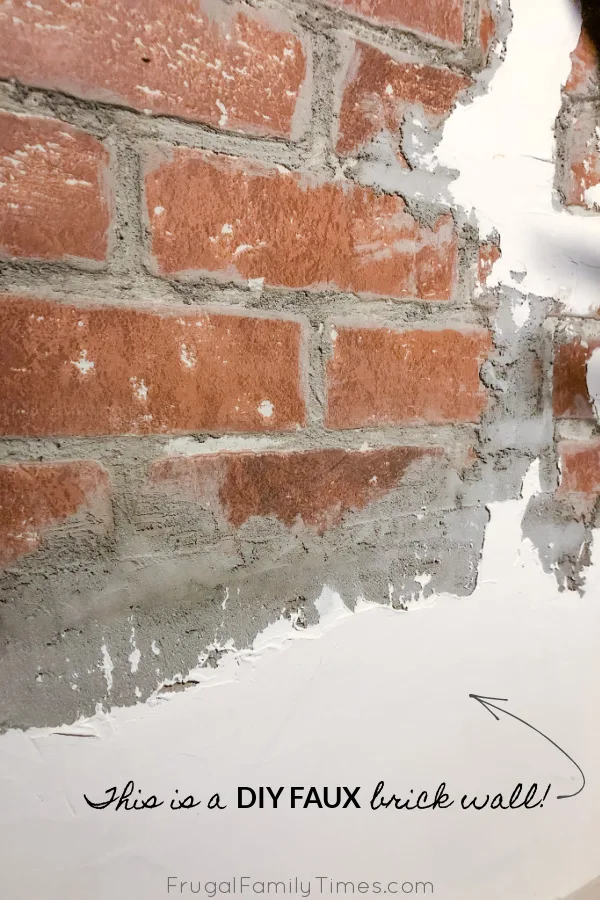
Our DIY faux brick walls look so real! They give our basement pub the exact distressed exposed brick look we were going for – and was really cheap to achieve.
They look like they’ve been there for decades and give exactly the rustic aged charm and character we were looking for in our basement wet bar area.
But do you remember our plan for our basement pub and hobby room?
This crumbling, aged plaster brick wall treatment was not what we planned. Originally we were going to do a real brick wall.
So why the change?

Well, it’s the same answer to lots of questions about things in 2020. A little thing called a global pandemic.
With staying a home being mandatory for safety we were not willing to risk driving the hours necessary to pick up the brick tile we found a great deal on. And we weren’t willing to pay the price of the only ones we could get locally.
We were stuck.
We considered using the same faux brick method we did in our basement Guest Room Library – you can see how to make brick paneling look real in that room. We also did the same treatment on a faux pillar that’s part of our DIY media cabinet.
But I had my heart set on the Chicago brick red colour. I wanted that character and warmth in this room.
I poked around on Pinterest looking for a different kind of wall treatment that would work. It didn’t look promising, unitl I stumbled upon these…
Faux Brick Wall Inspiration Photos:
Note: both of these happen to be wallpaper murals if that’s more your speed – just know that they won’t have the physical texture of our method.


Brick? Check! Warmth? Check! Character? Check!
I showed these photos to Ed and he said, “I’ve got ideas. Leave it with me. I’m going to try something. If you hate it we can take it down.”
He scurried off and happily worked away in the basement. And I fretted constantly hoping I would love it and not need to break his will to DIY.
I didn’t love it…at first. I stared at it for days and it didn’t sit right for me. I didn’t know what to say to him.
But then we figured out what exactly the problem was and how to make the panels of fake brick look real – it was so simple! (Hint: it’s the grout lines.) And you’ll see that in Step 7 below. So without further ado we present to you our DIY Faux Brick Wall with Plaster!

This DIY Faux Brick Wall Treatment was cheap! Here’s the cost:
This project was $20 all in for us. We used scrap materials – so we really just bought drywall compound.
If you needed to buy the supplies, here are the approximate costs:
- Off cut pieces from a faux brick panel (maybe $30 worth if you had to buy material)
- Mortar mix – 1 bag of whatever is cheap and will let you feather a thin edge ($7)
- Drywall compound (lots) $20
- Other material to fill in around brick (optional, but saves on the drywall mudding) ($15-20)
- Misc. nails, construction adhesive ($10)
Total: $87 for a large faux brick accent wall

DIY Faux Brick Wall with Plaster Treatment
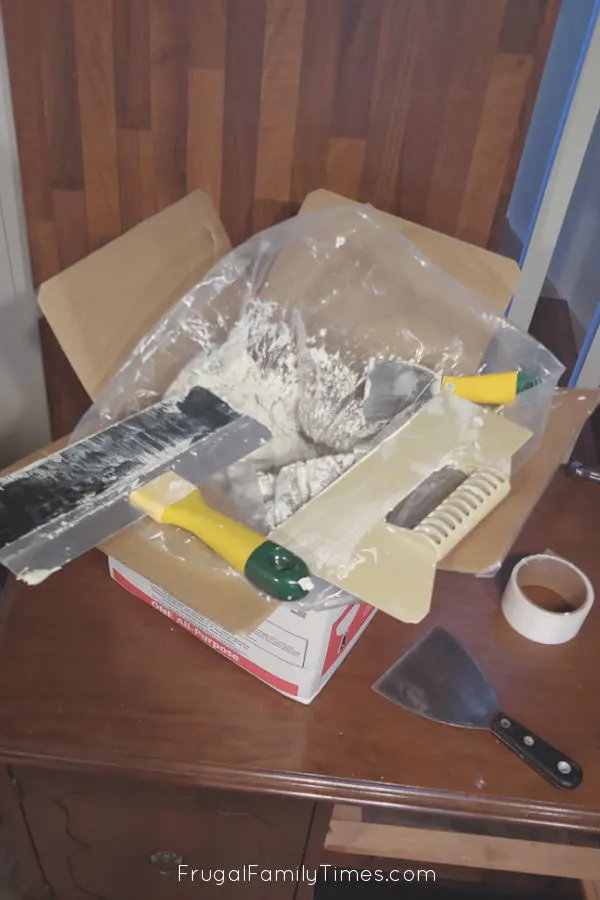
Materials:
- best Faux Brick panels offcuts (Or whole panels, cut into smaller sections)
- 1/4″ MDF material (similar thickness to Faux Brick panel)
- Construction adhesive
- nails or screws
- Drywall tape/joint mesh
- Skim coat Cement (or any mortar you can feather to an edge)
- Drywall compound
- Sponge
- various drywalling blades to suit your artistic temperament

DIY Faux Brick Wall How to Steps:
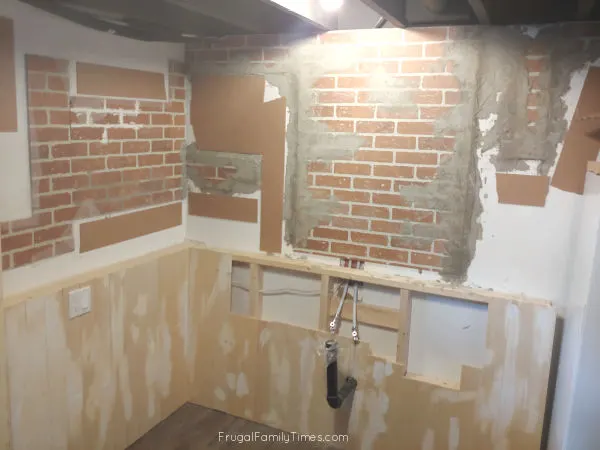
Step 1: Arrange Your Faux Brick Panel Pieces

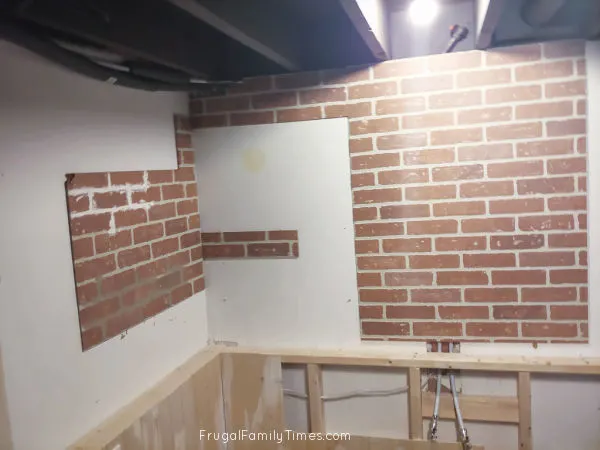
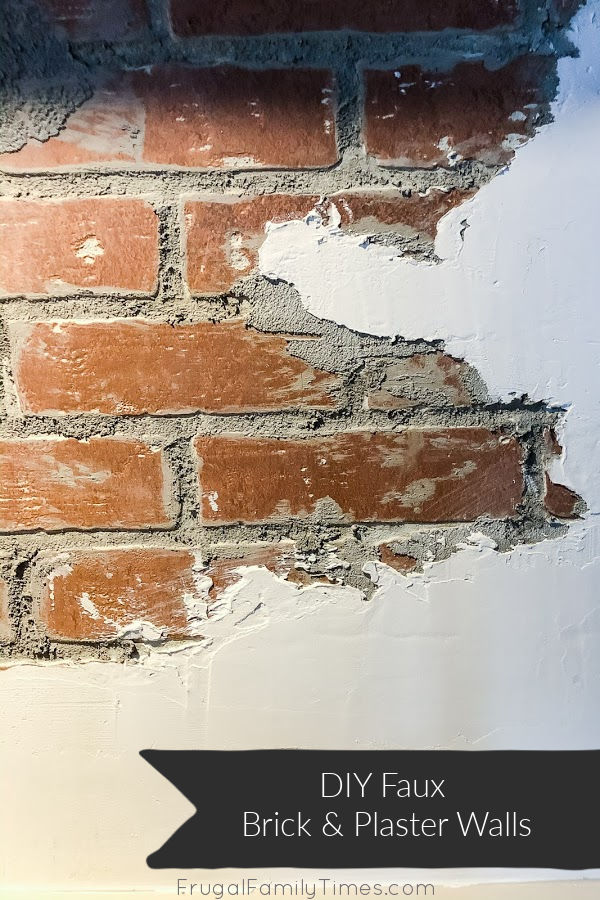
I had a few different inspiration looks. I really liked the look of a brick wall that had layers of cement, mortar or plaster built up and chipping off in various degrees.
Hang up your brick panel pieces in haphazard, asymmetrical ways using construction adhesive and nails or screws in areas (like edges) that will get covered in plaster.
Step 2: Fill in Gaps with MDF Filler Pieces

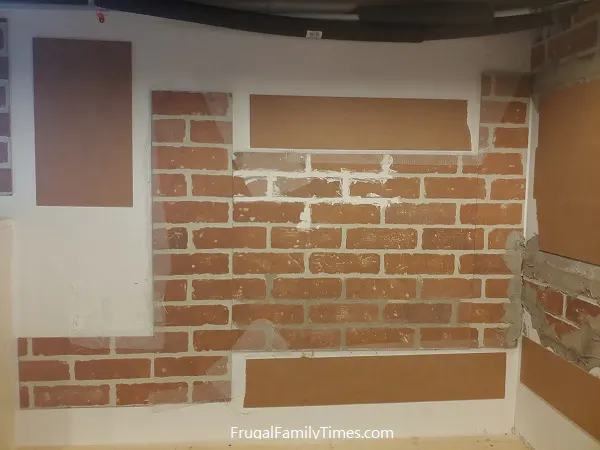
Ideally, fill in all the areas around your brick panel with material to bring the depth up even (or close) to the panel edge.
Step 3: Tape Your Seams
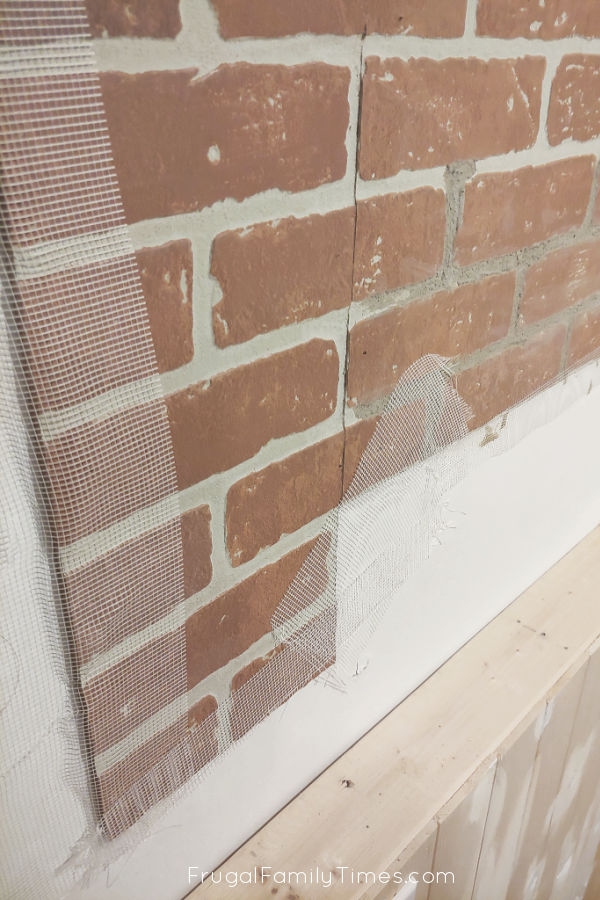

I did not have enough extra material, so I ended up building things up with lots of extra drywall compound. This still works, but the dry times and extra labour are killer.
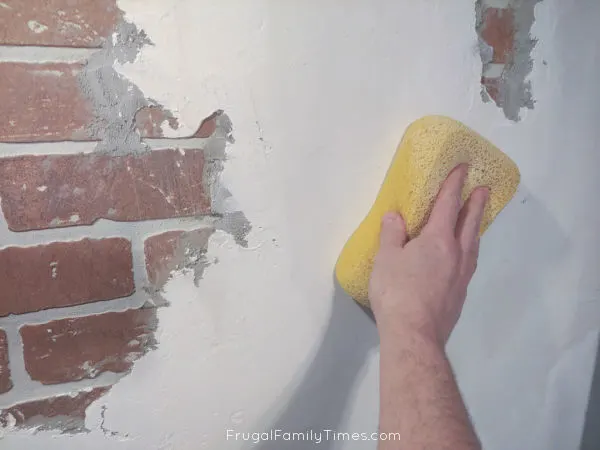
Step 4: Cover Gaps with Skim Coat Cement
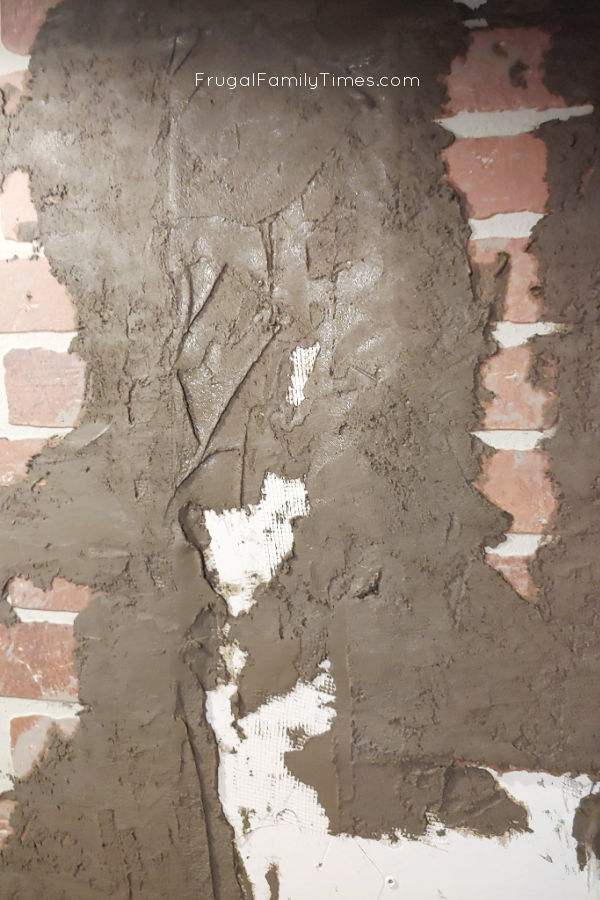
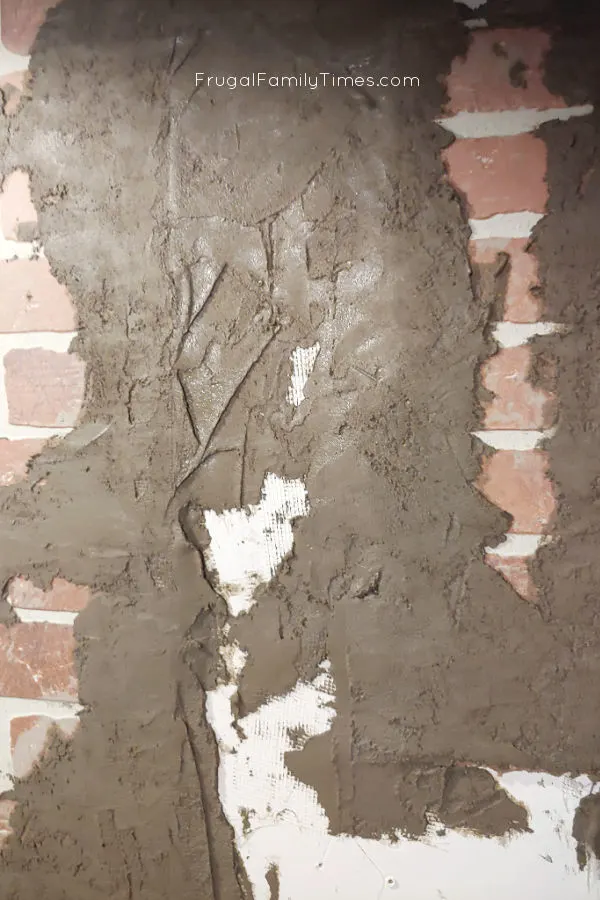
This is the first layer of realism, because few sane people randomly smear concrete on perfectly good walls.
When people see and touch the cement, it will make the bricks and everything else even more convincing.


You can see my feeble attempt to add some MDF sheets we had laying around to some spots. Like I said above, if you can go out and get some cheap material, do so.
It will save hours of drywall fill, wait, repeat, building everything up.
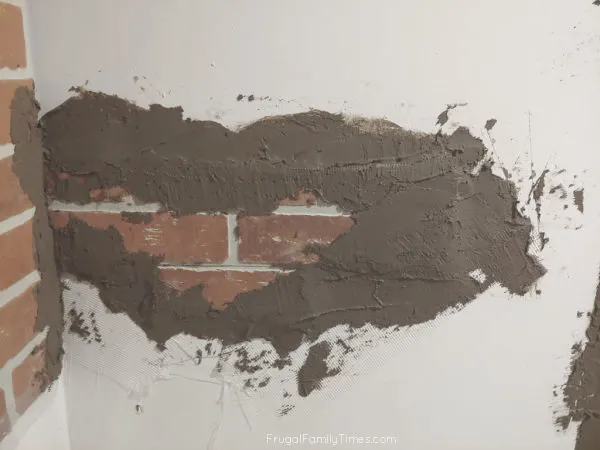
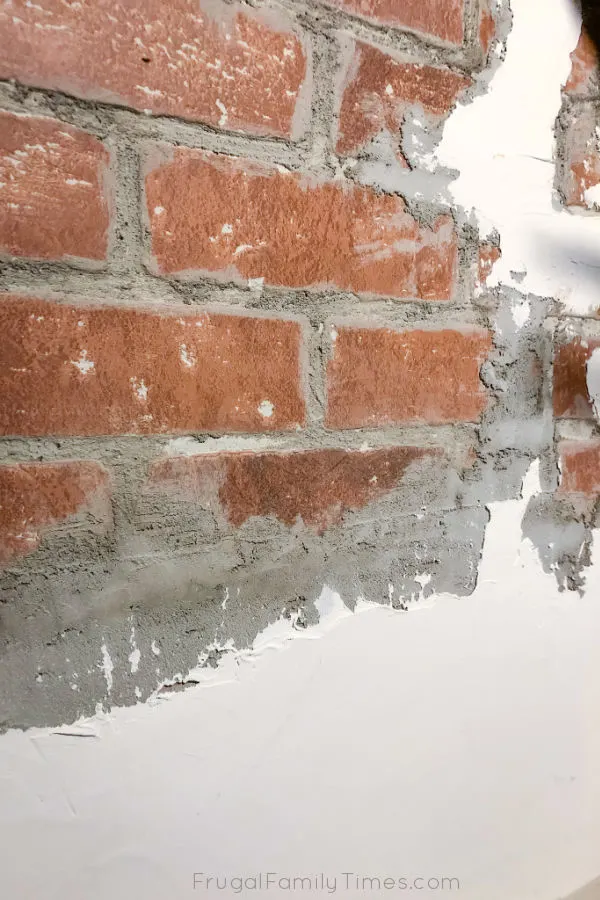
Step 5: Apply Drywall Compound Around Brick Paneling

Apply drywall compound over the cement, pulling it carefully to leave an edge near the brick to make it look like some has chipped off.
If you hate drywalling – Good News! – you actually need to be bad at normal drywall to do a good job at this. You don’t want everything smooth and even. And you want cracks and uncovered spots.
Keep your inspiration photo handy and look at it frequently. You can always add more, but it is pretty tough to take some off (impossible).
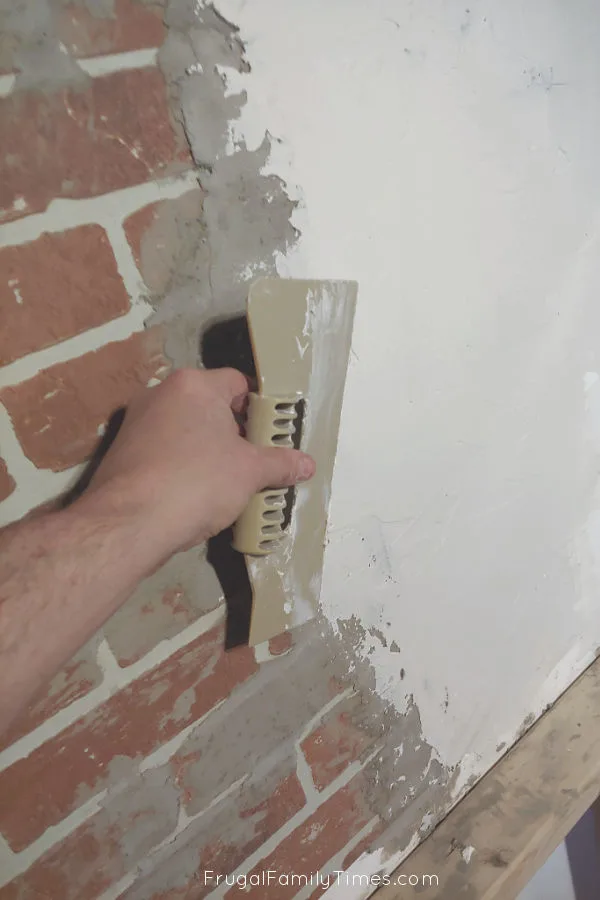
Step 6: Smooth and blend to the Rest of the Walls.

Things will be looking pretty finished and real by now, so go with your heart.
Step 7: THE KEY of How to Make Fake Brick Look Real


Robin finally figured it out: The one really fake-looking aspect of our bricks is the mortar joints.
Use this method to get an authentic brick look that’s about a 1000% better. Approximately.
It looks like a long and tedious process, but it actually goes really quickly when you get the hang of it and it is totally worth it.
1) Mix a small batch of the skim coat mortar.
2) Put it into a sturdy ziplock or cake decorating bag.
3) ‘Pipe’ the joints with a small amount of real mortar.
4) Smooth it with your finger.
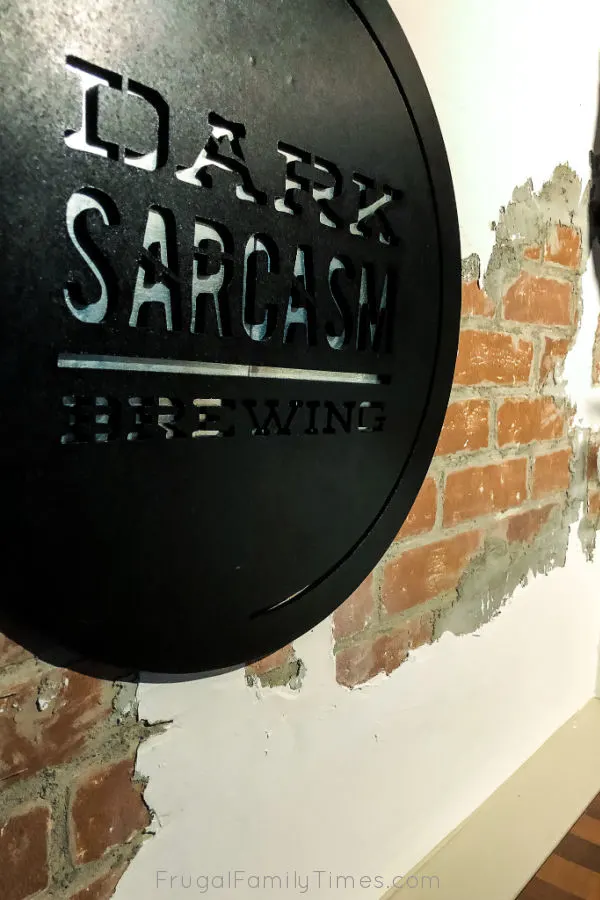
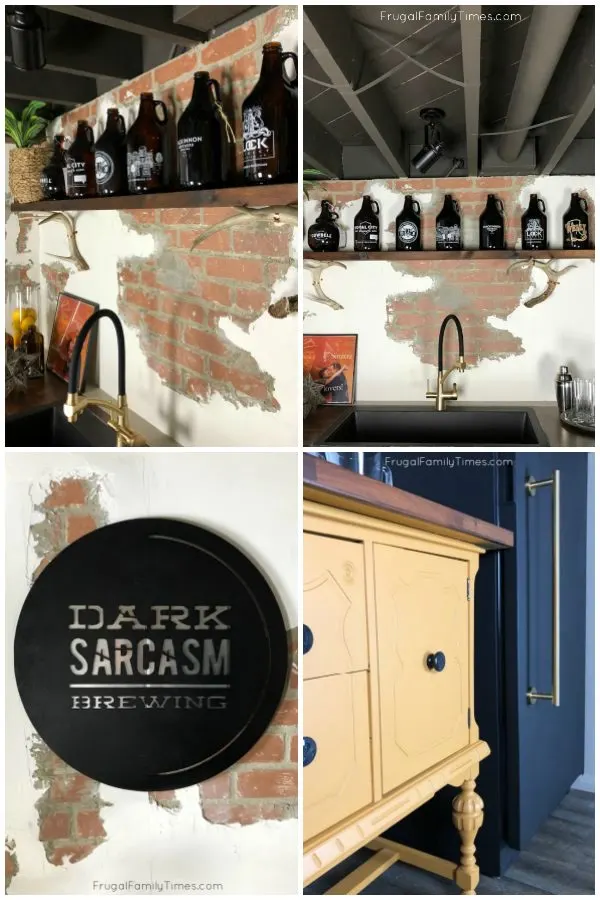
And Your DIY Faux Brick Wall is done – and it looks so real!


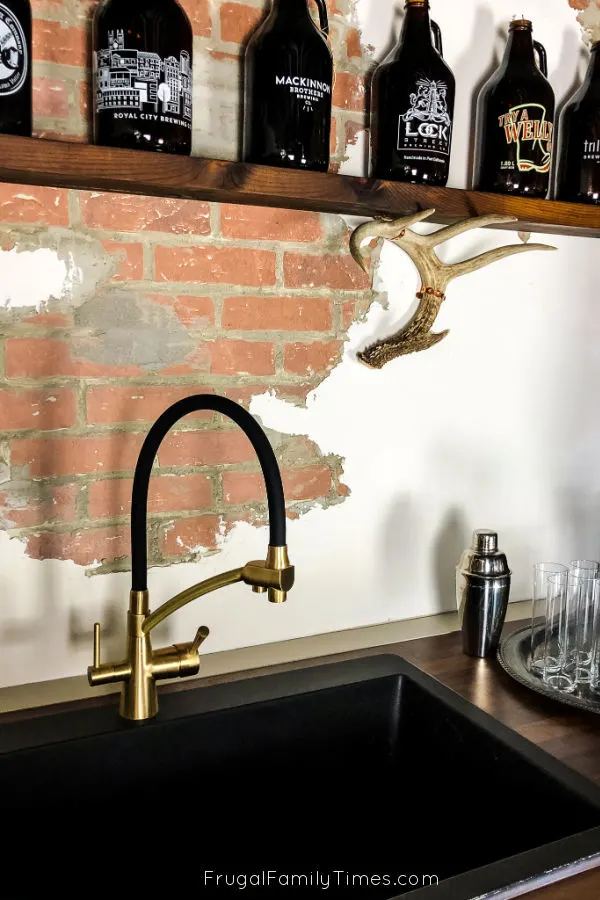
It plays so nicely with this sexy affordable faucet and our rustic DIY floating shelf with antler brackets.

You can find all of our Basement Wet Bar projects here:


Robin and Ed are a DIY-loving couple with over 25 years of design and build experience. Also, Robin is a Nutritionist and former Registered Dietitian and Ed is an award-winning Business Educator. We share strategies for living a rich life on a DIY budget: creative money-savvy ideas for a stylish home, healthy meals and family fun. Our work has been published in the pages of Do It Yourself, Farmhouse Style and Better Homes & Gardens magazines.
Heidi
Monday 18th of April 2022
Did you seal the whole wall after you were done? Has it flaked off at all?
frugalfamilytimes
Friday 22nd of April 2022
Hi Heidi. Nothing has flaked off at all! No, we didn't seal it. We may still. If we do we will use this product: https://amzn.to/3v4yk2B
Giselle
Tuesday 24th of November 2020
I have seen others use the brick paneling and do similar treatments but to me they still looked fake. Yours is the first where I was really impressed to the point of considering where I could do this in my own house. This is big because I have a huge brick fireplace I’d love to rip out! I think it’s the mortar on the joints that makes all the difference! Genius! I LOVE your bar area and the name of your brewery is awesome!
frugalfamilytimes
Tuesday 1st of December 2020
Oh, Giselle! Thanks so so much for your very kind comment! :)
Elpitha
Monday 23rd of November 2020
Love it!! Very clever.
frugalfamilytimes
Tuesday 1st of December 2020
Thanks, Elpitha! We love it too! :)
Simone Mcloughlin
Friday 20th of November 2020
why did you do the mortar after you did the other steps? wouldn't it have been better to do it before you put all the other applications on? i think the wall looks great! I'm doing a faux wall in our lower level bathroom. i think I'll do this method. but if you could answer that question, i'd appreciate it! thank you! well done!
frugalfamilytimes
Tuesday 1st of December 2020
Hi Simone! You're right - it would be best to do the mortar step first. We didn't because of the way this project evolved - we didn't realize how much the grout dragged the whole visual down. :)