How to Make a Hidden DIY Projector Shelf ~ a Surprisingly Simple Project

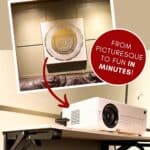
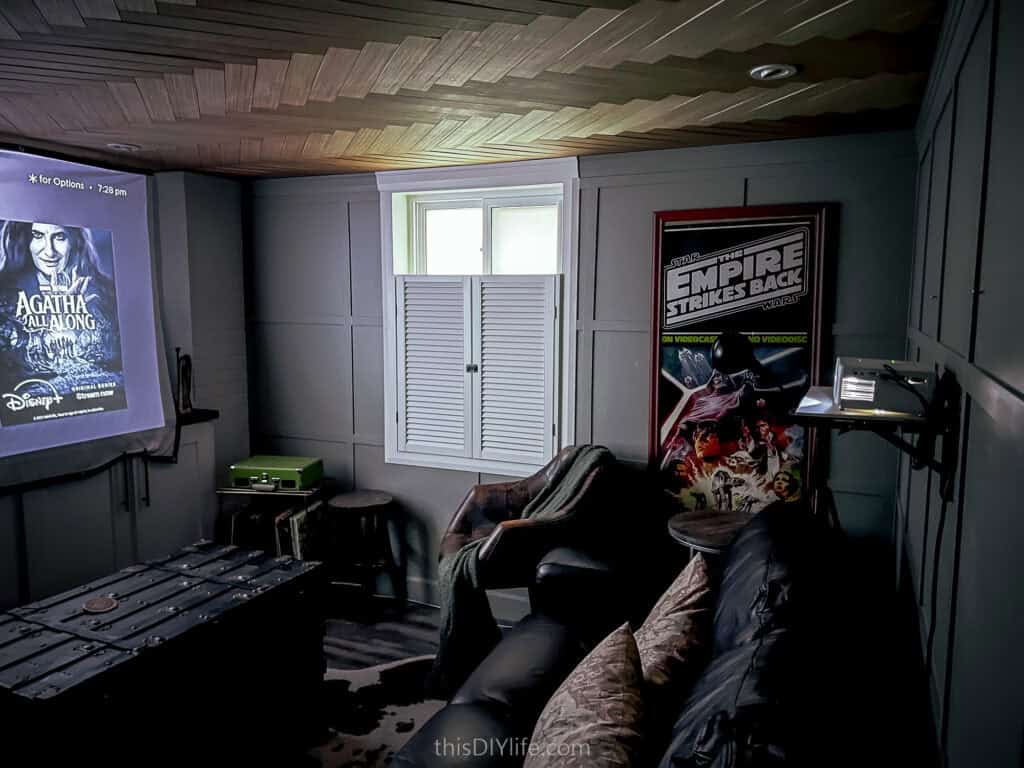
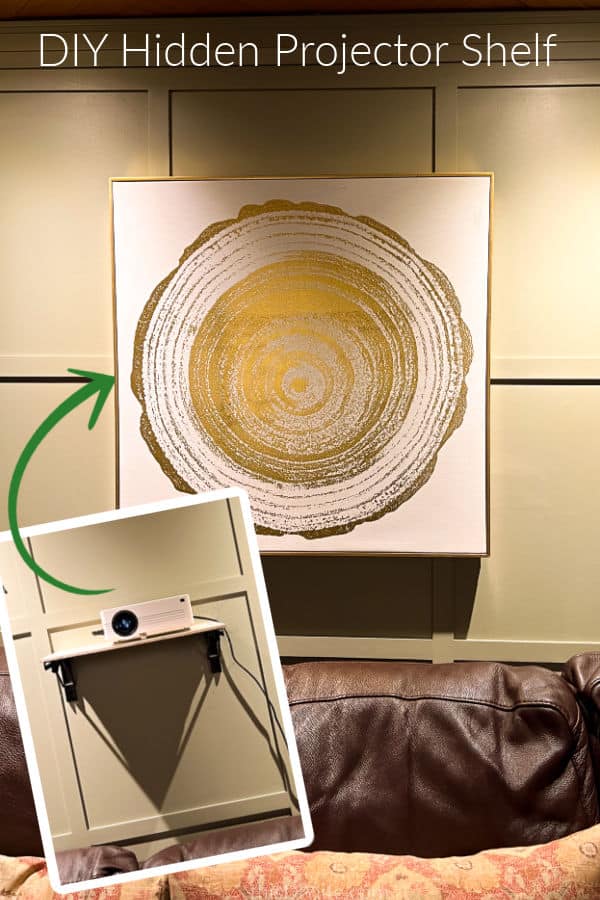
My drive to create this hidden DIY projector shelf started as an idea to make setting up our daughter’s budget projector simple and fast. I’m sure you’ve seen these affordable projector bundles on Amazon – they come with a simple projector, screen and often some hooks or cord to suspend the screen from. My idea was better: a DIY hidden video projector folding shelf!
We purchased a projector bundle as a gift for our daughter a few years back and she’s used it for movie nights and big screen video game sessions since. It’s been a pretty cool toy and so much more affordable than a 100-inch television.
The challenges are:
- A) The Projector set-up, device connection, positioning, and screen hanging are all time-consuming.
- B) All of the above are kinda ugly and you don’t want to leave them set up all the time. Few normal humans want/need a 100-inch screen always at the ready.
So I started to think of ways that I could create something that could be set up quickly but also hide away when we didn’t want to play giant MarioKart.
And, quite frankly, there’s no way Robin would be on board with an ugly projector on the wall 24/7.
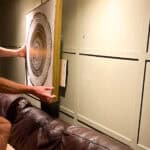
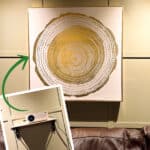
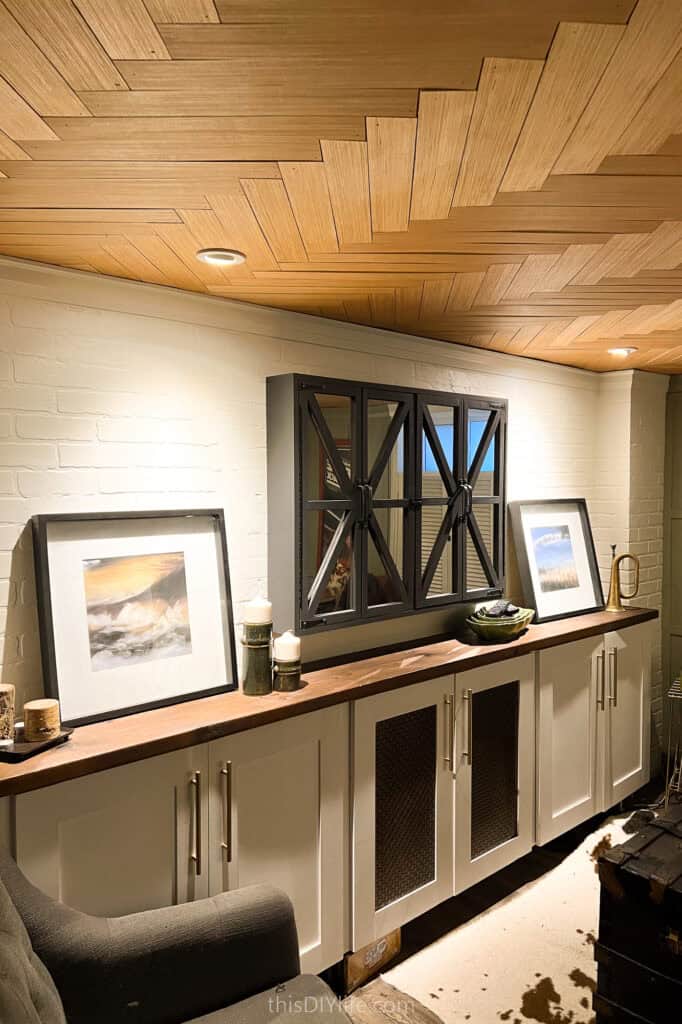
I noticed our wall had this piece of art centred on it:
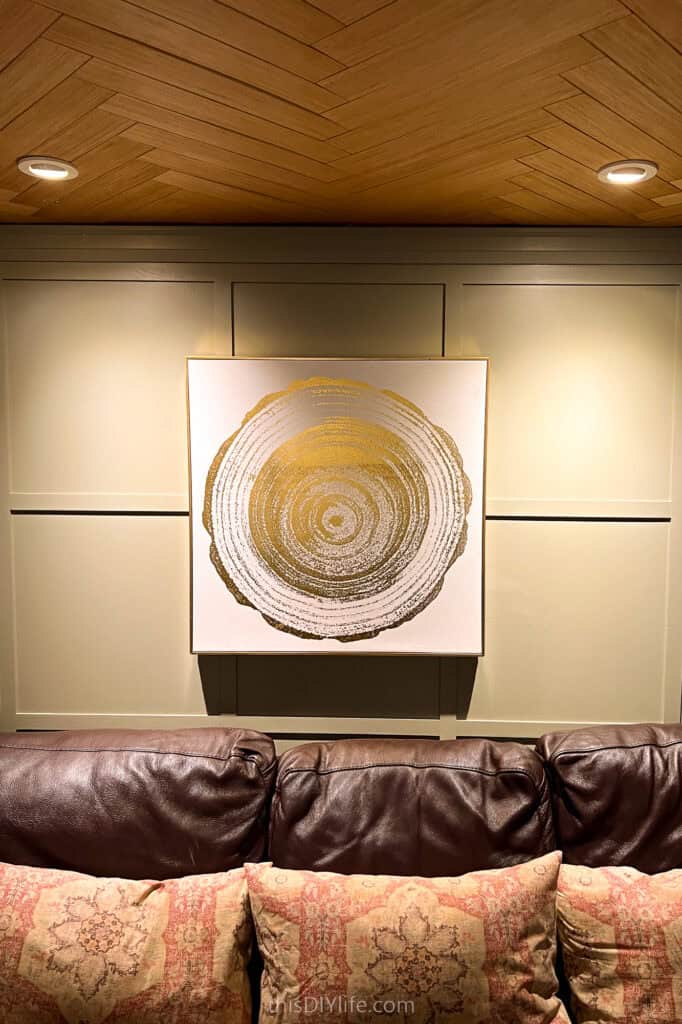
I decided I could probably hide a temporary shelf back there if I could keep the mount slim enough.
My first thought was to remake the floating shelf that we used in our Pub Hobby Room, but make the shelf removable so that the bracket would fit behind the art. It likely wouldn’t be super-sturdy, but definitely strong enough to hold the lightweight projector. I pitched this to Robin
She said, “I’m sure we can find a folding shelf bracket and then the whole shelf would store in one spot.”
And this, folks, is why I run ideas by her before I start… Amazon sells a bracket the perfect size for what I wanted to do! And it folds and locks up in a much safer/sturdier way too. I love building stuff to solve problems, but when there is an affordable, better option already out there it just makes sense to use it.
So I ordered these shelf brackets and got to work – here are the steps to my projector shelf DIY…
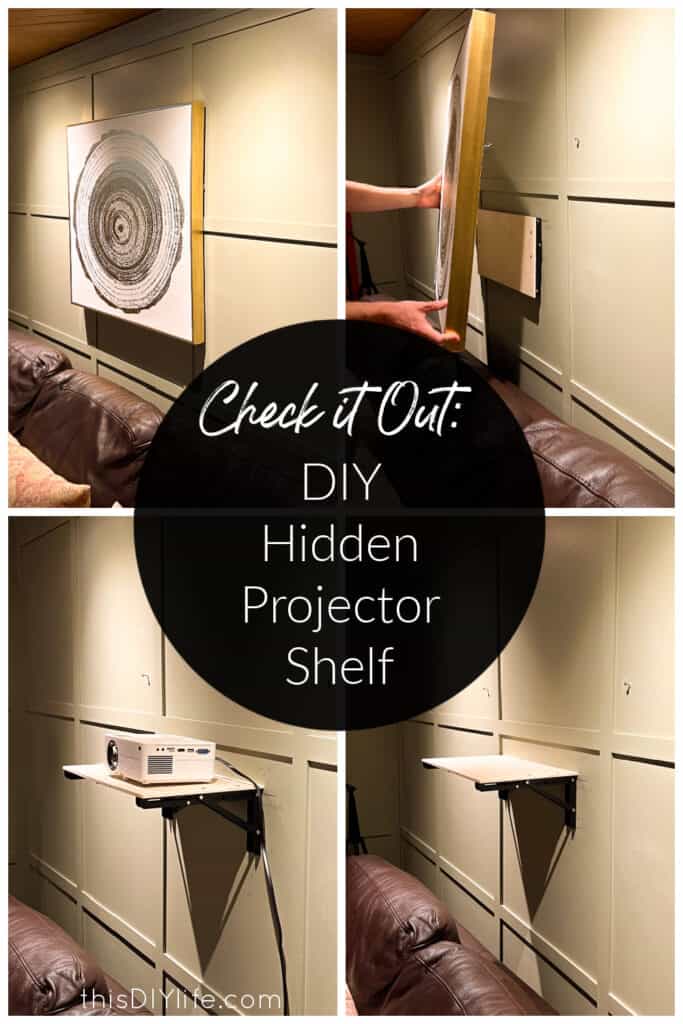
How to Make a Hidden DIY Projector Shelf
Supplies:
- These 10″ folding brackets
- Small, thin piece of plywood or melamine board
- Level, tape measure, stud finder
- Screws,
- Hollow Wall anchors (if needed) (Our shelf supplied some as well as screws)
- Drill
Step 1 – Mark the corners of the Art you are using to hide your bracket
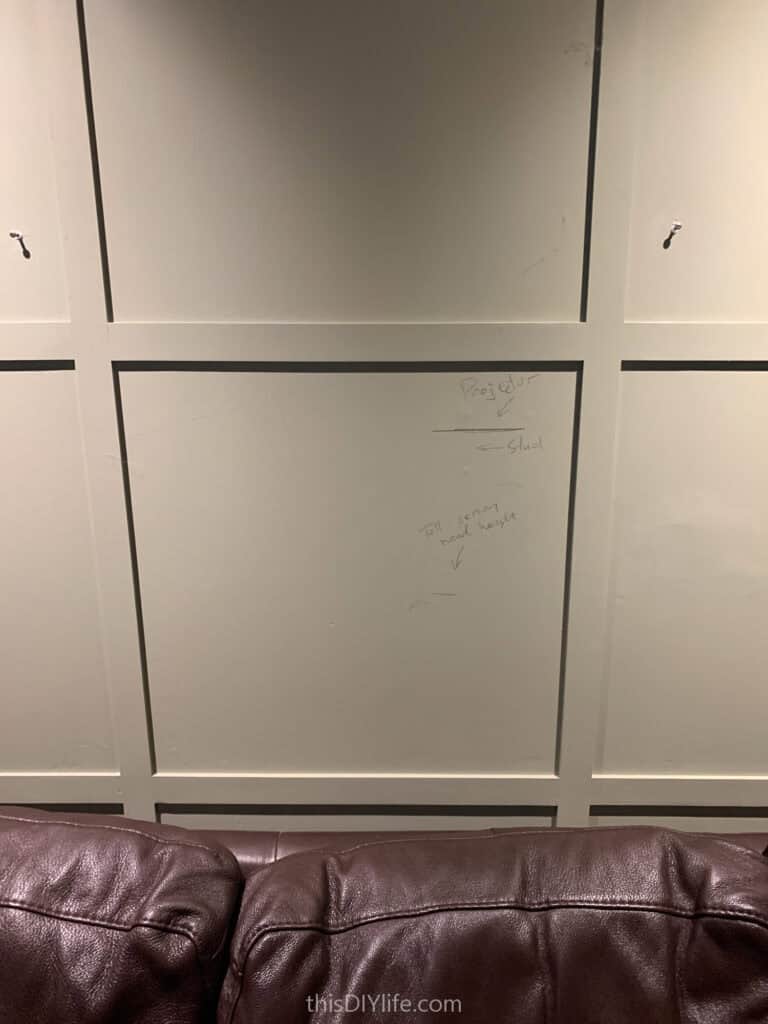
d treatment to consider too).

We used “tall person head height when sitting on the sofa” as the lowest possible spot for the shelf).
Step 2 – Hold a folded down bracket against the wall and compare it to where the border of the art lands.
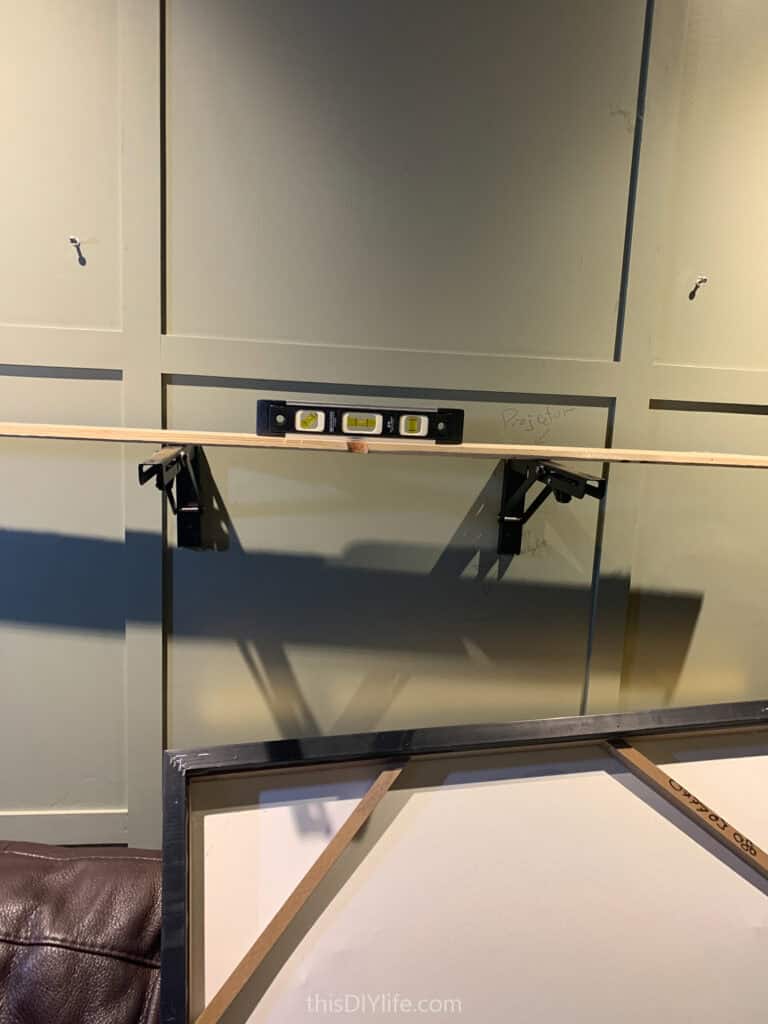
Mark this location and transfer it across using a level so you have locations for both sides of the bracket.
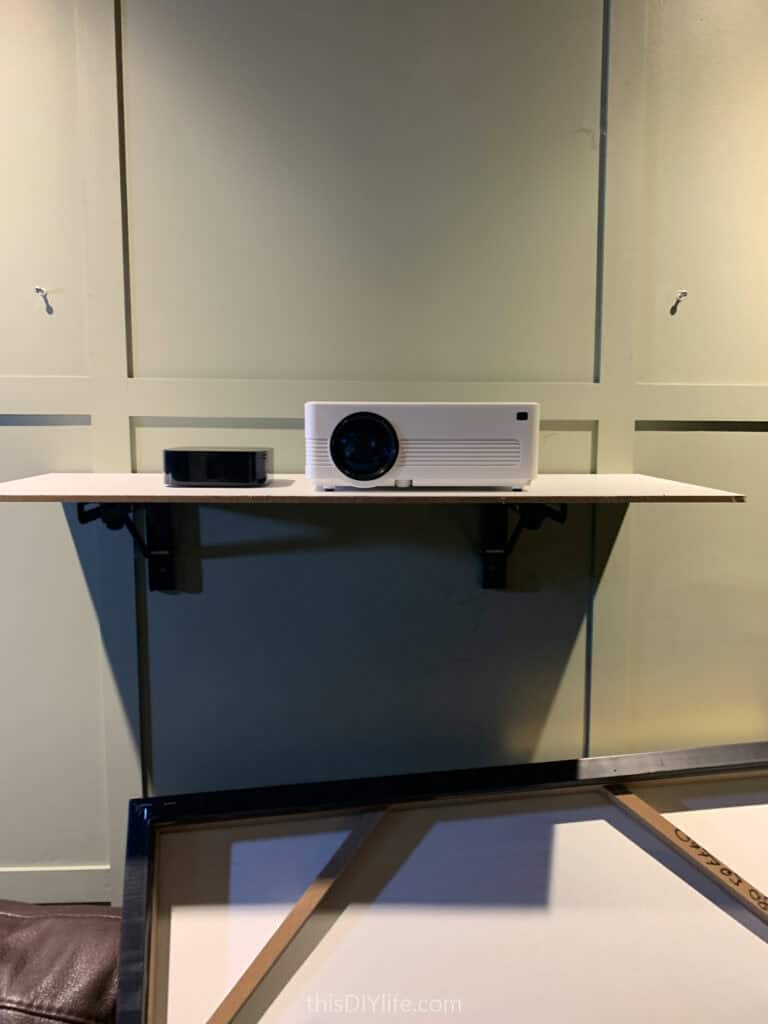
(Trust me, the checking at this stage will make everything else go faster).
Step 3 – If it all looks good, proceed to final assembly.
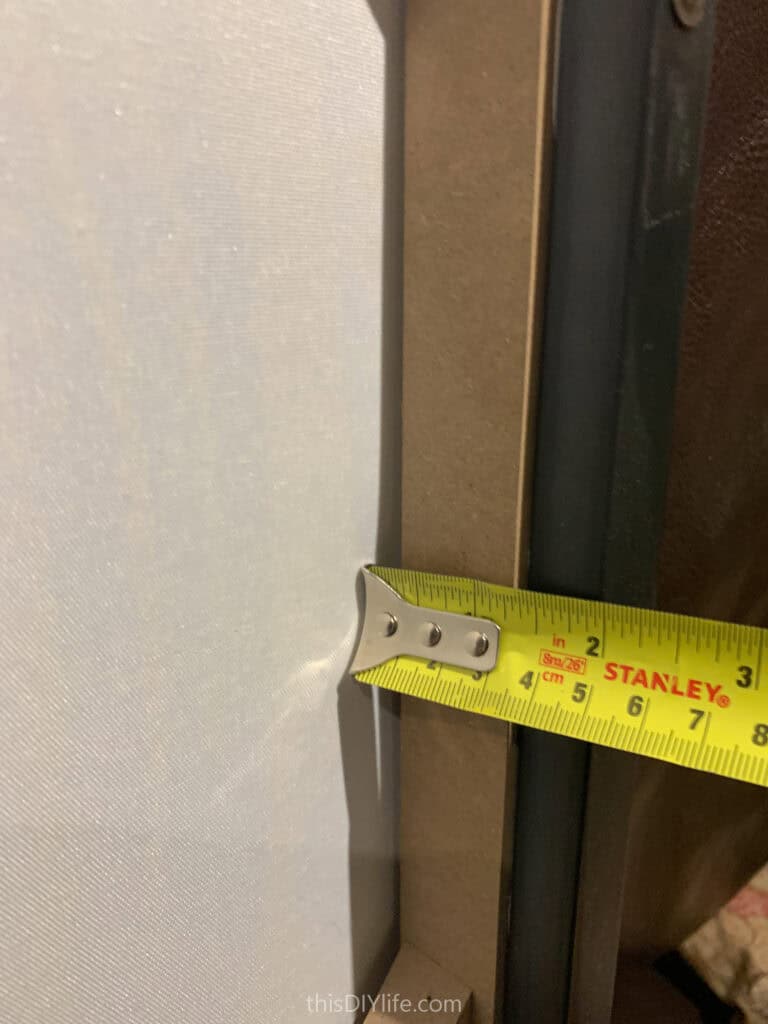
These folding brackets are under 1″ when collapsed, but it was still good to know how much gap I was left with for the shelf.
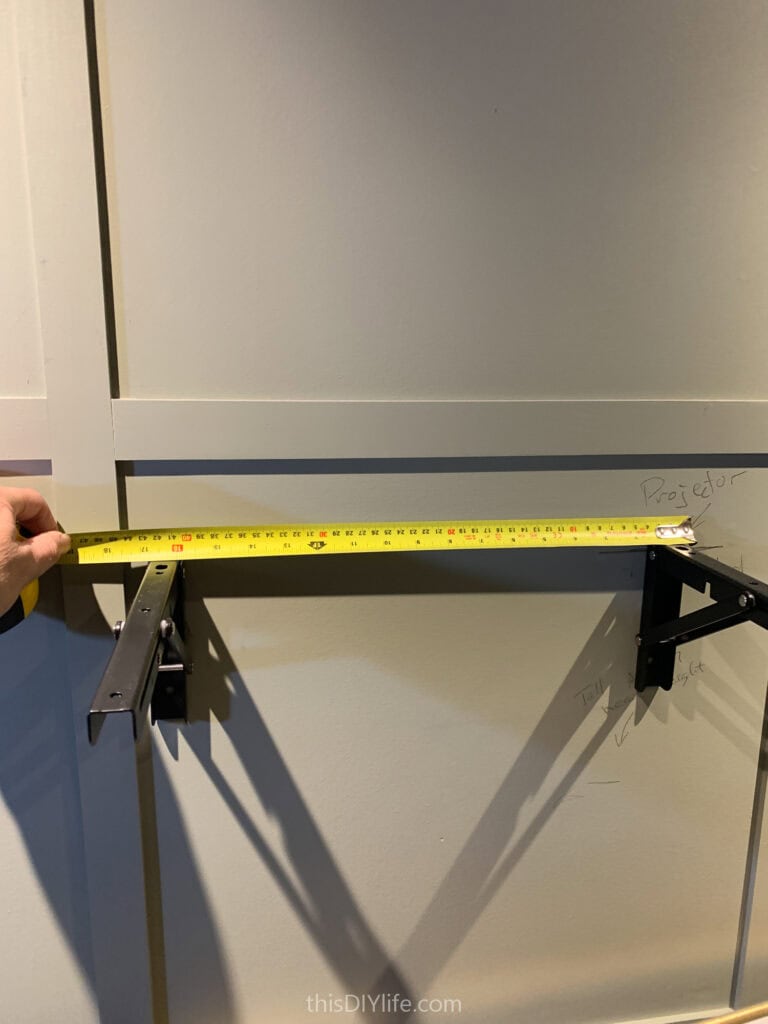
We used the width of the projector + a bit of extra when we were mounting the brackets (this lined up with studs too, so added bonus for secure hanging!), but you could make it bigger, especially if you had a wide piece of art.
Just be sure to check your shelf against the marks on your wall where the art will cover to make sure you don’t make it too big.
Cut your shelf plywood and, position it on the wall-mounted brackets and pencil mark where you need to secure it in the bracket screw holes.
Remove the wall brackets now to make assembling everything easier.
Step 4 – Attach the shelf to the brackets
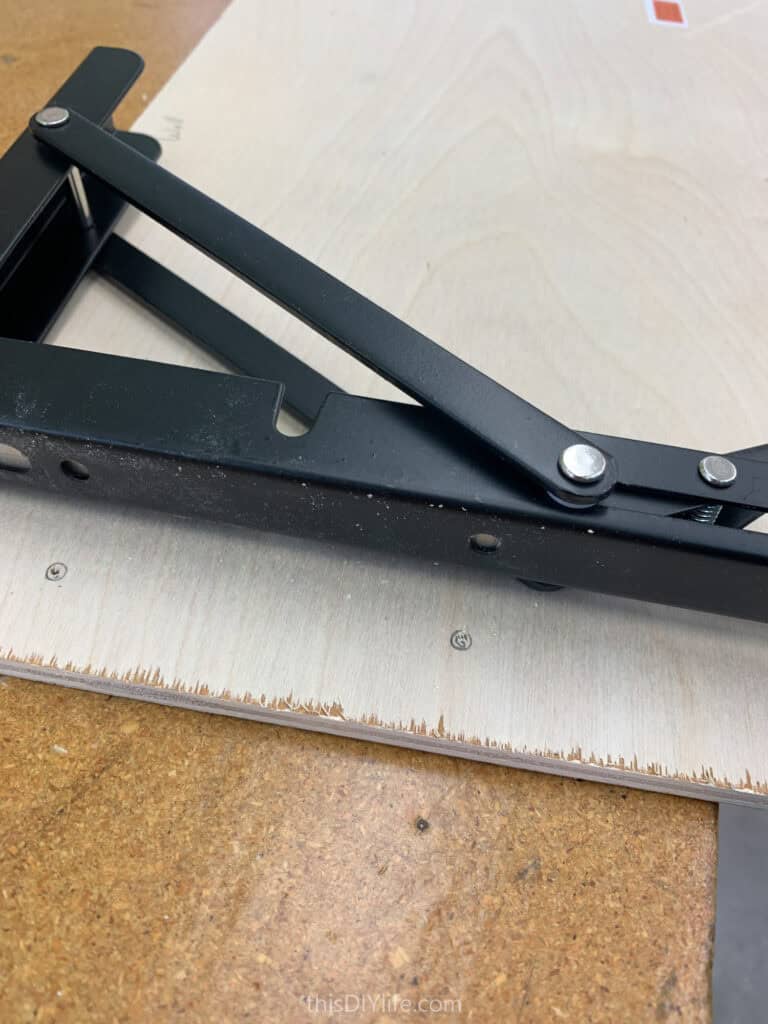
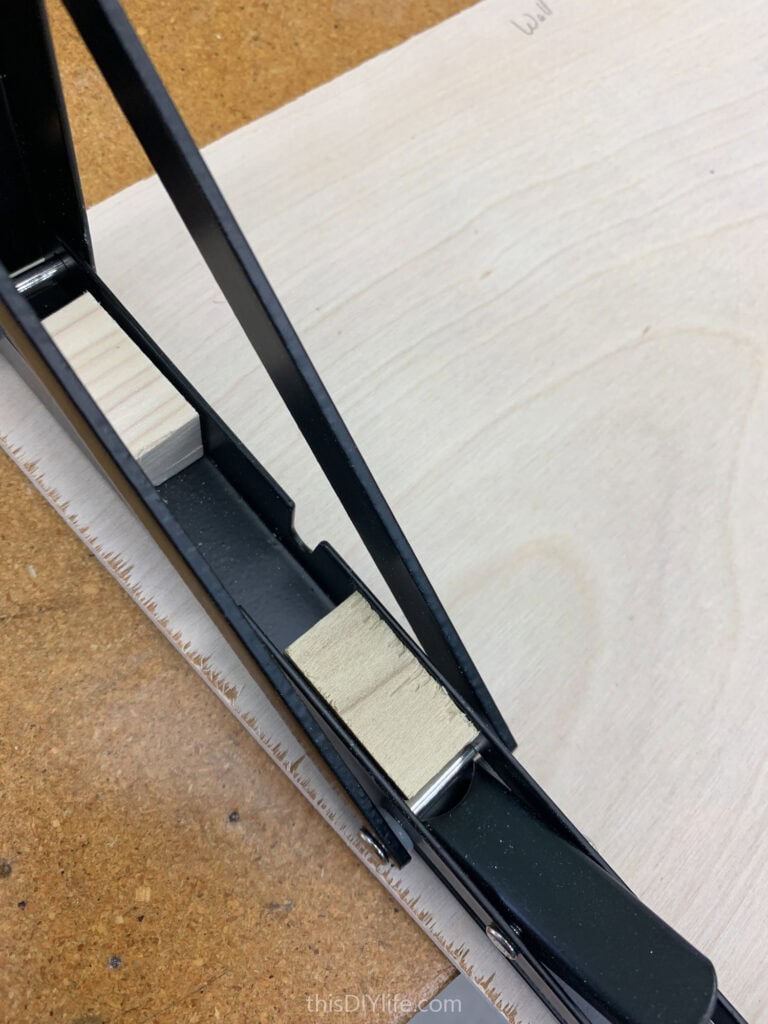
(I just reread these last sentences and hope these images provide a more clear explanation of what I’m trying to say.)
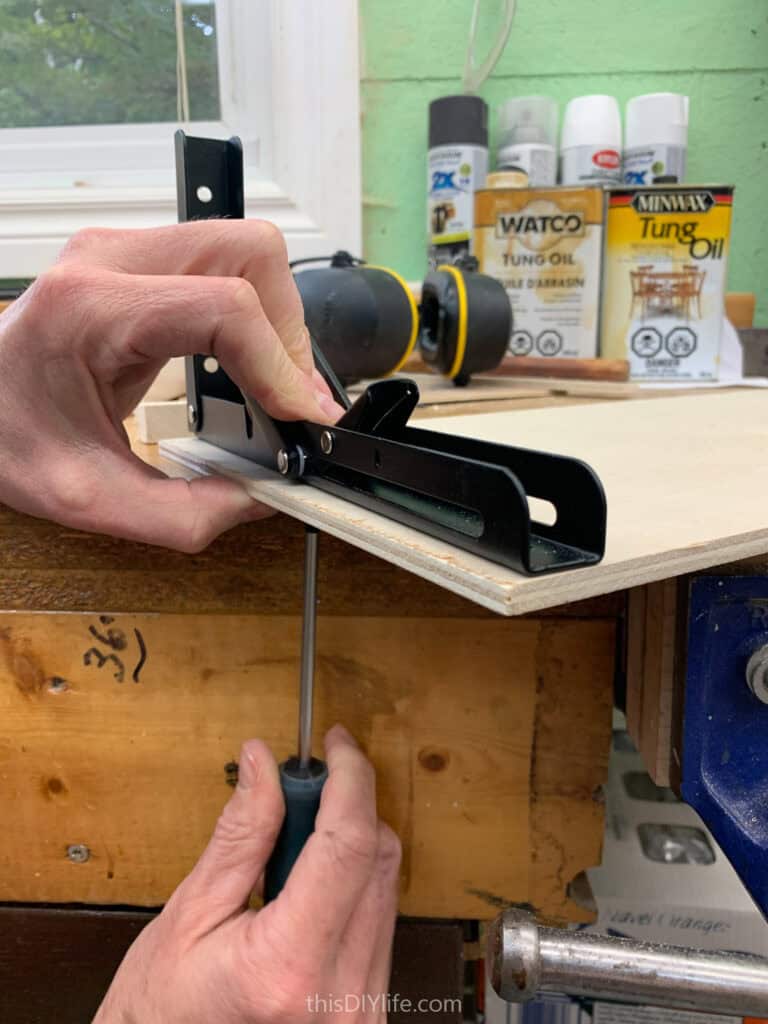
Be sure to keep everything lined up and square or it won’t work properly.
Collapse and open the brackets a couple of times to make sure everything is going to work.
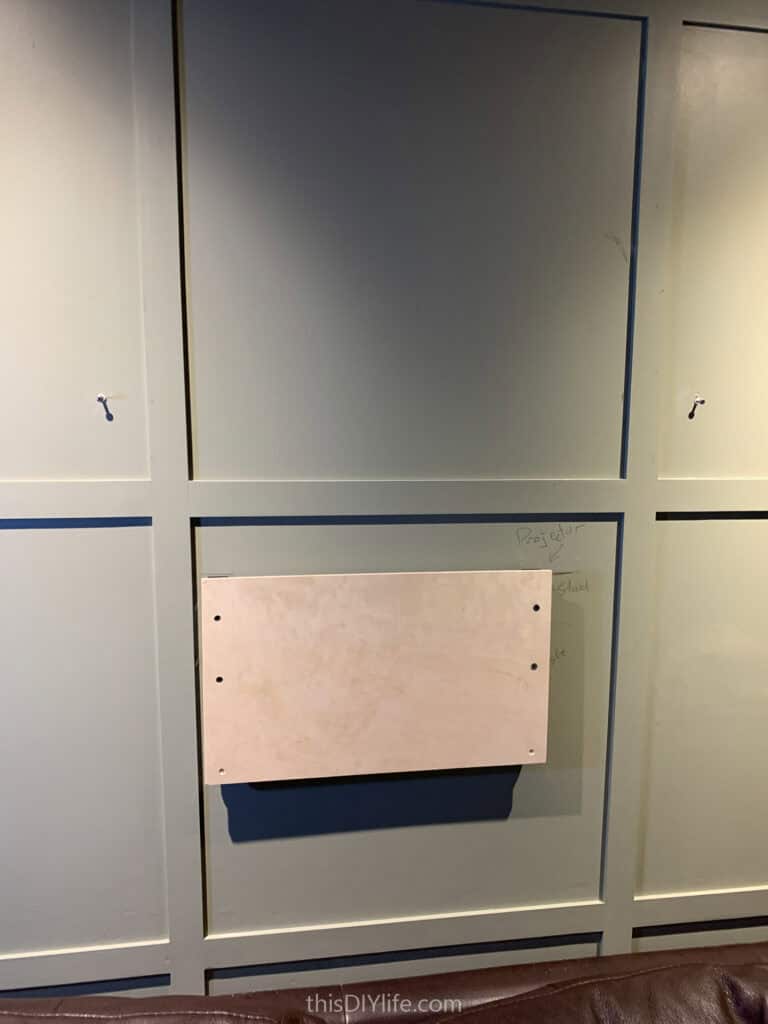
Step 5 – Mount your Projector Shelf to the Wall

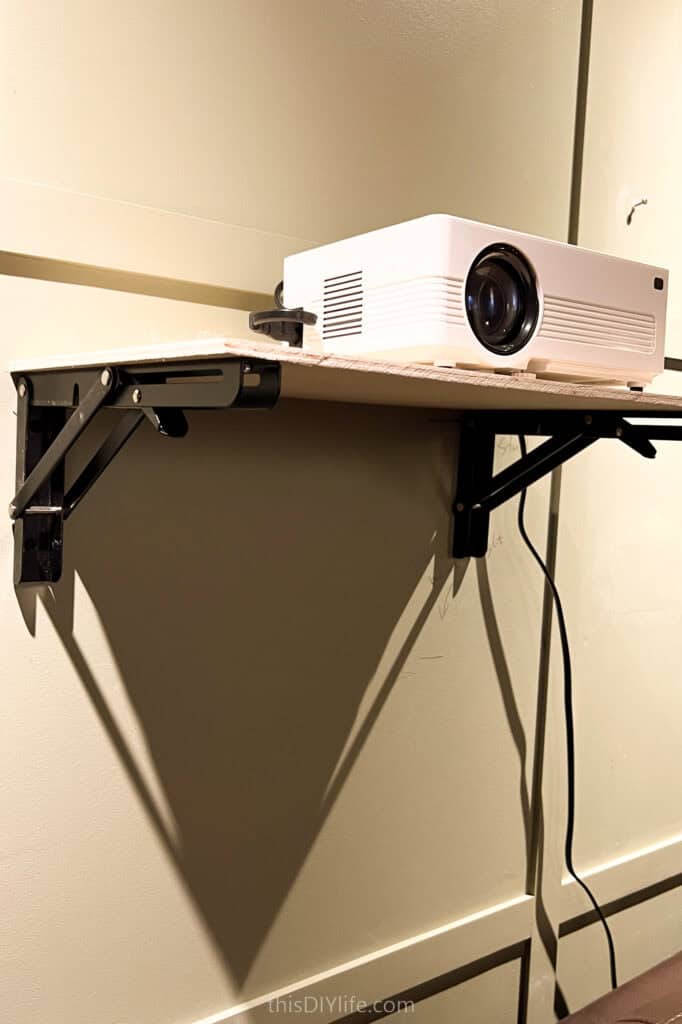
Step 5 – Set up your projector!
Bonus: My Temporary Projector Screen Solution
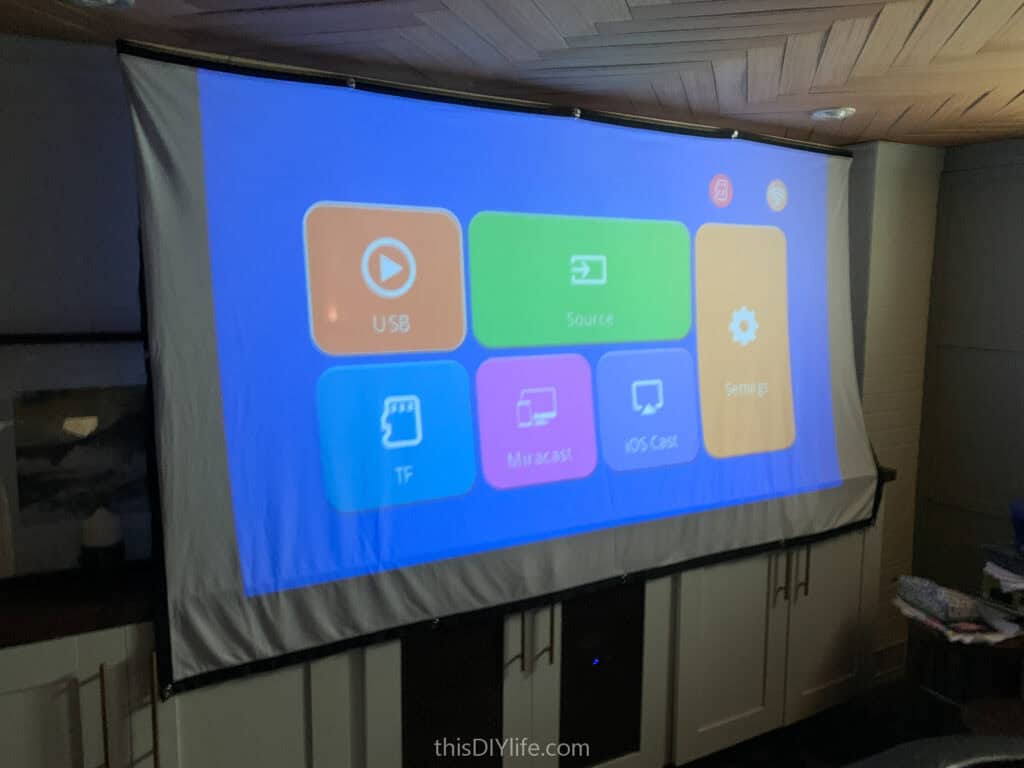
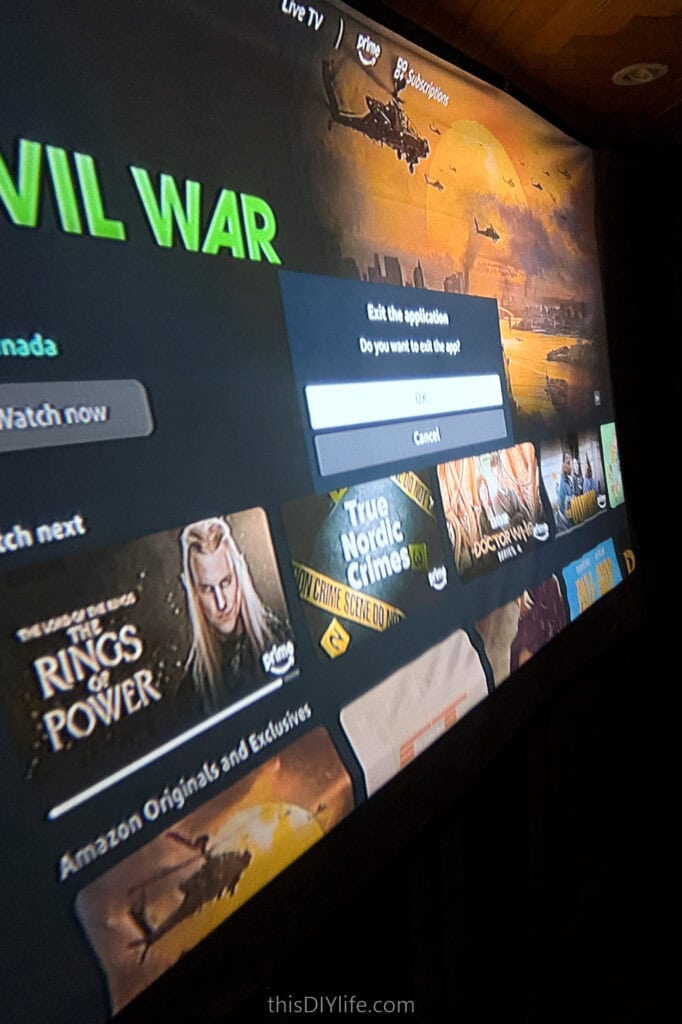
Sure if your room (and Budget) permit, you could get a retractable, professional style system, but our projector came with a pretty decent screen and I wanted to make it completely removable and do it for (basically) free.
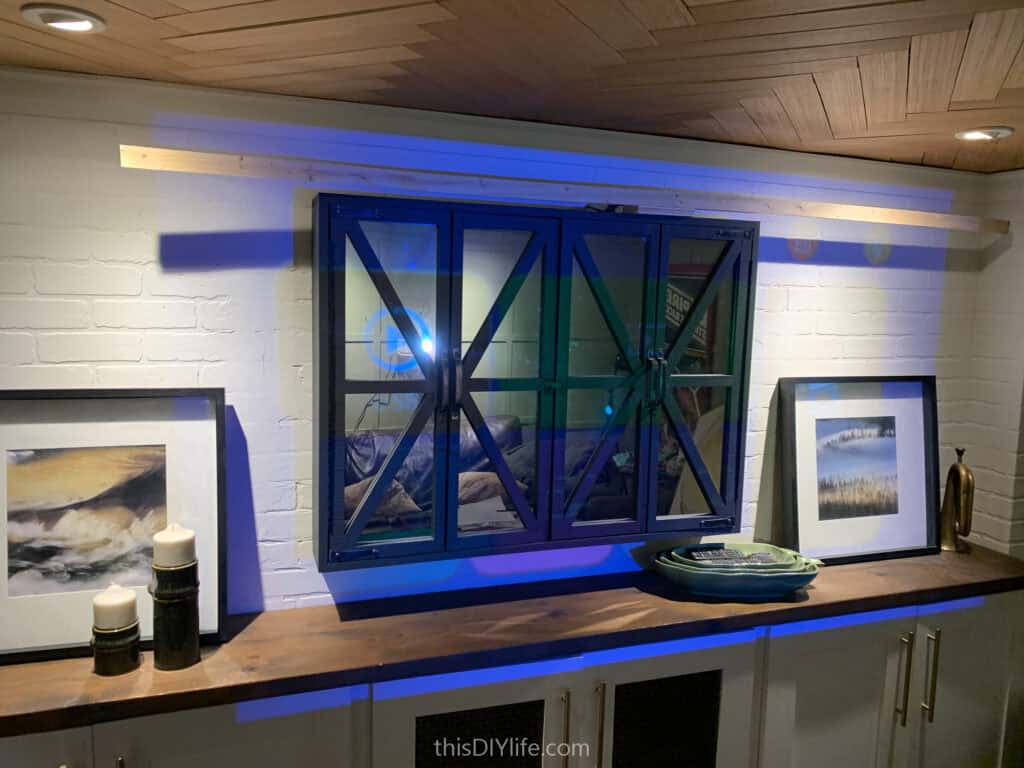
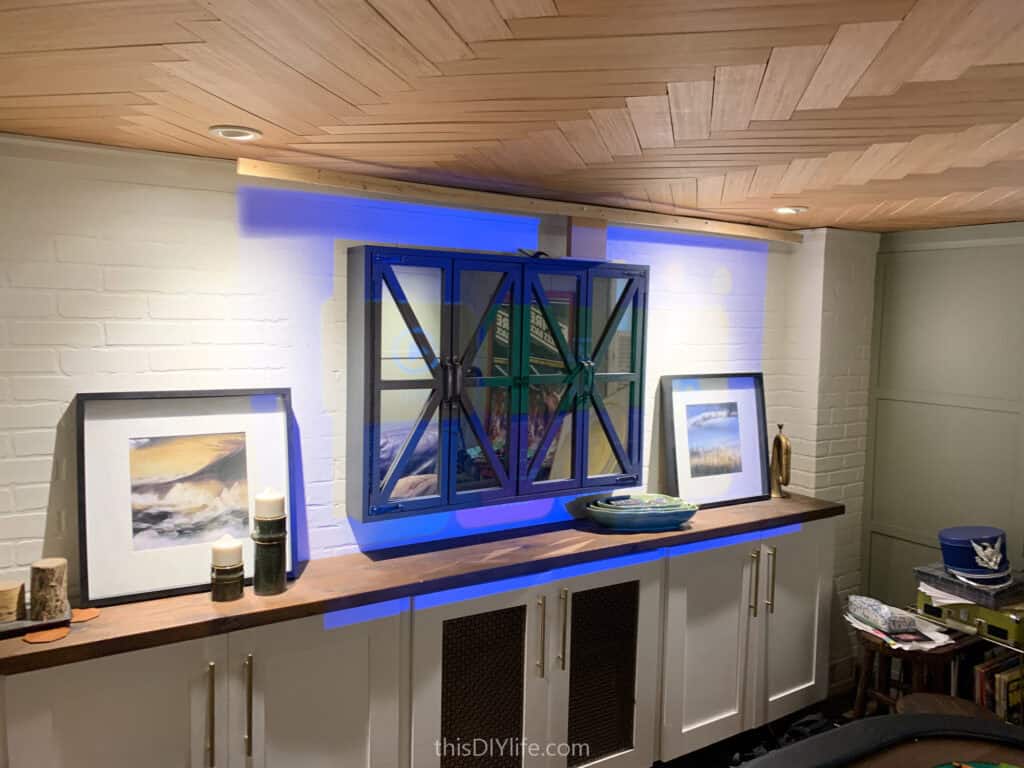
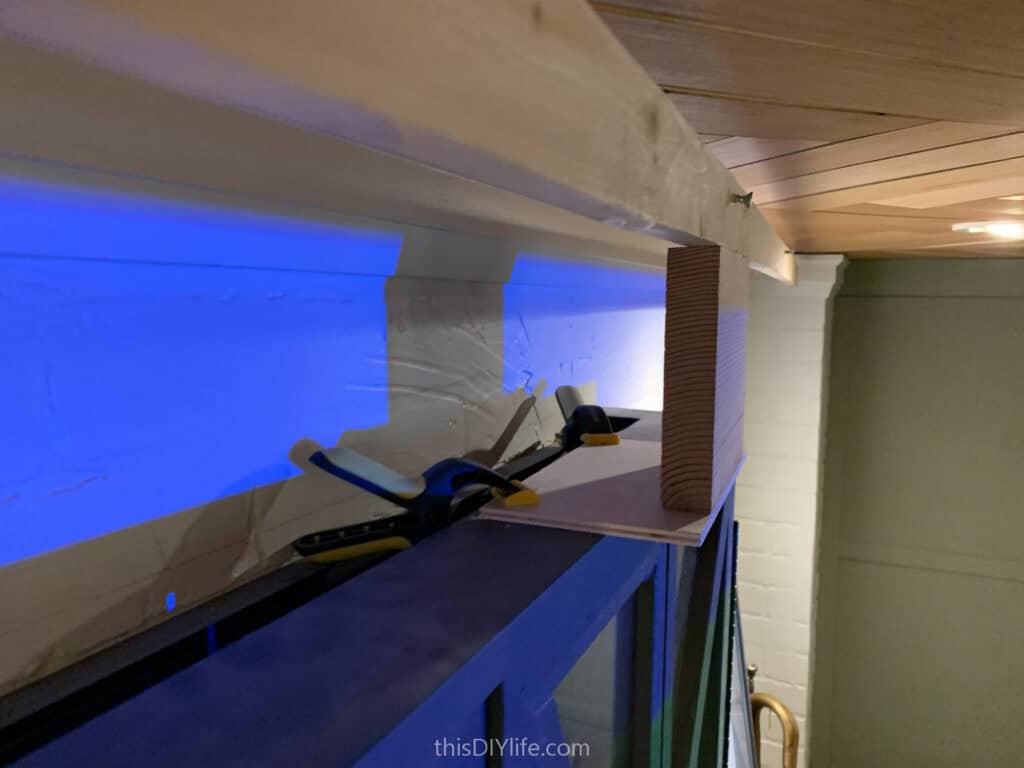
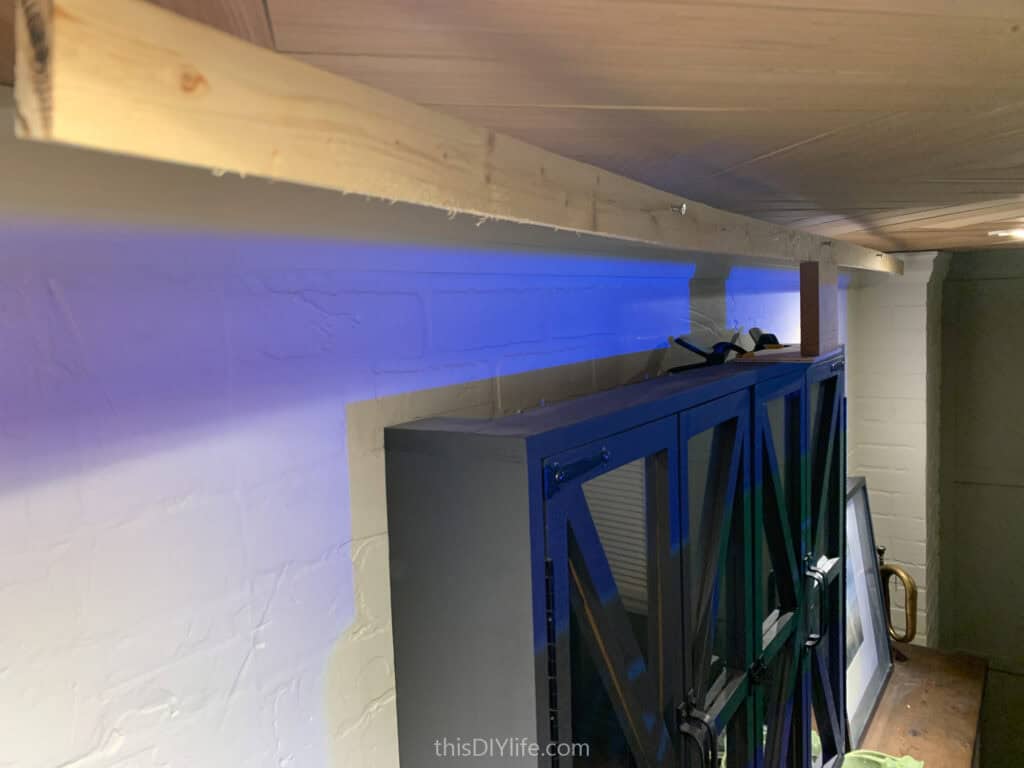
In our case, we still wanted to keep our Mirrored TV cabinet that we built for our media room, so the screen needed to be temporary and mount on top of the Cabinet. Here’s what I came up with
- Length of rigid material long enough to support the top of your screen (1″x3″, 2″x2″, 2″x3″ can all work)
- Screws or hooks to attach your screen to the material
- Clamps, picture hanging wire/anchors or Command hooks – something to hang the screen temporarily over whatever you already have on the wall facing your projector mount. (Sorry I can’t be more detailed here, but I expect every room to have its own obstacles to work around, so I’ve tried to suggest lots of options)
Step 1
Step 2

Step 3
Step 4
Some other digital project thoughts:
- Audio
- Most projectors have audio, but sometimes they can be feeble or tough to hear over the sound of the fan inside of them.
- To get around that, you can Bluetooth from your streaming or gaming device to an external audio source.
- We have a used Sony bookshelf system hidden in our media cabinet that I link our system to and it sounds amazing.
- There are also Projectors with built in Bluetooth that you can use and connect to your favourite portable Bluetooth speaker(s) and your temporary big screen arrangement with both feel and sound like a real theatre!
- Position the speaker behind the screen and people will think you’re a genius!
- Connecting Devices
- We have to relocate our Switch and/or Apple TV when we have the projector set up and connected.
- No big deal, – we just move them from the media cabinet & plug them in via HDMI cord to the projector and into outlets behind the couch.
- If you want a simpler solution, consider a projector that is an All-in-one with Streaming services and Dolby Audio Built-in.
You can find all of our all of our Basement Media Room Projects here, including:

Robin and Ed are a DIY-loving couple with over 25 years of design and build experience. Also, Robin is a Nutritionist and former Registered Dietitian and Ed is an award-winning Business Educator. We share strategies for living a rich life on a DIY budget: creative money-savvy ideas for a stylish home, healthy meals and family fun. Our work has been published in the pages of Do It Yourself, Farmhouse Style and Better Homes & Gardens magazines.