How to Make Vertical Shiplap Paneling (on the cheap!)

 Basement bedroom: basement window covering, antique treadle sewing table, and more #decor #budgetdecor #bedroomideas #basement #farmhouse #cottage #frugalfamilytimes")
Intro by Robin Steps by Ed
I LOVE a dramatic before and after – you too? And this room has me smitten. And this vertical shiplap paneling is a big part of my love. Vertical shiplap walls are timeless and bring so much character to a space – and they’re a simple and affordable DIY project!
Our vision was to create a cozy welcoming guest room that doesn’t feel like it’s in the basement. Have we achieved that?
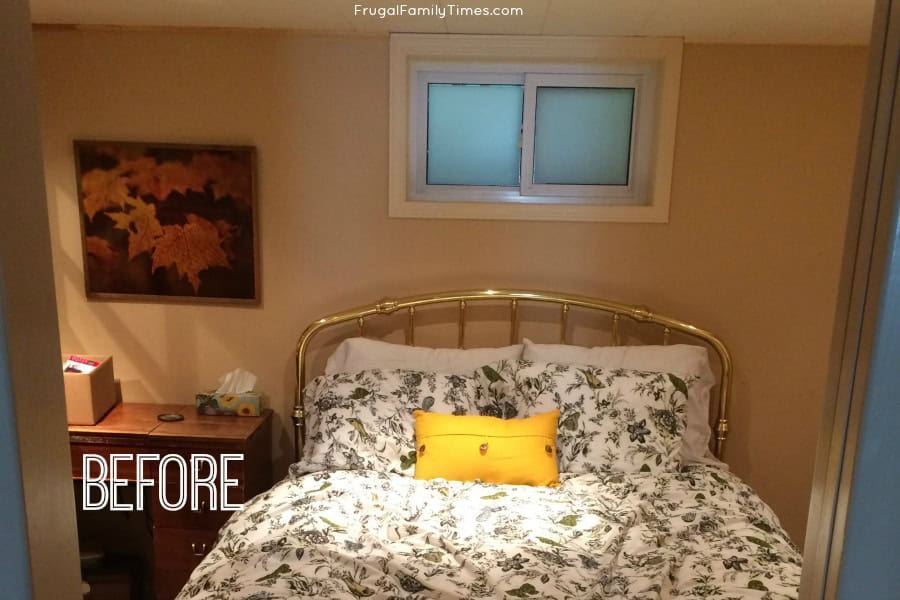
I can’t get enough of this before and after! It was just a dreary, bland box that screamed BASEMENT! Maybe a step up from sending our guests into a dungeon room filled with hand me downs.
Instead of saying, “Welcome, friend” it said something more along the lines of, “Don’t get too comfortable. You aren’t staying long.”
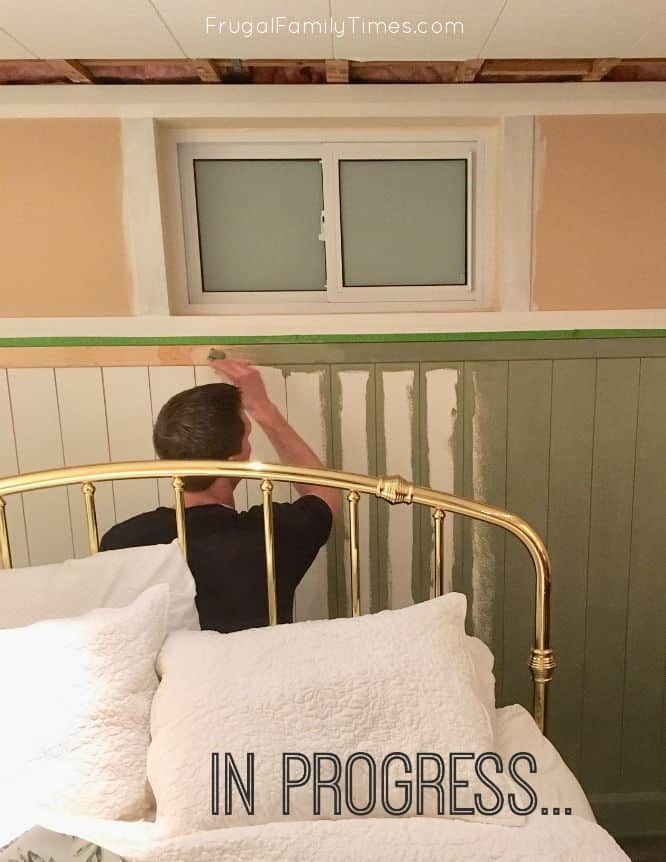
Of course, as always, our second goal was to achieve this transformation on a budget. This project is a great example of doing more with less. See that lovely green panelling in the after photo? That cost us about $25 – including paint!
If you’re curious as to how we made beautiful vertical shiplap paneling on a budget, we’ve got you covered. It all started with leftover material from our wall to wall bookcase…and ended with gorgeous vertical shiplap walls!
Normally, I try to avoid going into our basement storage room/workshop. Ed and I have different approaches to storing things – and I let him express himself freely in there. It is absolute chaos! But he can find everything.
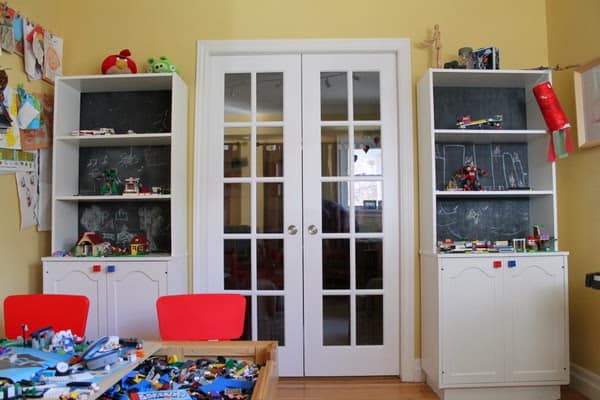
But one day, after we installed our IKEA hack built-in bookcase, I was forced to go in there. I think I fought it for a day and a half – but there was no avoiding that room. It was then I saw a cast aside material that I knew would make my already planned panelling so cheap!
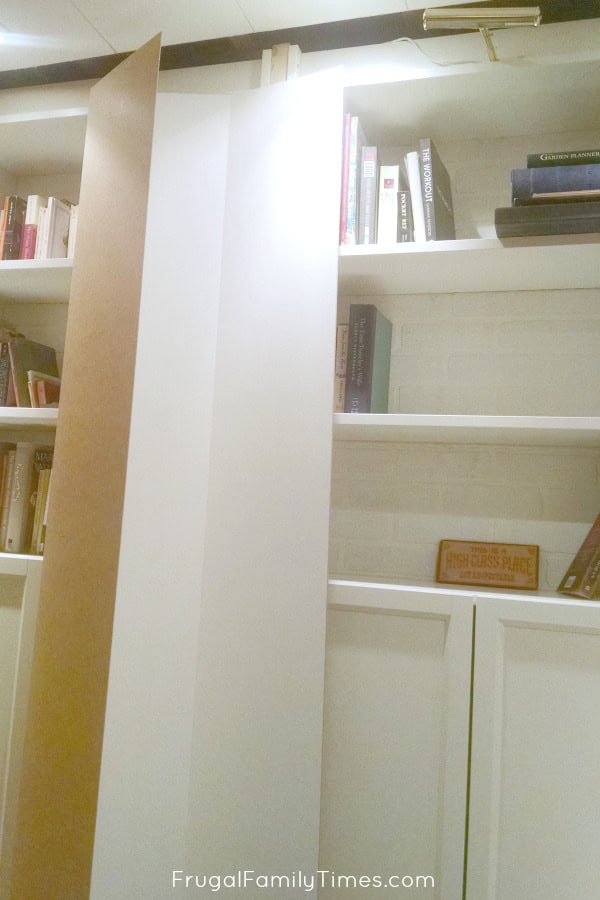
The unused Billy bookcase backings!
If you’ve seen our bookshelf project you know that we amped up the character of them by backing them with faux brick. We didn’t use the backing that came with the shelves. Until now!
We measured the square footage and then checked the accent wall in question. If we planned carefully, there was enough.
Now, not everyone has bookcase backing lying around. But what we achieved here can be easily reproduced with cheap panelling.

That big (faux) window!
Those live edge treadle tables! 😍
Vertical Shiplap Paneling DIY
What You Need:
- Enough fiberboard backing to cover the wall you’re panelling (we nearly ran out)
- Baseboard
- Trim for top
- Table saw (or circular saw with cut guide)
- Construction adhesive
- finishing nails or brad nailer
- Paint (we used Milk Thistle from Behr)
How to Make Vertical Shiplap Walls:
Step 1: Cut your panelling into strips.
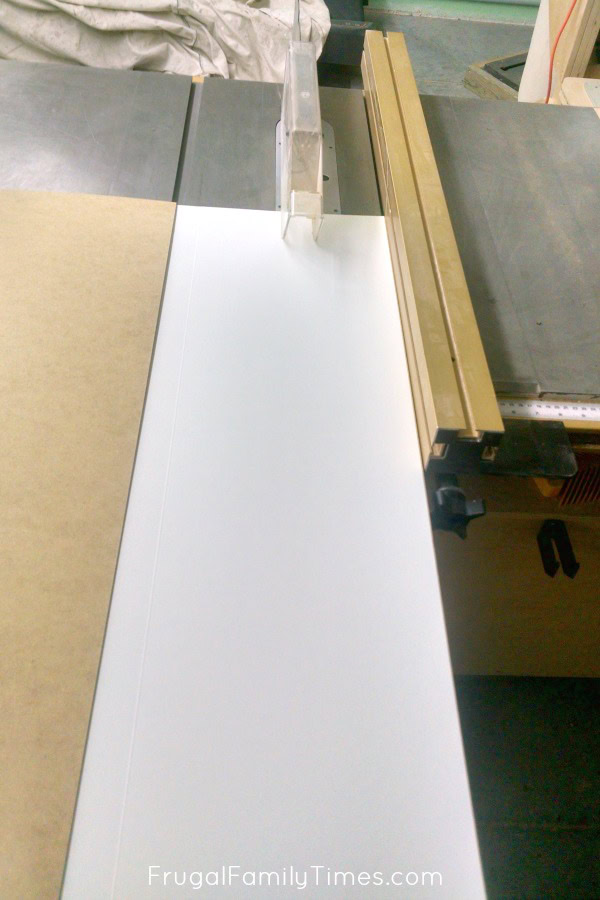
Rip on a table saw or use a circular saw with cut guide. (Get help – this material is floppy and the long strips are awkward!)
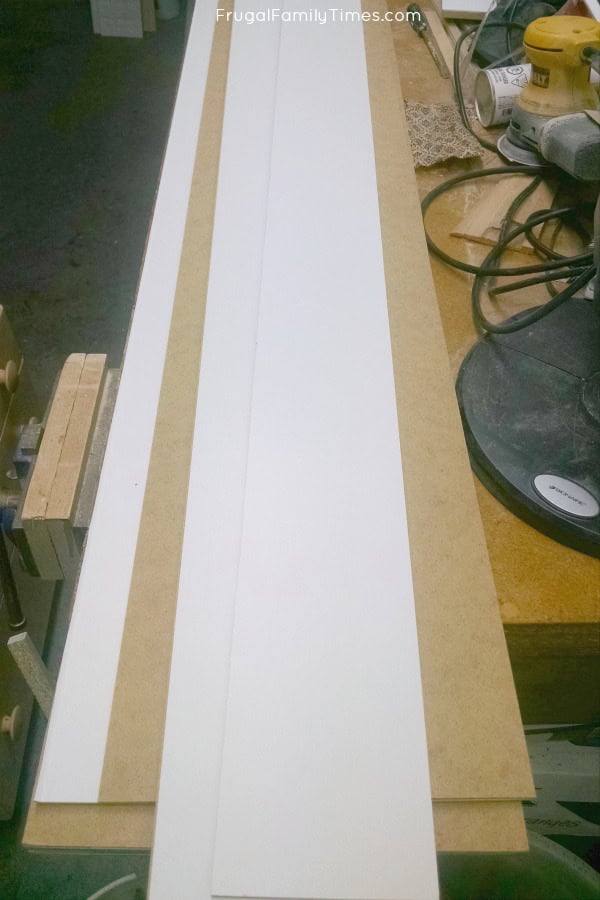
Step 2: Do a “dry run” and determine your optimal gap.
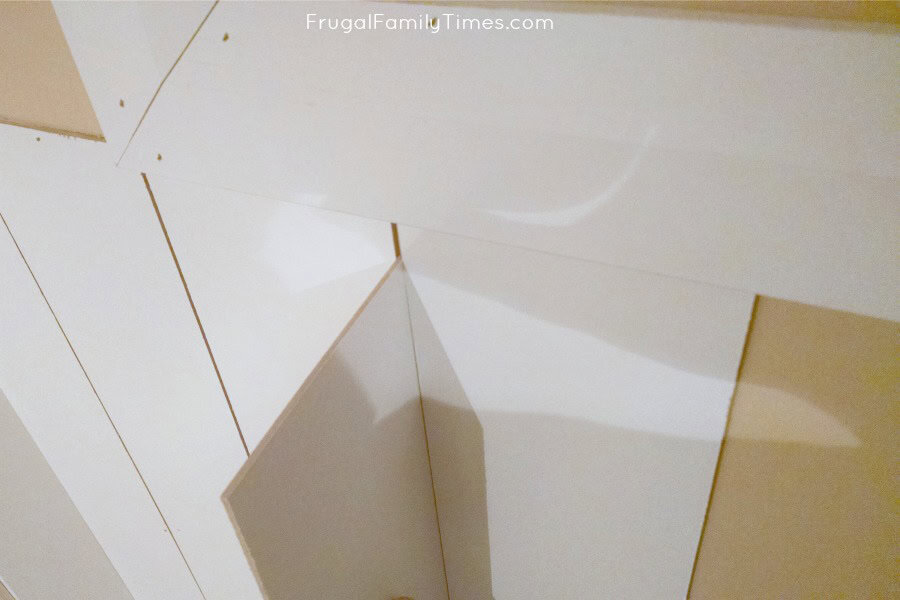
Turns out, the thickness of the strips (1/8″) was perfect!
When you come to fastening your finished pieces, be sure to work hard on the first few to get them level and straight. If you make a mistake at this point it will get exaggerated as you finish more.
After you get the first couple rows straight, it goes pretty quickly – gap with a spare piece, and nail a panel. Repeat a bunch of times.
Step 3: Fasten your strips in place – and learn from our mistake!
 Basement bedroom: basement window covering, antique treadle sewing table, and more #decor #budgetdecor #bedroomideas #basement #farmhouse #cottage #frugalfamilytimes")
Notice no photo of us applying the adhesive – this is a mistake – we didn’t do that!
We thought we could do it all with nails and things would be fine. Wrong! You end up needing to use a LOT of nails, which means more filling and mess.
Learn from our mistake and use construction adhesive, too!

The funky part was determining where to hide the panel sections we needed to join. We didn’t have enough material to do full pieces all the way across.
So behind where the headboard of the bed would be, we cleverly (read, frugally) stitched together some scrap pieces to complete the look.
Trust us, a bit of filler and paint and no one will notice…
Step 4: Trim Out the Top
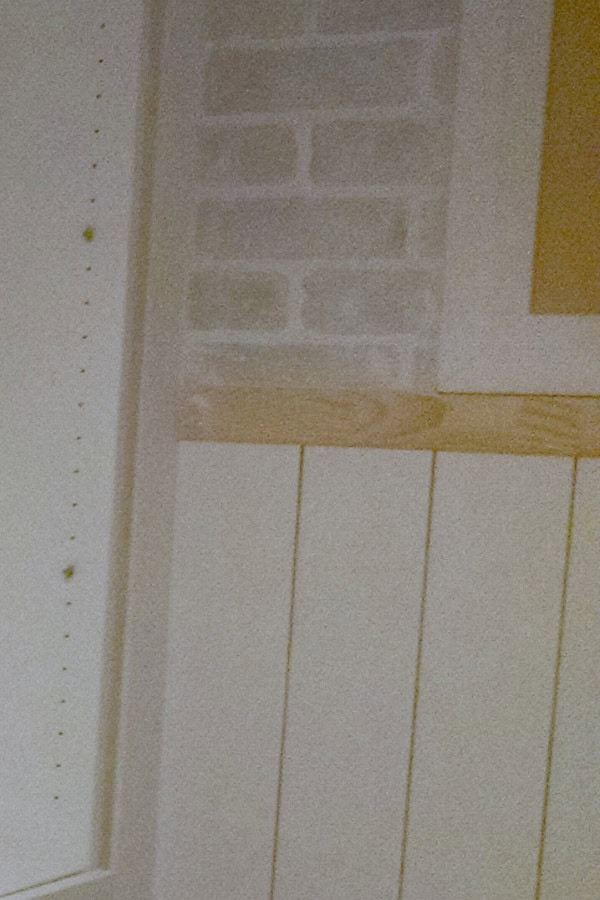
It had the added benefits of hiding some ends and holding the panels to the wall a little more firmly (did I mention we neglected to use adhesive? Don’t neglect it.)
Step 5: Fill the holes, sand and paint.
And you’re done!
 Basement bedroom: basement window covering, antique treadle sewing table, and more #decor #budgetdecor #bedroomideas #basement #farmhouse #cottage #frugalfamilytimes")
Decor sources:
Throw Pillow Fabric (I made the simple pillow using this tutorial.)
Sheets (So soft and pretty – and a great price.)
Coverlet and Shams (Yeah – I almost didn’t buy it when I saw who the “designer” was. Ha! But the quality is wonderful.)
Lamps (similar outside Canada)
Faux Pink Peonies
Faux boxwood topiary (similar) vase is thrifted
Panelling paint (green): Milk Thistle Behr
Trim paint: Soft Focus Behr
 Basement bedroom: basement window covering, antique treadle sewing table, and more #decor #budgetdecor #bedroomideas #basement #farmhouse #cottage #frugalfamilytimes")
Other projects in our Basement Guest Room-Library:
- How we made this antique Singer sewing machine table
- The faux window treatment to disguise that typical high small basement window
- IKEA hack Billy bookcase built-in – with painted brick backing and easy-wired bookcase lighting
- Our Faux Bricks Wall Treatment
- Natural Wood Panelled Ceiling – with cheap plywood
This is one of dozens of projects we’ve created in our Budget Basement Makeover(more here) and one of many projects in our cozy Guest Room-Library (more here).

Robin and Ed are a DIY-loving couple with over 25 years of design and build experience. Also, Robin is a Nutritionist and former Registered Dietitian and Ed is an award-winning Business Educator. We share strategies for living a rich life on a DIY budget: creative money-savvy ideas for a stylish home, healthy meals and family fun. Our work has been published in the pages of Do It Yourself, Farmhouse Style and Better Homes & Gardens magazines.


How did it work nailing the strips straight into the already existing drywall since they are vertical? In my mind you wouldn’t have a stud to nail into for every single vertical strip correct? Or was the wall a different material because it’s a basement?
Hi! The strips are very light – we didn’t concern ourselves with where the studs are for this reason. 🙂
Wow! The shiplap really transformed this space! Great job!