
We may earn a commission on purchases made after clicking links on this page.


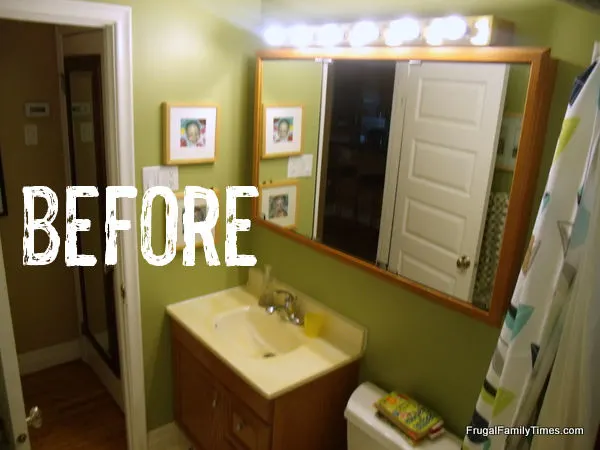
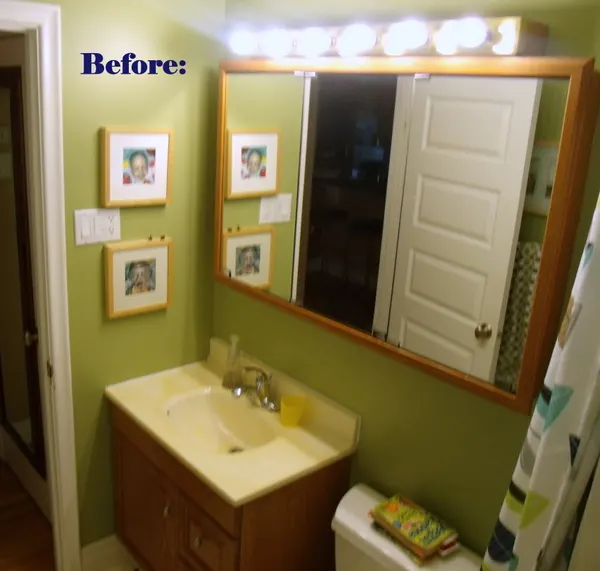
Before our Medicine Cabinet Makeover:

Intro by Robin & Steps by Ed
I resentfully affectionately termed our old bathroom, “Miss Piggy’s Dressing Room”. Kermit the Frog green with a row of supernova bright dressing room lights across the top. I’d often leave this loo whistling the Muppet Show theme song.
A medicine cabinet makeover was the perfect place to start.
We looked around for something new to replace this oak-like mirrored cabinet. But, we couldn’t find anything new that gave us the storage we needed. We didn’t want to scrap the whole cabinet for a smaller one.
This medicine cabinet provides a lot of much-needed storage. (Spoiler alert: keep reading and you can snoop in our medicine cabinet. You’ll see just how much stuff we cram into our tiny bathroom.)
Plus, the wall of mirrors does open up the tiny room visually.
Also, it may come as no surprise: we’re cheap.
I devised a straightforward plan to turn what was an eyesore into something a bit cooler. Ed was kind enough to do this medicine cabinet makeover – on a budget – and below he’s sharing the steps.
Medicine Cabinet Makeover: how to update a medicine cabinet without replacing it
NEW! ⇒ If a Video Tutorial is more your style – scroll to the bottom – we’ve got a video there for you!
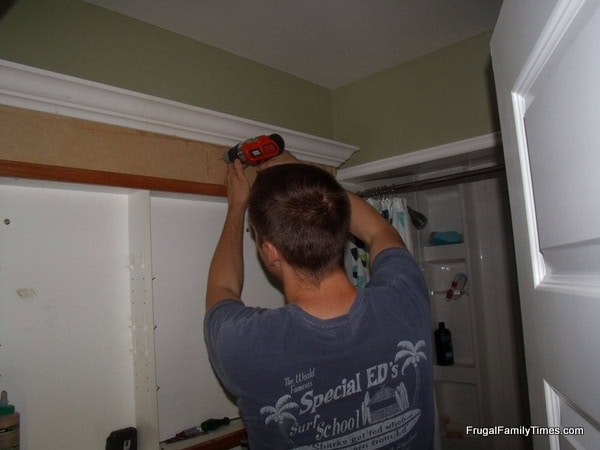
Step 1: Remove the old light
Safety Disclaimer: throw the breaker, unhook the wires, leave breaker off while working till new light connected
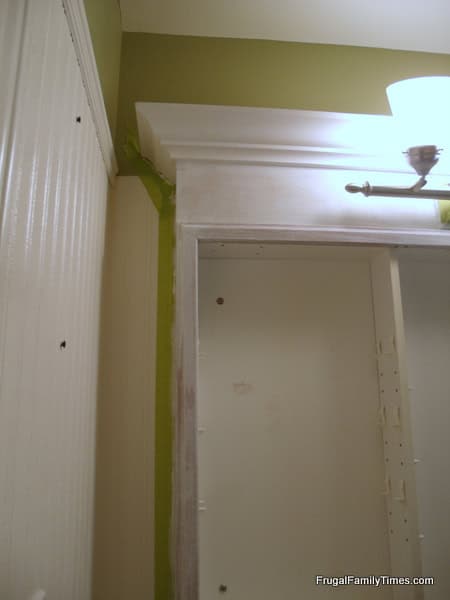
Step 2: Build up the box
Next, we bulked up the sides and bottom of the Cabinet with MDF and extended it on top, boxing it in. This made the cabinet look like it was intended to be wall mounted.
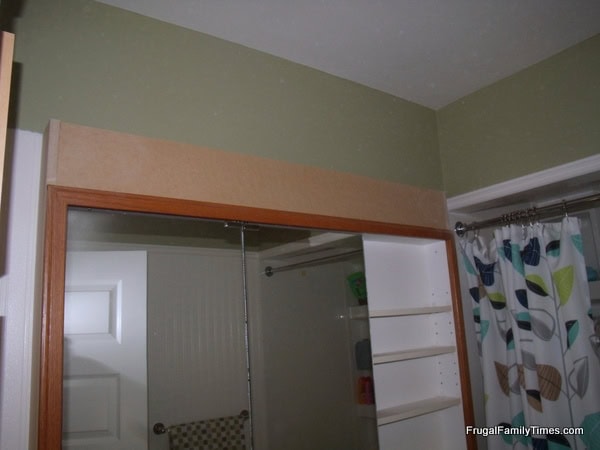

The box also allowed us to centre the light fixture, even though the electrical box was far to the left. The picture below shows it – it’s centred on the sink, not the wall.
Early in our design process, Robin searched for a fixture that could bridge that gap and came up empty-handed. Some things could work but were too ugly to consider.
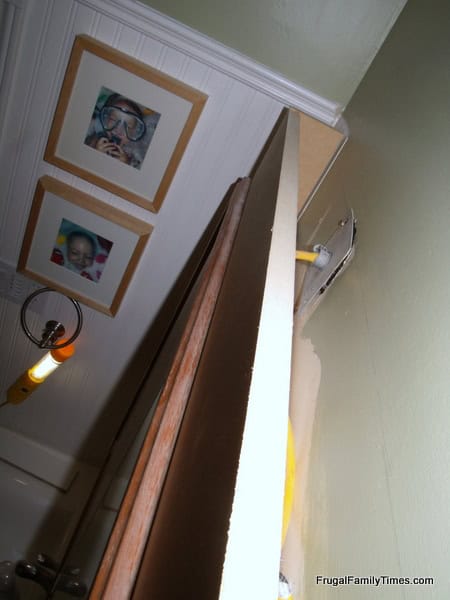

Step 3: Add the crown moulding to the top
This is not for the faint-of-heart and I have had a tutorial from a cabinet maker friend on doing outside mitres.
If you do not have such a friend or family member, eHow has a few decent video tutorials.
But, in all honesty, the hardest part is not the measuring and cutting, it is holding everything in place long enough to get some nails and screws into it.
Hence…notice the gappy mitres?
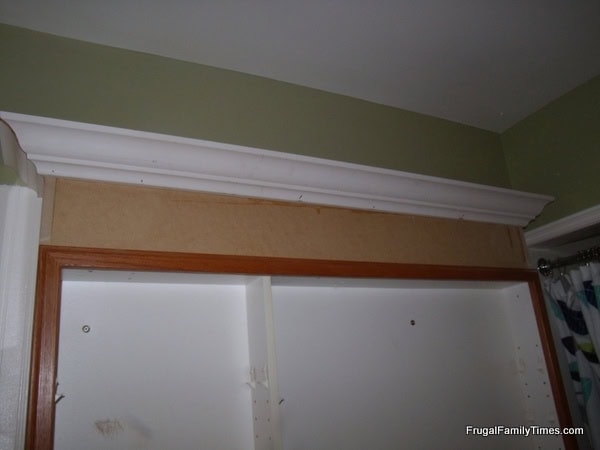

Meet my two best friends in Mitering: Glue and Poly-Filla.:


Glue keeps the corners together.
Poly-Filla makes the mitre look good when you screw it up a bit.
I bashed one corner of the crown mould before install. Since we bought only exactly what we needed, I had to make do.
Some careful application of Poly-Filla, sanding and, ultimately, paint will mean that many of your mistakes will look just fine when you are done.
Step 4: Add the new lighting
I had to drill out a hole for wiring and then was able to mount the new fixture directly on the MDF without needing an electrical box.

Robin picked up a new fixture from Lowes. They have an all-you-can-build light fixture buffet where you choose the style of base from a selection of about a dozen. Then you choose from about twenty different glass shades.
(With all this choice we are surprised Robin got back from her shopping trip within her lunch hour. But she did! No, she didn’t, she was 10 minutes late…shhh…)


Guests will have to get by without being to x-ray their skulls – but it is OK, I guess.
Step 5: Prime and paint
With our best friend, Poly Filla, we filled the holes. So long, gappy mitre. Then Robin taped, primed and painted the whole shebang.

Kate from Censational Girl is the furniture painting rock star, so we followed her advice and chose a water-based enamel.
We used Behr Premium Plus Interior Semi-Gloss Enamel in December Eve.
Robin gave it all two coats. We then left it mirrorless for 3 weeks to cure while we went on vacation. Letting the paint cure is always a good idea, so it sets up really well. It’s especially important when it could be getting lots of bumps and scrapes.
There’s a very good chance of that in this house. Clumsy people reside here.


(We’ve hidden all the good stuff…)
And the drum roll please…here’s the finished medicine cabinet makeover!


Here’s the old before shot again:

And the After!

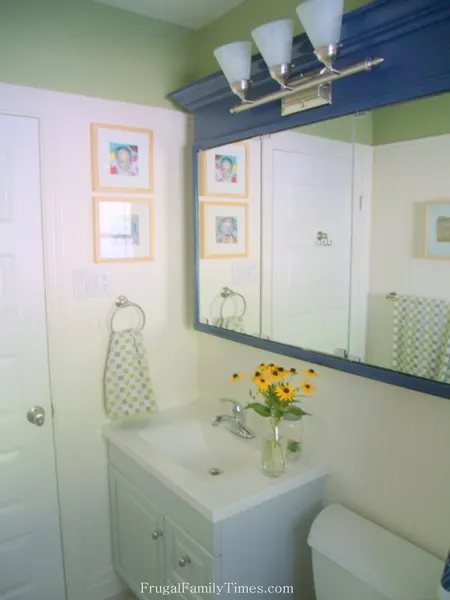
Our medicine cabinet makeover cost breakdown:
- MDF panel = $11
- Crown moulding = $11
- Paint = $ 21 (with enough leftover to paint a dozen other projects)
- Light Fixture = $68
- Glue, Poly filla, Primer = $0 (had on hand from other projects)
Total Cost: $111!
NEW! Here’s a Video Tutorial of the project:
To see more of our Frugal Bathroom Reno, check out these previous posts:
- How to Install Paintable Beadboard Wallpaper
- Saving Money: Mixing Vintage and Discount Hardware
- How to Install Peel and Stick Vinyl Tiles (that you can grout!)

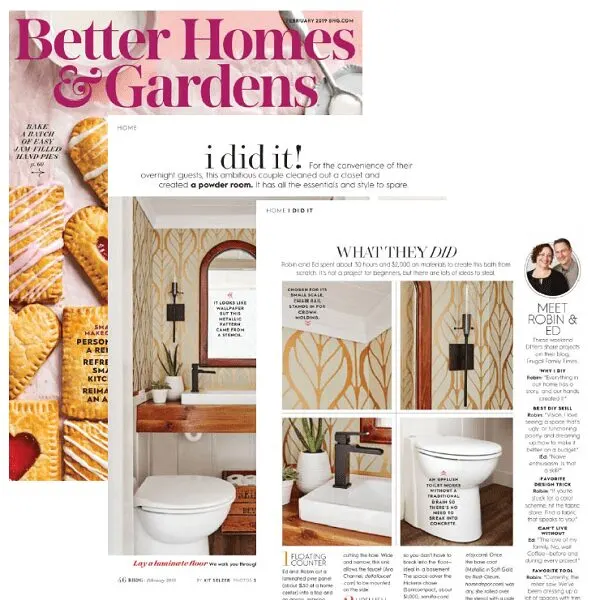
We were featured in Better Homes and Gardens Magazine!!! Here’s the story…


How to Make the Easiest DIY Wood Stain from 3 Simple Natural Ingredients


DIY: How to Add a Bathroom in the Basement Without Breaking Concrete!
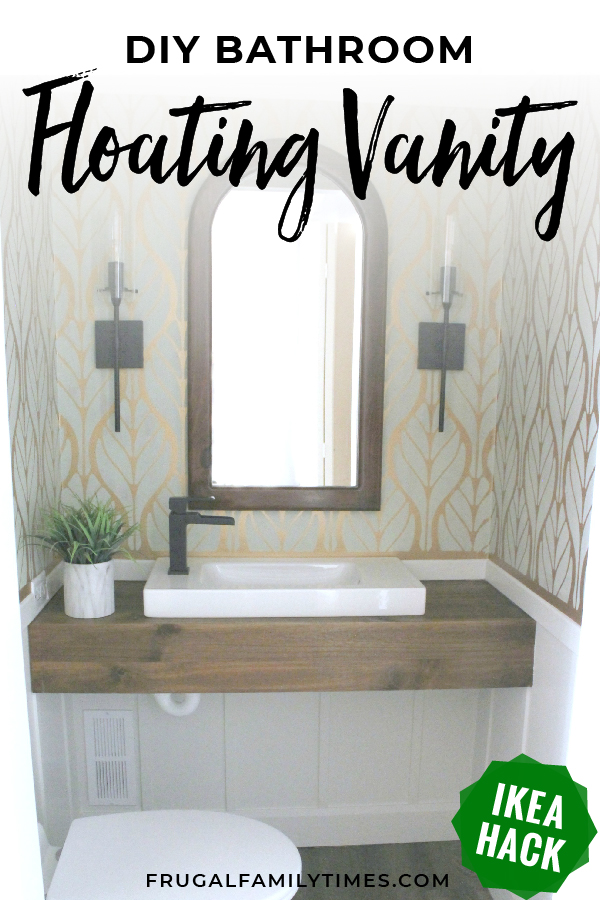

How to Build a DIY Floating Wood Vanity For Less than $30 (an IKEA Hack!)


Metallic Gold and Soft Green Walls – a DIY paint alternative to pricey wallpaper


No Rough-in? No Problem! Our DIY Bathroom in Basement (from a Closest): Cheap and Beautiful!


How to Update a Medicine Cabinet without replacing it!
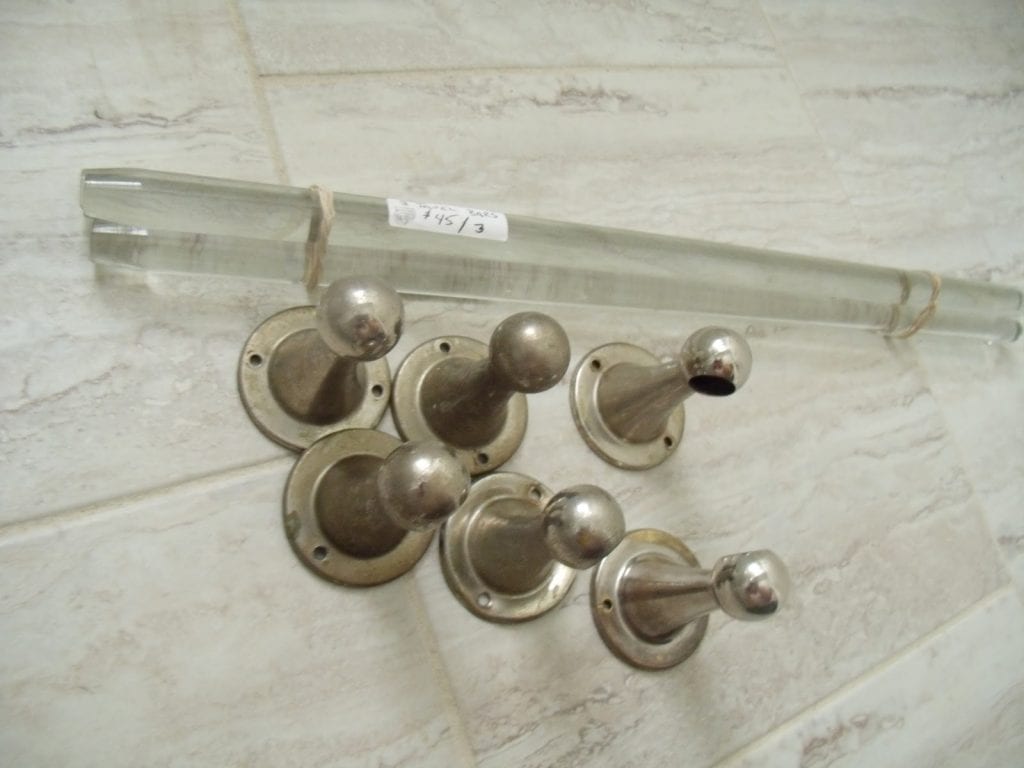

Saving Money: Mixing Vintage and Discount Hardware in the Bathroom


Lynn Spencer
Tuesday 2nd of March 2021
Wow! That's the biggest medicine cabinet I've ever seen, so I completely understand wanting to keep it! YOu did a fantastic job making it not only functional but good-looking too.
frugalfamilytimes
Friday 14th of May 2021
Thanks, Lynn! I should update these photos - we've replaced that vanity light with something more modern and streamlined. All these years later we're still so happy we did this. :)
jeanne
Wednesday 14th of August 2019
Easy to see why you did not want to lose your huge cabinet storage space. Lovely makeover. No one would ever dream you did it on such a tight budget. Kudos to both of you. Will check out your link to the beadboard project.
Winedaze
Saturday 6th of July 2019
LOL>.........I had the same green here; a pal named it "Monkey Puke Green"----I painted that over before I even moved the furniture in the house LOL!!
(LOOKS amaaaaaaazing BTW)
ceecee
Saturday 6th of July 2019
Love the new look. I am always thrilled when I see what people can do with only a few items. Great work!
Unknown
Friday 19th of August 2016
Woah, this looks AMAZING!! We just bought a home with the same blah cabinet and it's my first "gotta go" or refurb project. Thanks for giving me confidence and the idea this will work for us too!
frugalfamilytimes
Friday 28th of October 2016
I love that - wish I could see your after! :)