
We may earn a commission on purchases made after clicking links on this page.
by Robin

The thing that got the ball rolling on this whole bathroom reno was this sink.
To the casual observer (i.e. every single guest whose ever had a piddle at our house), it would seem that we thought cleaning was optional and that we butted out our smokes on the countertop.
We do clean on occasion and don’t smoke. Our sink told a different story. It was stained and chipped and awful.
The story our talkative sink would also tell includes a slight touch of colour blindness. Why would someone choose a white toilet, white tub and an ecruish-yellow sink?
I’d have to ask the previous homeowner. (Maybe I will next time he visits. The previous owner was my Dad, who’s a renovation Superman, but I’m afraid his kryptonite would be “colour choosing”. Sorry, Dad, it’s true.)
We entertained thoughts of changing out the vanity for a pedestal. That would be the most stylish choice; it would make the tiny room seem bigger. And there are so many lovely options. I know, I know.
But we have stuff.
All of it useful and necessary for daily life. I always admire open shelving and decorative baskets, but man(!) I am not interested in the work that goes along with perfect folding or dusting or hiding things in out of the way places because they don’t fit with our decor.
We decided it would be cheaper and more interesting to work with what we’ve already got. The vanity was staying. This is how we did a simple and affordable bathroom vanity makeover!

Bathroom Vanity Makeover
Our vanity is an odd size – 19″ X 31″. It’s narrow, which is perfect for our tiny space; it gives room to move around in there. But the relatively rare size made it challenging to find a replacement top.
So, after some extensive searching and sale waiting we picked up a new sink. We found ours from Home Hardware after it finally went on sale. It has simple clean lines and it’s white!


Here’re the bathroom vanity makeover steps:
1. The first step was taking off the old sink.
Ed pried it off with a crowbar. They don’t always crack into razor sharp pieces, we are just that lucky. (We had originally planned to donate the sink to the ReStore. Just in case someone was making the set for a movie scene in a crack house, and needed the perfect sink for that look.)

Most people should find their old sink comes off in one piece.
Also, most people should not have to take their old vanity right out. Normally, this would be a simpler job. You don’t need to yank the whole vanity out, just to replace the vanity top.
But our old plumbing needed some attention, which was easier achieved by pulling the thing out. If your plumbing is OK, definitely skip this step.
2. I then sanded and primed it all.
We moved the vanity out to front porch. Ideally, I would have had time to paint it there too, but the other half of the team was ready to put the sink in place. Working plumbing trumps painting.

We’ve used this Zinsser Primer
Wait, I have one complaint: it smells a little bit like cat pee. Luckily I got to do the priming outside.

3. Prime and Paint
After I prepped and primed the vanity, we let it dry and then reinstalled it.
While I painted the vanity in place, I primed and painted the doors and drawers on the porch.

4. Install new vanity top.
Ed then put the new vanity top on.
Basically gravity, silicon and plumbing hold it in place. We clamped it while the silicone cured.

After three coats of paint on the vanity, drawers and doors, she was done!
I chose Dolphin by Martha Stewart, which is discontinued, but the Home Depot paint barista kindly colour matched a can of Behr semi-gloss latex for me.

Bathroom Vanity Makeover Cost:
- New vanity top = $ 79
- Paint = $ 21 (with enough leftover to paint a dozen other projects)
- Silicone, Primer = $0 (had on hand from other projects)
Total Cost: $100!

To see more of our Frugal Bathroom Reno, check out these posts:
- How to Install Paintable Beadboard Wallpaper
- Saving Money: Mixing Vintage and Discount Hardware
- How to Install Peel and Stick Vinyl Tiles (that you can grout!)
- Builder Basic to Beautiful: Medicine Cabinet Makeover

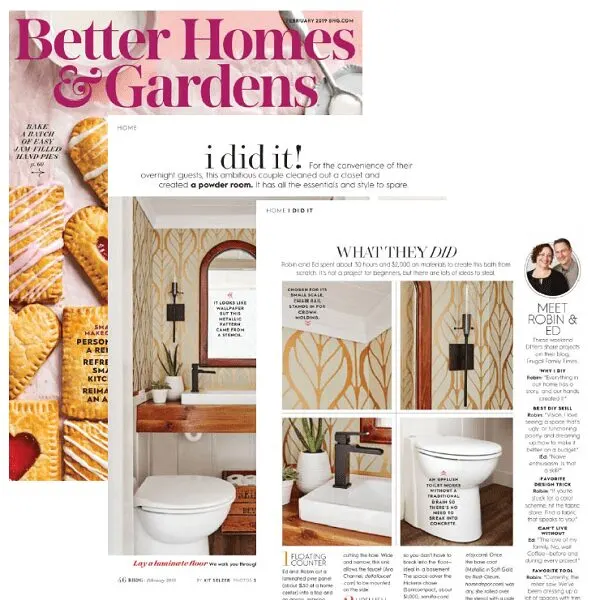
We were featured in Better Homes and Gardens Magazine!!! Here’s the story…


How to Make the Easiest DIY Wood Stain from 3 Simple Natural Ingredients


DIY: How to Add a Bathroom in the Basement Without Breaking Concrete!
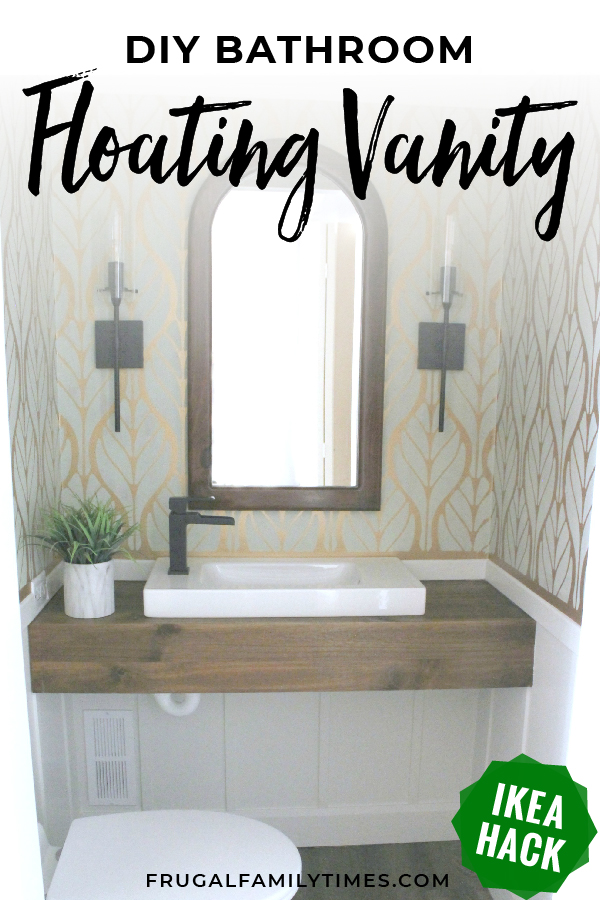

How to Build a DIY Floating Wood Vanity For Less than $30 (an IKEA Hack!)


Metallic Gold and Soft Green Walls – a DIY paint alternative to pricey wallpaper


Daniel
Thursday 15th of September 2016
These are some of the eye catching bathroom sinks. I'm going to replace my bathroom sink similar to the white colored sink with a cupboard in it. This is an amazing blog.
Anonymous
Friday 30th of January 2015
Not certain when you first posted this, but my current bathroom looks almost exactly like this. We just replaced the tile around the bathroom tub walls (not for the faint at heart) and now need new vanity top, door and mirror. But like you, the vanity was custom made for the room so I want to paint it! Love what you did with the mirror too. Our current mirror looks just like your old one too. Thank you for the great tips.
beckstarr
Sunday 3rd of February 2013
Baah! I'm laughing so hard. In case they needed a sink for a crack house. This is hilarious. Your vanity used to look just as ours does, so thank you for the how-to!
frugalfamilytimes
Monday 18th of February 2013
Glad to share the how-to and the laugh with you, Becky! Thanks :)!
Heather M
Sunday 9th of September 2012
Looks so nice! I totally understand you about wanting to keep your vanity to store your stuff! I often wonder how much dusting is required with all the open shelving that some people have.
frugalfamilytimes
Monday 10th of September 2012
I'm with you - dusting sux! Thanks for your comment, Heather!
Rita
Sunday 2nd of September 2012
Your after looks really clean and fresh. Not the setting for a crack house movie in any way! :-) And I hear you about breaking things you hoped to donate to the ReStore. We had to break our vanity up to get it out the bathroom door. We have no idea how the previous owners got it in!
frugalfamilytimes
Sunday 2nd of September 2012
Thanks, Rita! Our minimum standard was "not the setting for a crack house movie"...goal achieved! We're really happy with how it turned out and how little it cost us. All the best with your projects!