How to Make a Table from a Singer Sewing Machine Base

by Robin
As a little girl, I was fascinated with my grandmother’s antique Singer sewing machine base treadle. It sat in her kitchen – the top holding dusty shoeboxes full of odd things and old newspapers – but the top was not what drew me to it.
I was enamoured with that treadle.
My cousin and I would take turns pumping it with all our kid mite to see just how fast we could get it going. Then we’d yank our hands away and dizzily watch the wheel spin and the treadle pump. (We’d keep doing this until the grown-ups would pause their euchre game long enough to notice and scold us to stop.)
It’s an 80’s parenting miracle that we still have all our fingers. That wheel is a finger guillotine!
When my grandparents passed away – my aunts and uncles gave me the treadle machine. But this caused a problem: I now had two. I had purchased one of my own from an antique shop many years ago.
We don’t live in a large house and every square inch is pretty much spoken for. This is part of the reason we’ve embarked on our big Budget Basement Makeover. We really didn’t have space for two bulky old sewing machines – let alone three! I’ve had my other grandmother’s machine – that I can actually sew with – for the last 20 years.
The wooden cabinet tops of all the machines were beaten up. Beyond salvaging really – even if I had space. For example, my grandmother’s was just laminate that was peeling and chipped in a bad way. The other one had ugly gouges and a newer repair to the frame that was clunky and barely matched.
It was the bases that spoke to me with their steady, iron, sculptural beauty.

Since right now we are working on sprucing up our guest room what we actually needed – and had room for – were nightstands. I wanted to add a warm wood top to the treadle bases. I had yet to stumble upon the perfect wood.
And then I discovered a new wood product (at Lowes in the US) And we’re happy that Home Depot chose to sponsor this post after we shared our unique idea with them.
What follows is the very simple instructions for how we made these eclectic modern tables from antique Singer sewing machine bases with natural live edge wood tops.
Oh you guys! They turned out so great!

How to Make a Table from an Old Singer Sewing Machine Base
Steps by Ed.
We were very impressed with Live Edge Timber Co’s Timber-Link sections. (Here in USA) They were much thicker and more substantial than we expected.
It is one thing to read online that they are 2 inches thick. It is another to see and hold them in person. Oh, and they are a Canadian company using Canadian wood – so that’s pretty cool too.
This will be one of the easiest tutorials we’ve ever done because the Timber-Link sections go together as simply as advertised.
Their own videos show everything you need to do and we found them helpful. We will focus on our choices and the reasons for them.


What you need:
- Antique Singer treadle sewing machine bases (or some other cool legs/frame to mount the slabs on)
- Woodscrews
- Wood Clamps
- Wood glue
- Sander – a random orbital sander is best for a smooth finish
- A finish of your choice (we used our very simple reclaimed wood stain 3 ingredient finish)
- Enough Timber-Link slab(s) for the tabletop surface you are building. We only needed one, 8-foot length that we cut down into four, approx. 22-inch sections.

We only needed one 8-foot slab because we were able to select a fairly uniform width board.
The pieces can vary from 5-8 inches in width. We knew we needed an overall depth of at least 12 inches, so we selected a slab that was a minimum 7 inches wide. When two pieces were joined, we got a nice 14-inch tabletop.
Antique Singer Sewing Machine Table Steps:
Step 1: Determine the dimensions of the tabletop and cut to size.
We had two slightly different bases so we cut slightly different tops.
The slabs are pine and cut easily on a table saw. You could use a circular saw or, honestly, a hand saw too.
We suggest planning out your cuts so you don’t accidentally line up one with a pre-drilled pocket screw hole.

Step 2: Join the sections to make a large slab of the depth you need.
Use wood glue on the centre seam and carefully clamp in order to preserve the bark on the live edge.
Having a flat surface to lay the slabs on to clamp and glue will also help to make sure the two pieces are flush and smooth at the joint.

Step 3: Use the pre-drilled holes to screw through and join the sections.
Drill carefully – Pine is a soft wood and screws can pull through. Turn the boards over and use a wet cloth to wipe off any excess wood glue that may have squeezed out. Leave to dry.

Step 4: Sand the new, joined slab thoroughly to create a smooth, even surface.
We eased the end edges slightly to make the overall shape more organic and in keeping with the live edges. Be very careful near the bark as it can peel easily.
Step 5: Finish with your favourite stain or treatment.
Here is a link to our – super cheap – reclaimed wood stain finish of choice.

Step 6: Attach to the antique singer sewing machine treadle base.
Position and mark carefully. Pre-drill and hand screw in place. Admire your work.

If we were making these tables for another larger room we would have made a more generous overhang.
Our guest room is tight quarters and we have a queen bed in here – comfort first! That only allowed for about a half inch overhang on each side.
If one of these tables was standing alone in a larger room – 2+ inches would be a lovely balance.

Now – we had to take awkward close-cropped pictures of the finished nightstands. Even as is there are at least three “secret projects” peeking through. We’ve got some really fun and surprisingly affordable decor projects coming soon to the blog. Our Guest Room Library is turning out so beautifully (yeah, we’re modest.)
We love our new tables and they’ve given fresh life to the Singer Sewing machine bases. Thanks to Home Depot Canada for helping us to bring this idea to life.
UPDATE: Here’s one of the tables in the finished room!

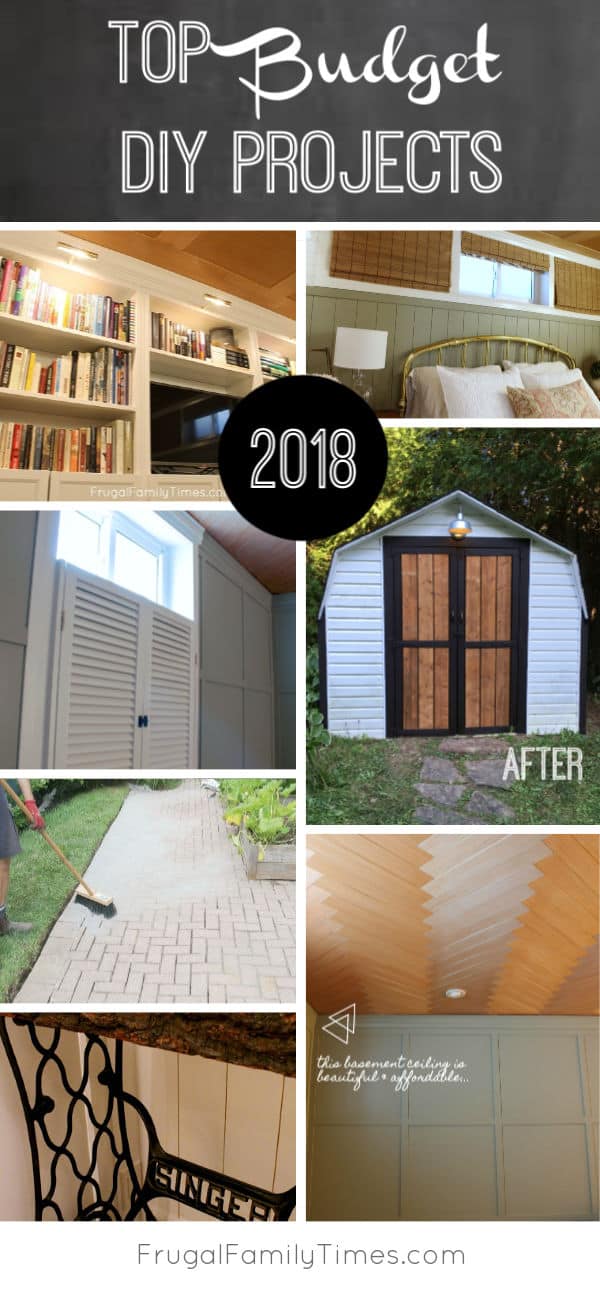
Click here for more budget and beautiful projects from our Basement Makeover Series – including more of this Guest Room-Library. So far our favourite project is the closet we used DIY magic to turn into a power room!
This overstuffed closet is now a basement bathroom!

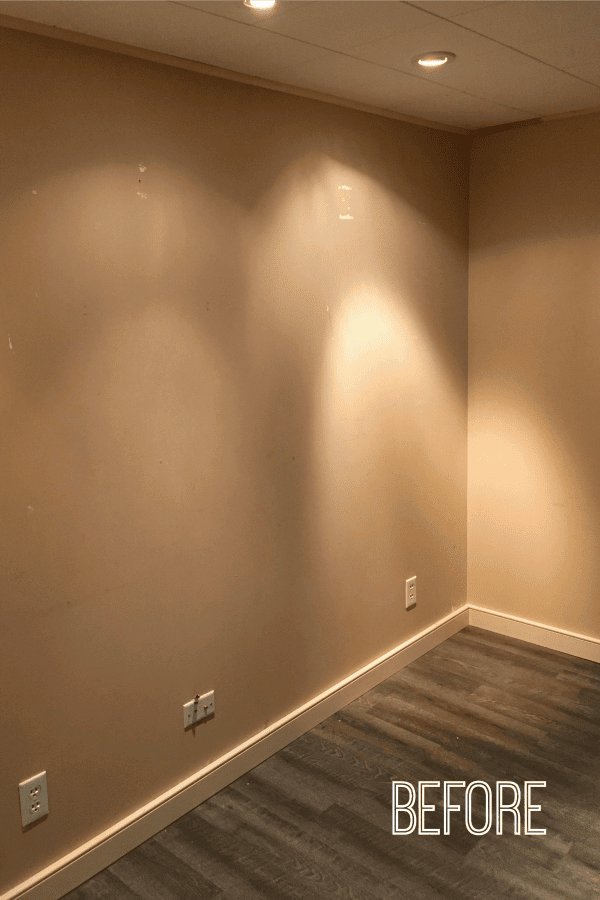
This boring bland wall is now a Billy bookcase built-ins with library lights and exposed brick backing!
Check it out here.
Other projects in our Basement Guest Room-Library:
- IKEA hack Built-in Bookcase – with painted brick backing and easy-wired bookcase lighting
- How we made our small, high basement window look bigger and fabulous
- Our Faux Bricks Wall Treatment
- Natural Wood Panelled-look Plywood Ceiling
- Green Vertical Shiplap Panelled Wall treatment – which cost us almost nothing

Robin and Ed are a DIY-loving couple with over 25 years of design and build experience. Also, Robin is a Nutritionist and former Registered Dietitian and Ed is an award-winning Business Educator. We share strategies for living a rich life on a DIY budget: creative money-savvy ideas for a stylish home, healthy meals and family fun. Our work has been published in the pages of Do It Yourself, Farmhouse Style and Better Homes & Gardens magazines.


I think what you did is amazing and can’t wait to do it. 2 questions:
1 how exactly did you attach to base of machine?
2. What did you do with machine? No idea if mine works or not but machine beautiful and hand painted with flowers!
Sewing can be a great business if someone going to make it with a full dedication. Because everyone requires a good clothes and not everyone can have a knowledge of sewing so it may be good opportunity to people who can do sewing, quilting. See here about the various quilting machines.
So glad you found a way of saving it. And it looks amazing!
Did this back in the 70’s with 2 bases and a butcher block for the top to make a 6 foot long dining room table .
How cool, Nancy! 🙂
Just did a Singer base I found in back yard of an abandoned home buried in the mud, the side was broken off and the rust looked impossible to get off. Many hours of grinding brushing and sanding got the piece back after completely disassembling & cleaning. Used an epoxy bond weld to get the cast iron to hold and made a table top of from wine boxes. after hand painting the logos and the singer brand name in gold it Looks great & have it in my home.
Wow – what a great find, Robert! Sounds like you put a lot of love into it – sounds wonderful! 🙂
Robin, these are beautiful! I am going to have to see if this live edge wood is available here in the US! You guys did a fantastic job…what do I need to do to reserve a spot at Chez Hicken?
Thanks, Lynn! I hope this Live Edge product is available in the US. It’s incredibly easy to use. And you’d be most welcome to stay – if you ever have reason to be near Toronto in Canada look us up!