The BEST Faux Marble Checkerboard Floor Tile ~ and DIY Tips for Easy Install in a Day!

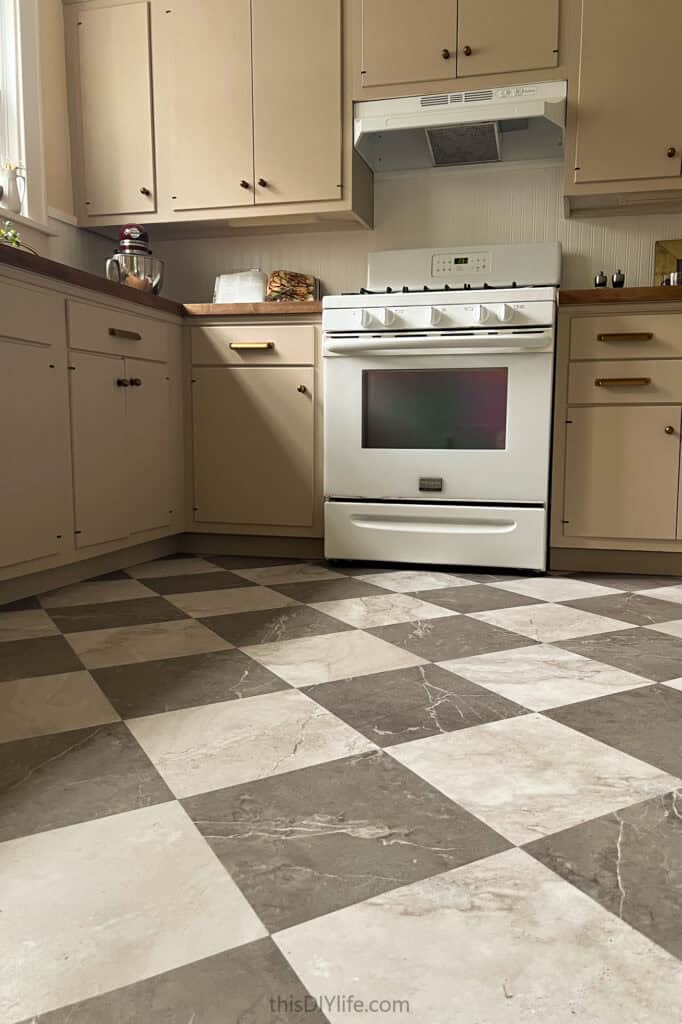
If you eavesdropped on us installing these faux marble checkerboard floor tiles this is a sample of what you’d hear: “This floor looks amazing!”, “I can’t get over how realistic these are!” and “I would use these floor tiles again in a heartbeat!” on and on and on. Yup, these two DIY nerds get pretty jazzed when we find a product that’s a triple-threat:
- beautiful,
- affordable and
- easy to install.
These dark gray and white checkerboard floor tiles deserve whatever the DIY product equivalent is of an EGOT.
(Intro by Robin; Tips by Ed)
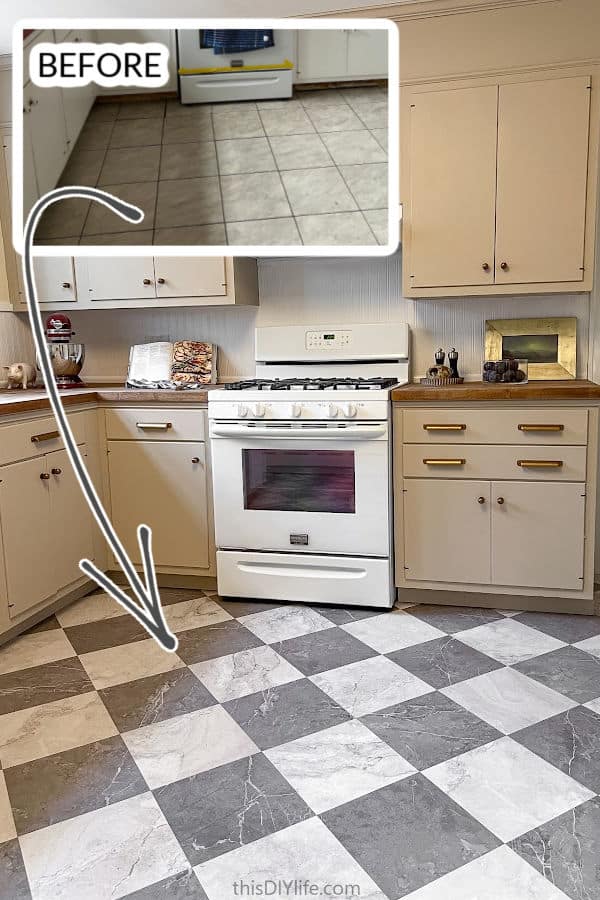
Wow, right?!
How we chose this floor…
This past summer we embarked on our most insane ambitious room makeover yet. Have you seen the reveal post for our 3-Day DIY Kitchen Makeover on a Budget yet? (If you’ve got an ugly old kitchen you’d like to fix up on a tiny budget – you may want to click over and read our tips. We did the whole room for $1300.)
We worked with the homeowners (Ed’s brother and his wife) to plan the renovation ahead of our three days of whirlwind makeover binge (while they were away at a cottage).
I proposed the design and finishes and, once they approved them, they picked up the materials so they were waiting for us at their home when we arrived. (The story behind why we did this crazy thing is here: Can We Even Do It?! The 3-Day, Low-Budget DIY Kitchen Makeover We’re About to Attempt…)
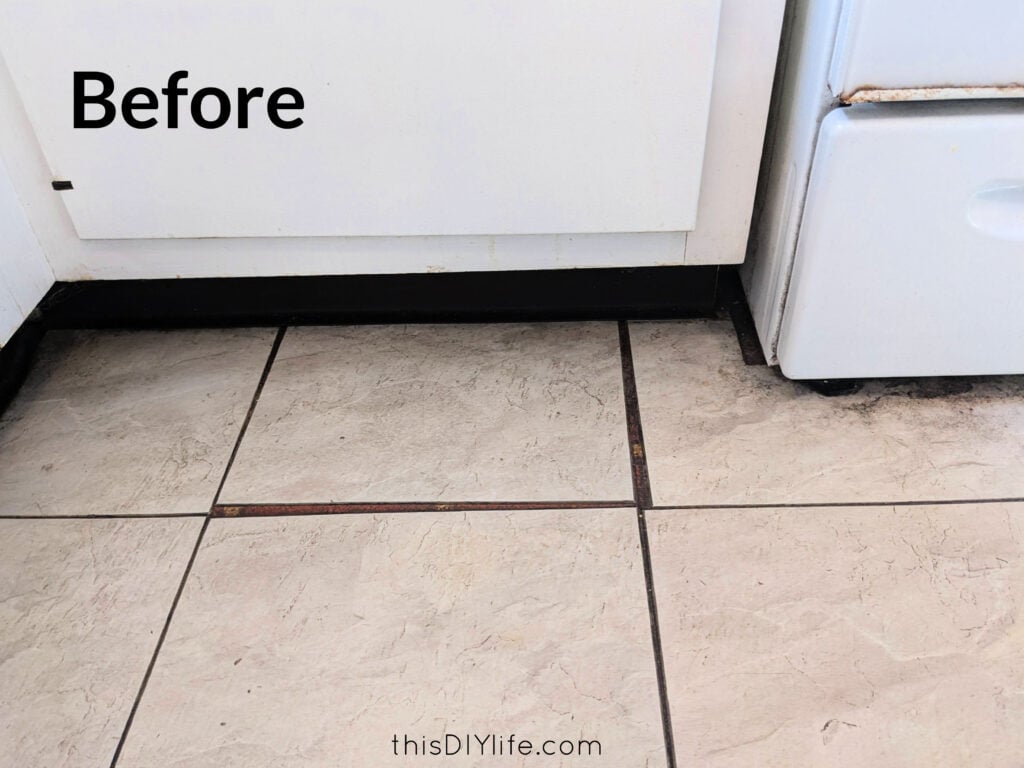
They were awful and have never not been awful.
They were chosen and installed with all the care you see above.
We knew we needed new floors that were affordable, attractive and could be installed very quickly.
And the floors needed to have a stone or marble look. The reason? Both the hallway and the dining room are visible from the kitchen. Both rooms have the same hardwood. It would be impossible to match these perfectly and having a new wood tone or species butt up to them would be ugly.
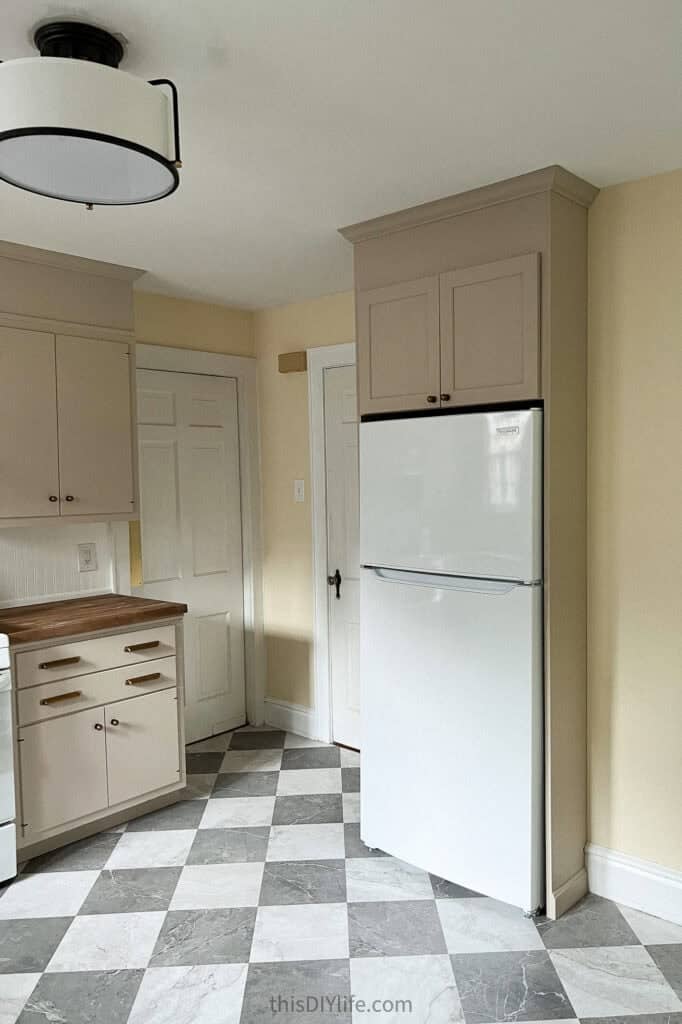
First, we considered DIY vinyl plank flooring – which we’ve done a few times before and really like. But while I love many of the wood-look planks, I don’t usually like what’s offered in the stone category (at least not in this project’s price range).
Since we already know how to Grout Peel and Stick Tiles we considered this as well. Grouting peel-and-stick tiles can make them look so much more authentic. We might have gone in this direction – until I spied the tiles we fell in love with.
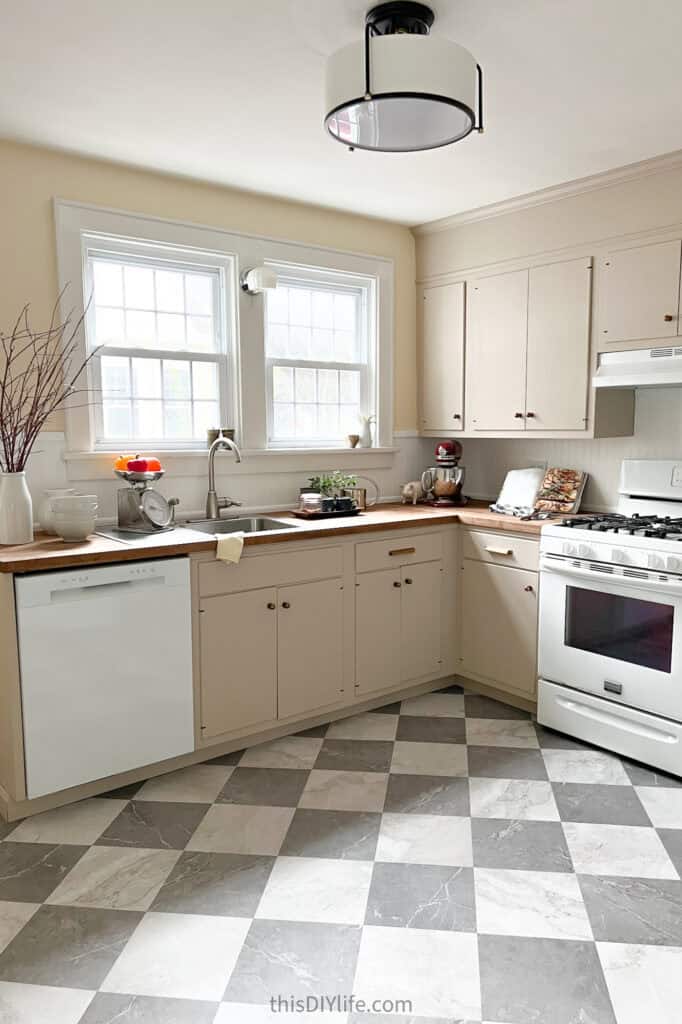
Our homeowners were dubious at first. So we asked them to pick up a few sample tiles to bring home. At $1.29 a tile this was a pretty low-cost way to confirm they were right for us. They brought home these tiles and some others and very quickly determined these were the ones.
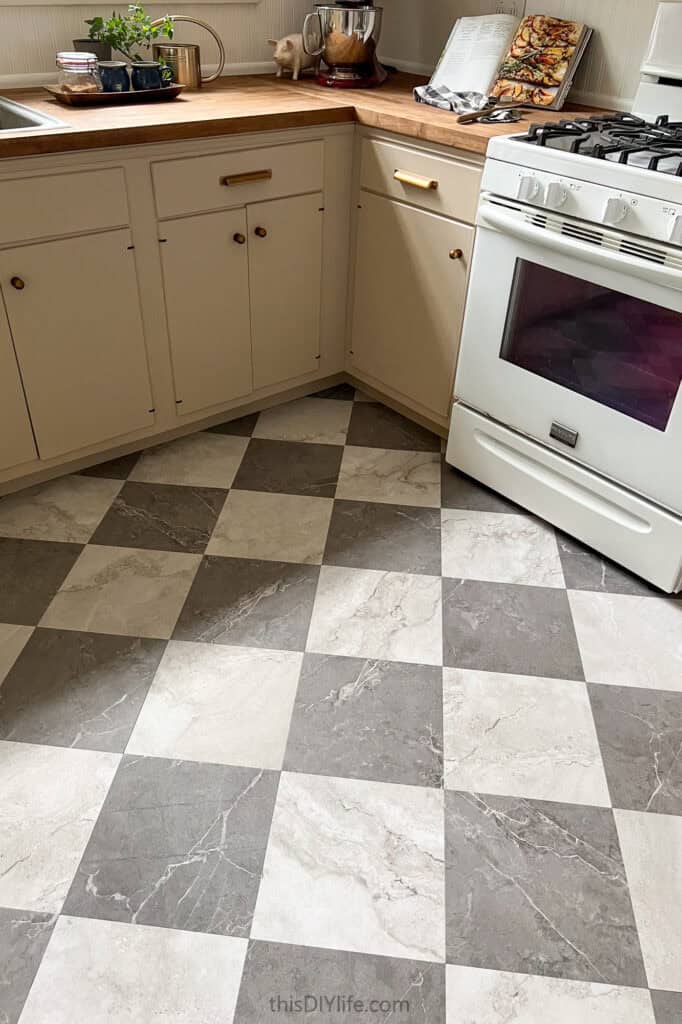
I suspect seeing the other prices for tiles when they were at Lowe’s helped nudge them along. These are many times less expensive than most.
The total cost for this new kitchen floor, including into their pantry was just $190! And it took us less than a day to install.
Keep reading while Ed walks you through the install, including some DIY tips to make your checkerboard pattern floor install go super smoothly…
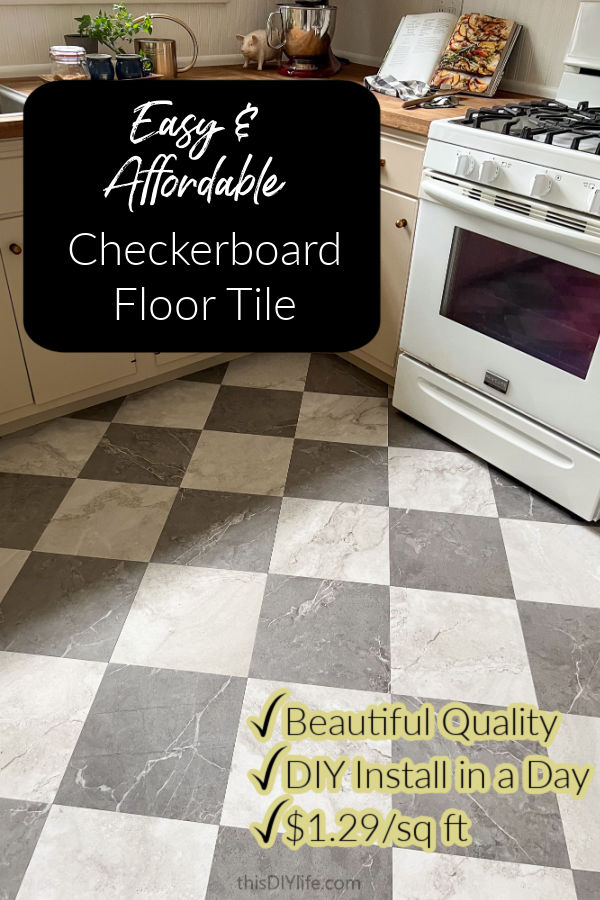
We used this light stone and dark marble peel-and-stick tiles.
DIY Tips for Better Vinyl Checkerboard Floor Tile Install
Materials:
- The tiles: this light stone and this dark marble peel-and-stick tiles
- utility knife with lots of fresh blades – this one was affordable and worked well
- Good Carpetner’s square (preferably a 12×12) – we used this one and it was perfect!
- Circular saw (if trimming doors)
- Clamps
- Small prybar to nudge tile into small spaces
- Caulking to fill small gap between trim and tile
- longer straight edge, like a level
- TSP alternative cleaner – this one is NO rinse so saves time and works really well
1. Doors don’t have to scuff your tile or limit your tile options
Every layer of floor you add makes the floor slightly higher. It is so negligible that you won’t ever notice, BUT your doors might. If the clearance under your doors is getting tight already, adding a thin layer of tiles might result in scuffing or the tiles being peeled up and removed.
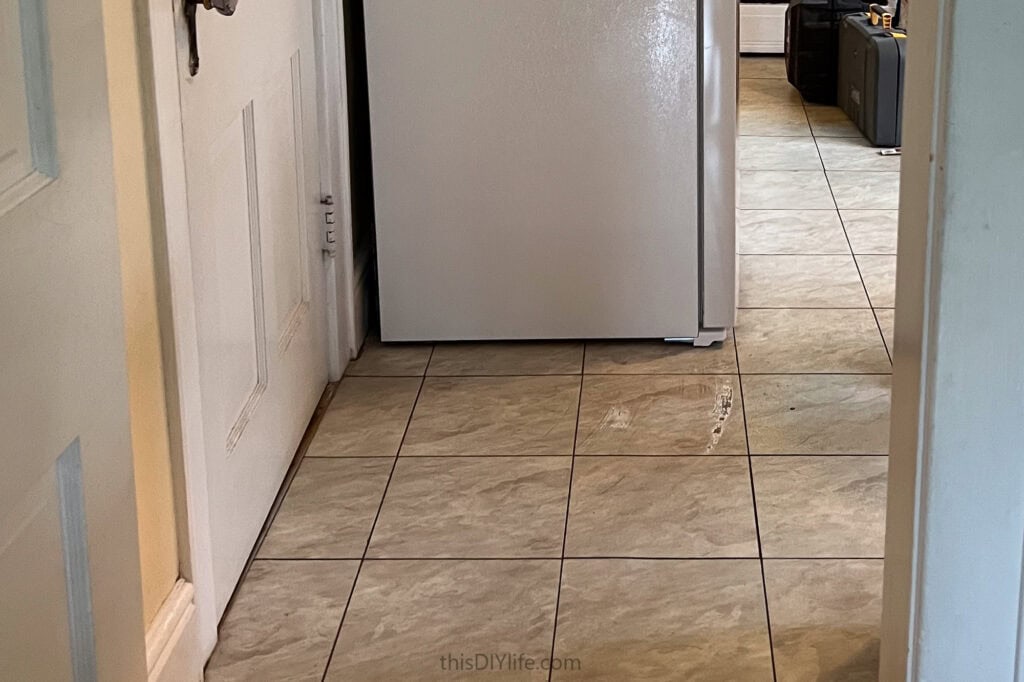
This does NOT have to limit your tile choice – the solution is pretty easy.
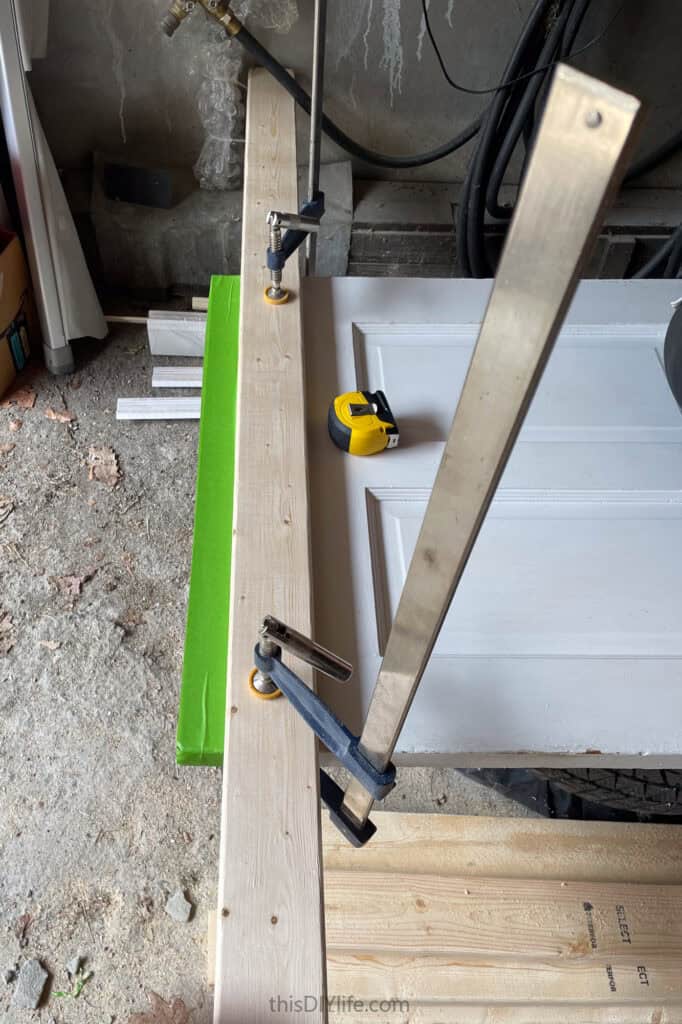
The easiest way is to clamp your straight edge across the door with a tiny offcut and then run your circular saw across the bottom.
Wrap the section you’re cutting in masking tape and you’ll reduce the chance of splinter too.
Remember – as with haircuts, you can always take more off if you need to, but it’s tough to put it back on. Cut a bit, reinstall the door and see if you need to cut more.
2. Sometimes it’s best to just go over existing tiles vs removing them
Mea Culpa, as the guilty Latin speakers say. Robin tried to convince me that we should just cover over the existing tile with the new. She asserted that the old tiles were stuck in place firmly and had a smooth enough texture that the new tiles would stick well.
But I decided that peeling up the old ones would go fine. She said, “I want nothing to do with this” and left the room.
I was proved so very wrong.
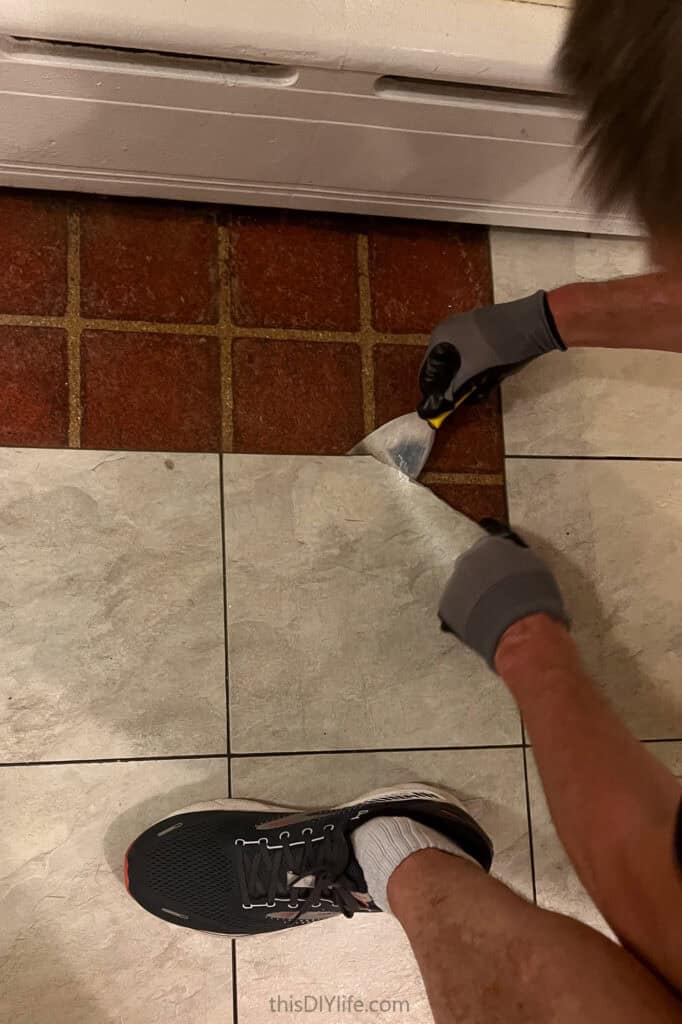
But in the main kitchen space, they broke and each one took 2-3-ish minutes of work.
Multiply that by a whole room and life got really awful.
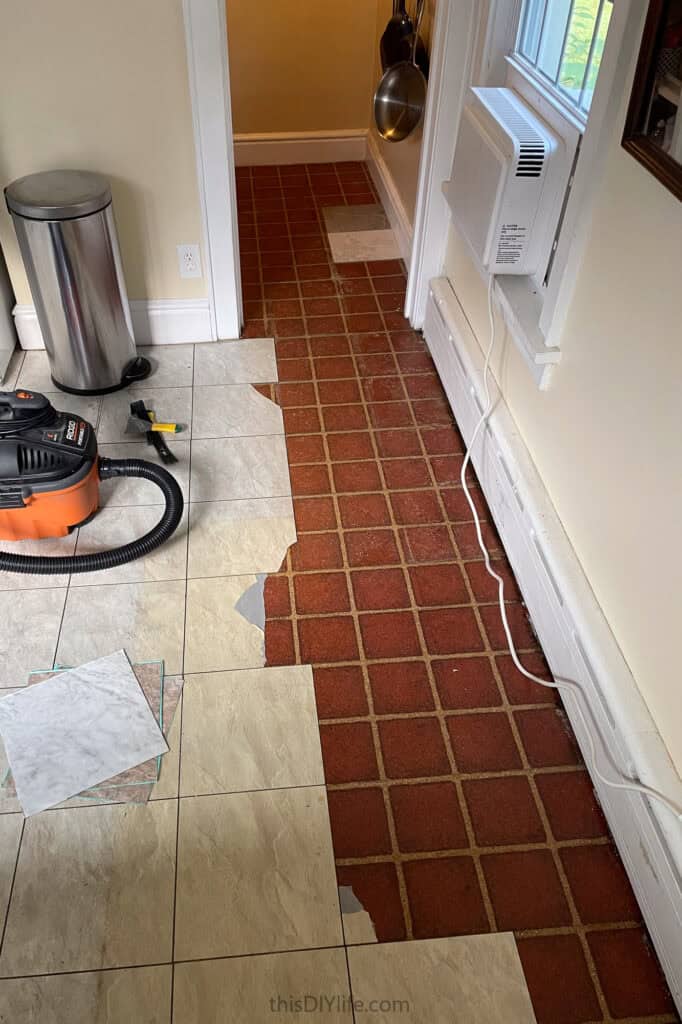
This made walking on them/laying the finish layer just awful.
When Robin stepped into the peeled-up space to look at it, her foot came out of her shoe as it was stuck to the floor. This was not our most joyous moment.
That was the last straw. We had many projects to do, and working in this space with these extremely sticky floors would have been absolute misery.
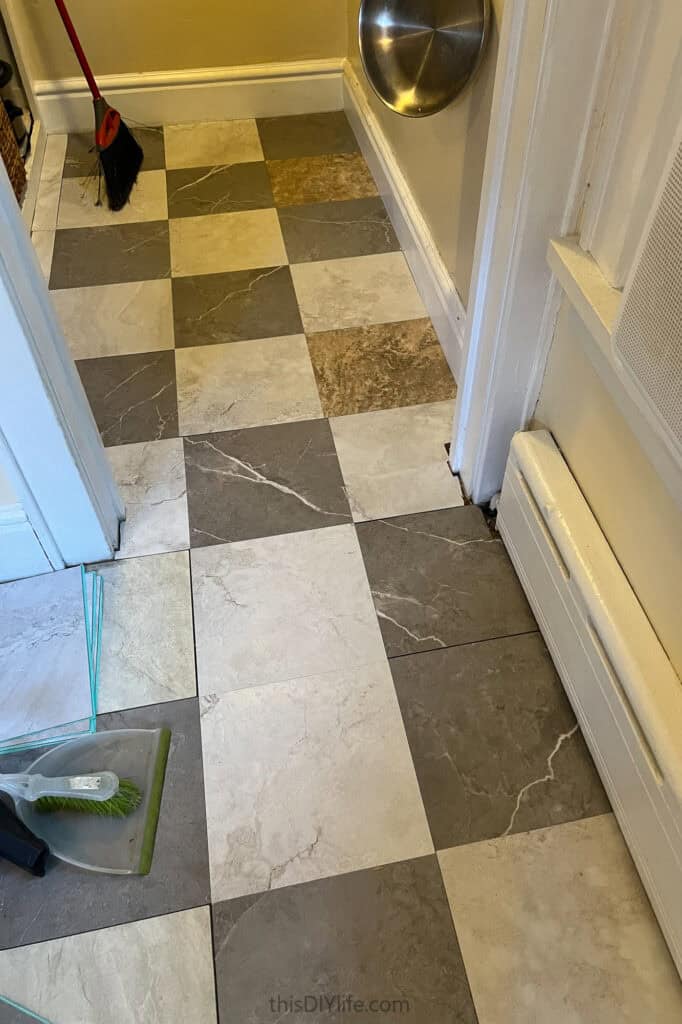
I ended up spending hours of work, just to get back to the ‘blank slate’ that we’d started with on day one.
(Robin was tempted to send the photo above to the homeowners with a note, “New tiles are going down great!” just because it looks so batshit crazy and she can be a brat. They would have had conniption fits. We didn’t do this.)
Moral of the story: sometimes you leave things well enough alone.
3. Fill large gaps in your base
The white-whale of madness that I was chasing in trying to pull up all the old tiles was based on the idea that there were some gaps in the previous flooring. I was worried that laying fresh tile over these gaps would cause cracks etc in the new floor. This is a well-founded concern, as we have had issues with our own flooring in the past when the base was uneven.
The answer, however, is not peeling up the old floor (see above), but just making the current floor smooth.
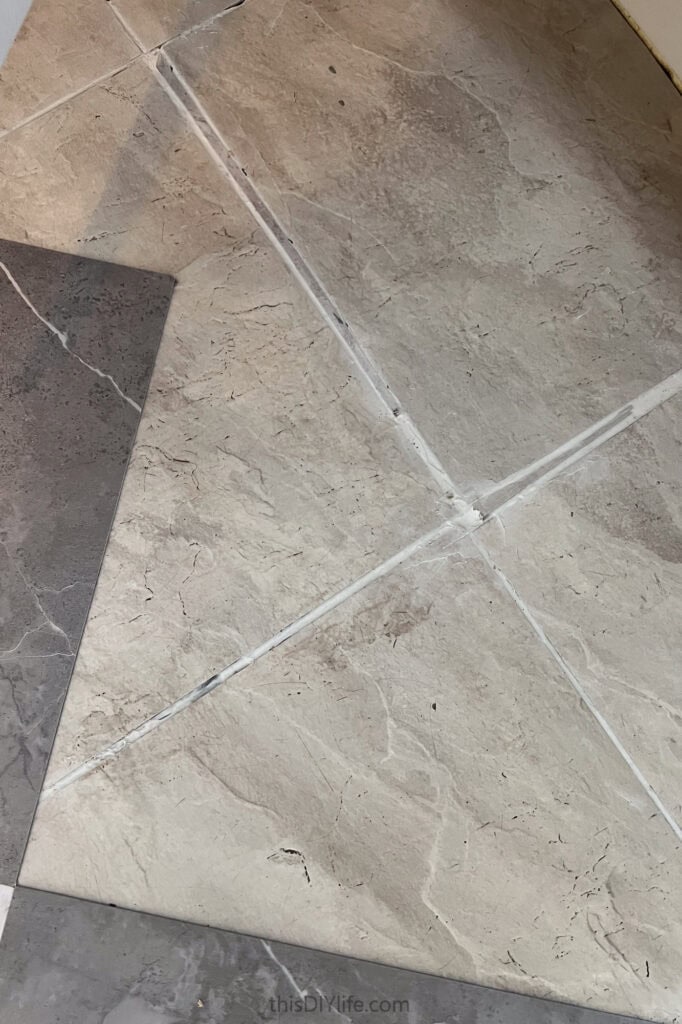
Also, small slivers of new flooring, cut to fit and then stuck down could fill large gaps.
Or if you have really big gaps or dramatically uneven floor, you can use a floor levelling compound.
4. A clean and dry base is key for optimal sticking
The final piece of Base prep is to make sure there are no oily spots or other grime that will cause the adhesive on the backs of your new tile to not stick.
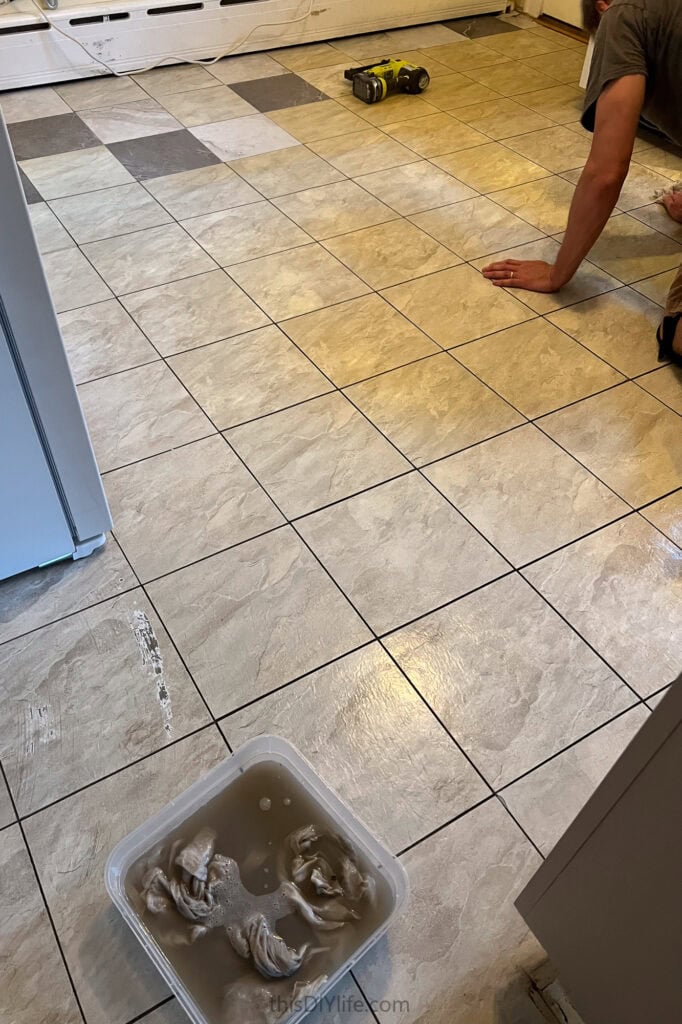
We suggest:
- Sweep/Vacuum
- A thorough wash with soap/scrub all the trouble spots
- Final clean/wipe-down with a TSP or (better still) use this rinse free TSP-alternative to remove any last bits of oil and grease and save yourself the time to rinse it.
- Let it all dry very well and you have a perfect base layer to put new tile down on.
5. Checkerboard laid on a diagonal (or harlequin pattern) is a little more work, but much more classic and interesting
The harlequin pattern is hands down the most beautiful. The pictures speak for themselves and the additional work isn’t really that much.
If you are still trying to convince your DIY partner to go diagonal vs straight, there are also some very practical reasons to choose it too.
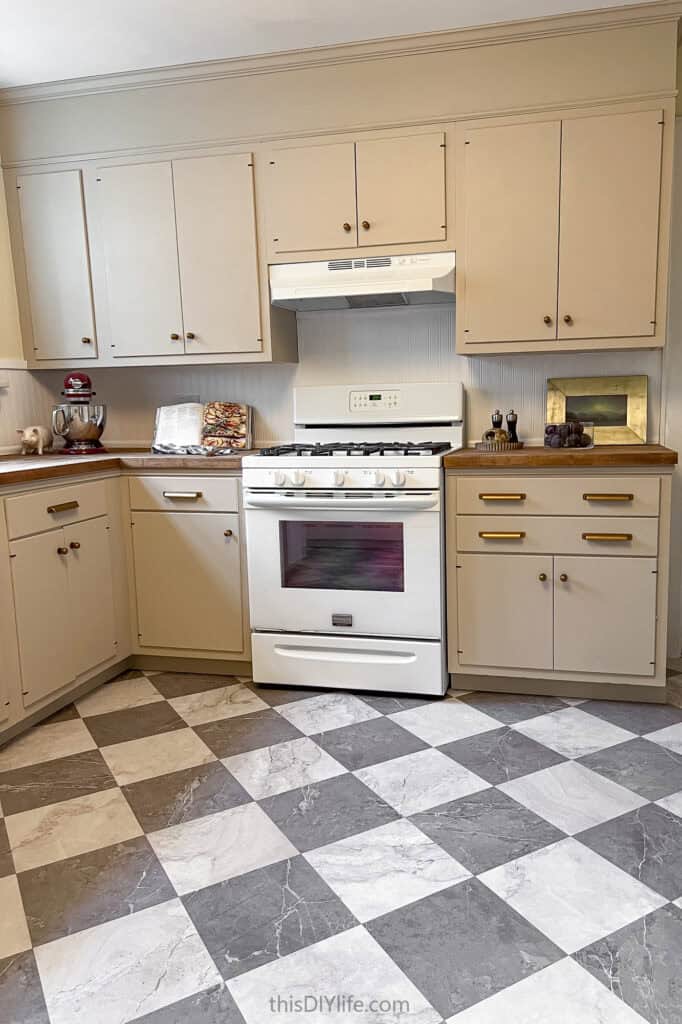
- It does add a bit of waste, but there is a good chance your off-cuts (also 45-degree angles) will be reused on other sections, so we found we didn’t actually use that much extra.
- Also, because the floor angle is 45-degrees different from the walls/cabinets, you won’t notice any ‘out of square’ things (like you often find in older homes) as much as you would with the straight floor pattern.
- Counterintuitive as it might sound, but the diagonal/harlequin pattern can actually be more forgiving than straight-lay floor.
6. Use a straight edge that’s strong and longer than your tile
Make the job easier by picking up this super affordable 12×12 square.
It has the same dimensions as the tile and this meant we could cut a tile exactly in half using just the square. It also gives you more edge to work with when you slide the square up and down the tile sides to do smaller cuts. You will appreciate this increased flexibility many many times, as you work! Even if you already have a square – Go BIG it will save you so much time!
Have another good, metal straight edge on hand too. No matter how big your t-square is, you’ll still need to do some awkward long cuts that are best with something like a long level or metal ruler.
Good tools will save you hours of heartache (or sliced fingertips).
7. Start in the middle and work out
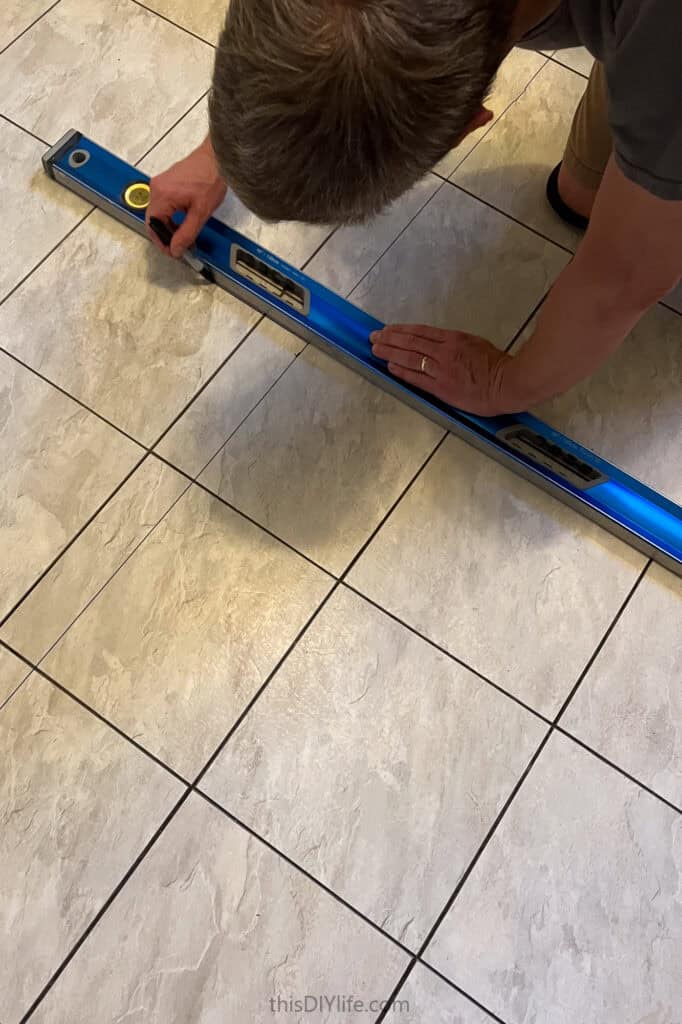
Draw another line halfway down the width. Start laying your tiles where they cross in the middle.
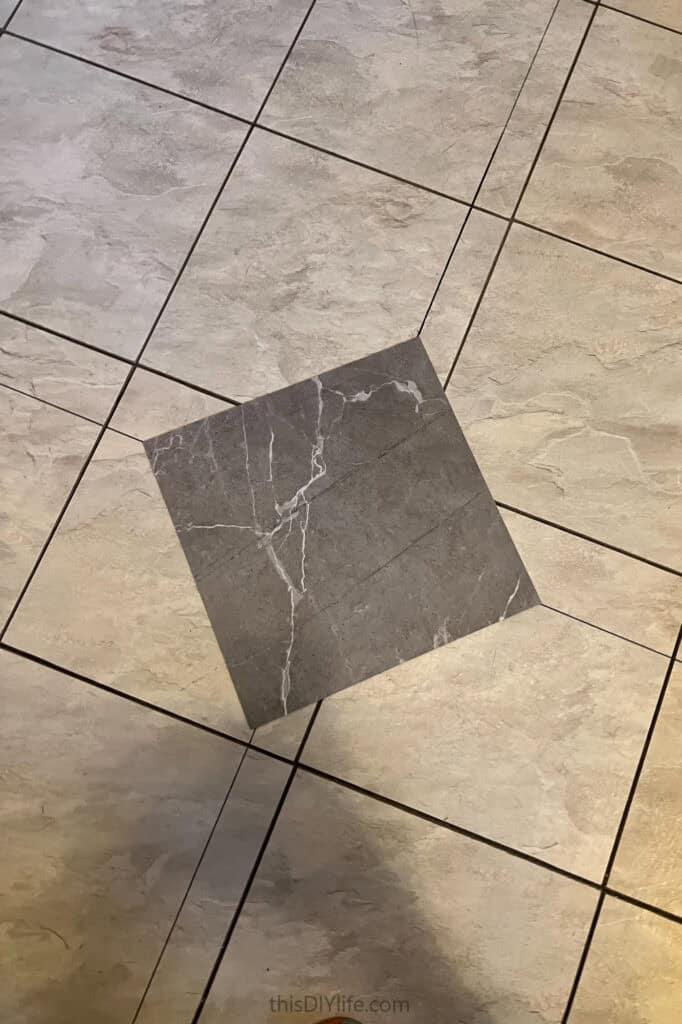
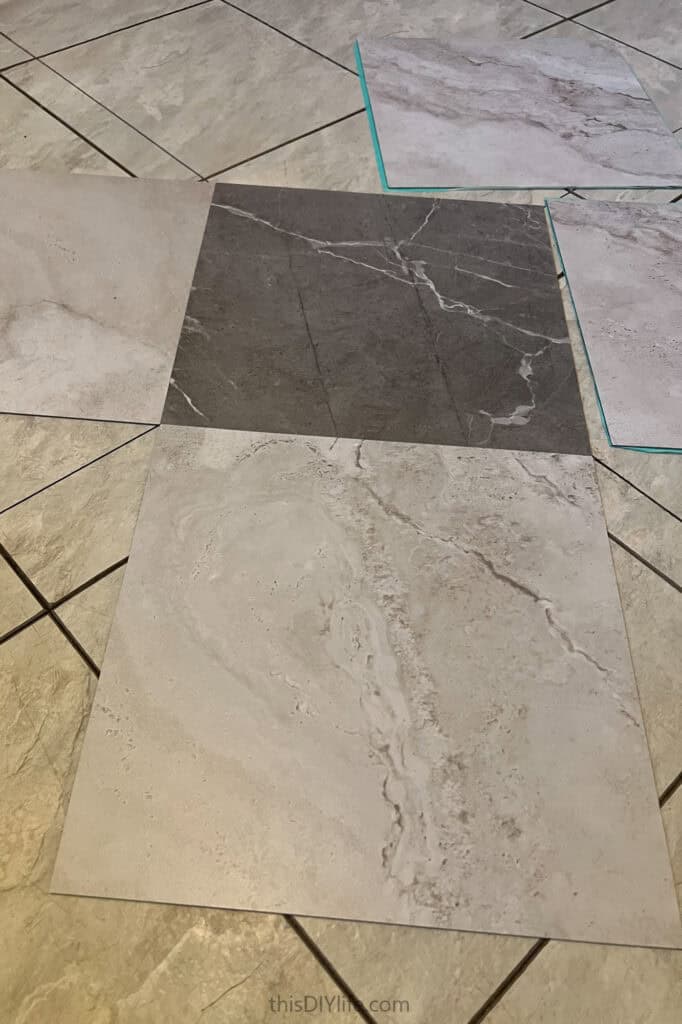
Your first bunch of tiles go down very fast! There is a huge sense of accomplishment starting in the middle as there are no cuts till you hit walls or cabinets.
Finally, by starting in the middle, you automatically balance out the border tiles, so they should be fairly even all the way around your room. Most flooring instructions have fancy calculations to help you figure out how much to cut off to do this, but starting in the centre is a cheat code that lets you avoid a slide ruler and abacus.
8. Laying the tiles randomly is key to an authentic look
Don’t bother trying to get the grains or patterns all flowing in the right direction. That will only make it look like you bought your flooring in one big sheet. Authentic tiles have movement and interest and patterns that don’t cooperate, so make your vinyl convincing by being more chill about it.
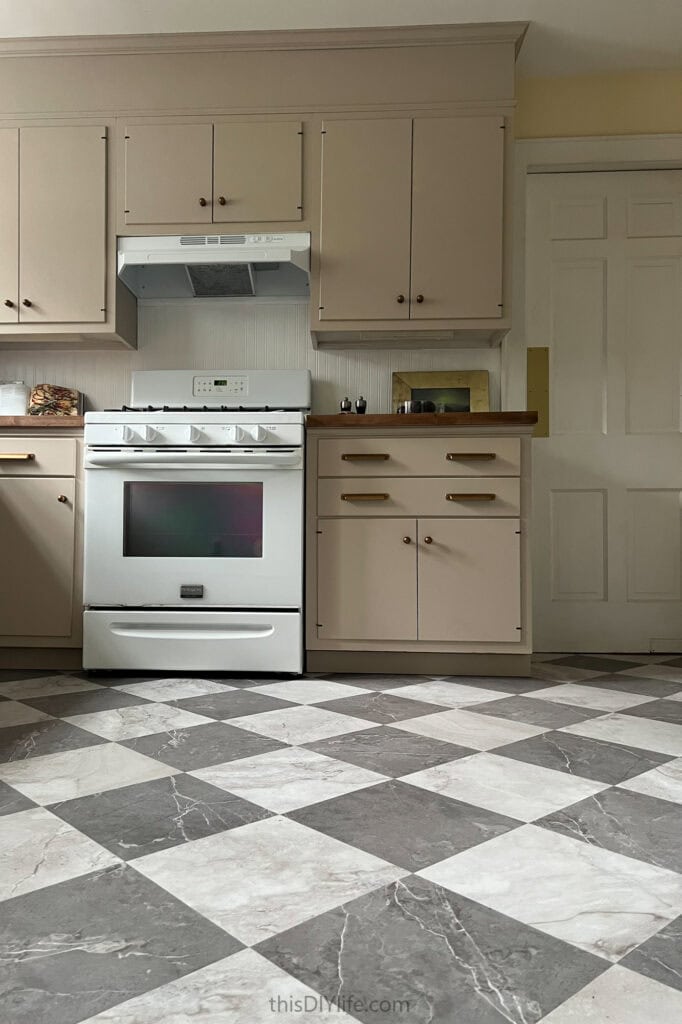
One area you DO want to be picky is looking for repeat patterns.
Human-made tile will repeat the ‘image’ and you don’t want to lay two identical ones of those next to each other (or really in the same general area), so have some eagle-eyed observer on hand to see the big picture while the person laying the tile is ‘in the weeds’ so to speak.
We’ve got more simple DIY Floor Tutorials here:

Robin and Ed are a DIY-loving couple with over 25 years of design and build experience. Also, Robin is a Nutritionist and former Registered Dietitian and Ed is an award-winning Business Educator. We share strategies for living a rich life on a DIY budget: creative money-savvy ideas for a stylish home, healthy meals and family fun. Our work has been published in the pages of Do It Yourself, Farmhouse Style and Better Homes & Gardens magazines.