
We may earn a commission on purchases made after clicking links on this page.


Intro by Robin
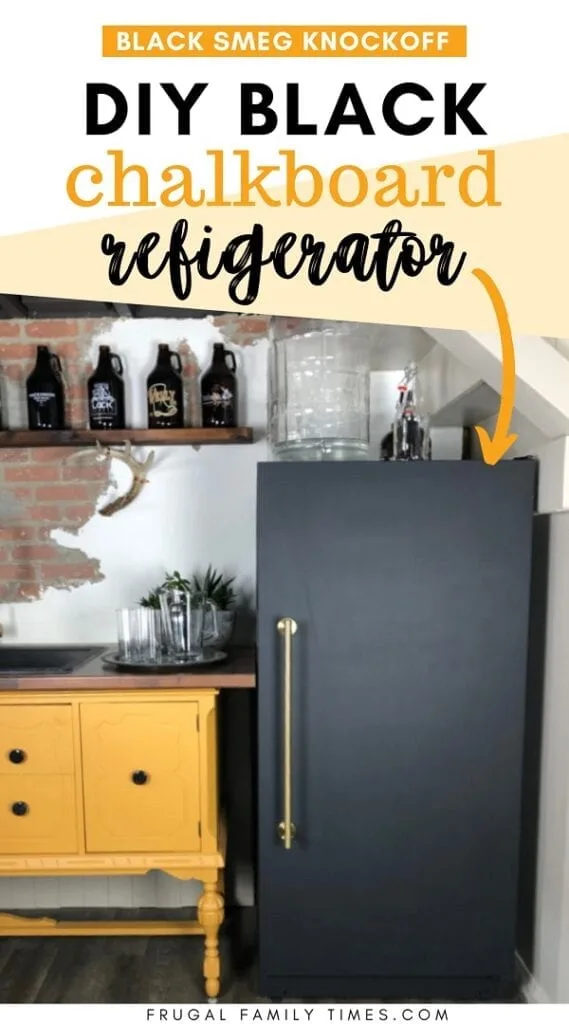
We almost didn’t do this DIY chalkboard paint fridge project! We’re so glad we did – it makes our basement wet bar area really come together!
Have you seen our basement wet bar reveal post yet?
There are so many projects in there that we can’t wait to share with you. This is the first of many DIY tutorials from that makeover.
We knew something needed to be done. We wanted a fun, modern and moody feel to our basement bar area and our giant white upright freezer was not helping achieve that vibe.
For years I’ve had this sexy brass and matte black Smeg fridge look in mind:


Here’s its jaw-dropping current price and that’s not even the one with the gorgeous brass handles!
As I studied the photo I couldn’t help but notice that the black finish on the fridge looks an awful lot like a chalkboard: matte and black. But…
Can you paint appliances with chalkboard paint?
Can you use chalkboard paint on a fridge?
In short, yes!
First we figured out how to get black paint to adhere really well to our freezer.
Then we sourced a convincing and affordable appliance handle alternative.
We knew we could achieve something pretty darn close to our inspiration.
As of today, we can’t report on how well the chalk aspect of the fridge is working.
The kids are desperate to write on it! But I’m kind of wishing they didn’t even know about the chalk part. It looks so good I don’t want them writing “poo” and drawing goofy pictures on it just yet.
Ed is going to use the side closest to the sink to keep track of his beer and wine making projects. That I can get behind!
(When we’re done just looking lovingly at this project and finally use some chalk on it I’ll update this post with the results.)
Step by Step: How to Chalkboard Paint Fridge (a black Smeg Knockoff!)
Materials:
- Maximum Adhesion Primer (we used this one – it’s fabulous!)
- GooGone
- Paintbrush and roller
- Chalkboard Paint (we used this one)
- Black electrical tape
- Knock-off appliance handle (we chose this brushed brass looking towel bar – it’s gorgeous in person!)
- Metal screws, drill, drill bits, screwdriver
But what if you have a two-door appliance?
A game-changer in our plans for this Smeg fridge knock off was finding this substitute for the appliance handle – not hundreds of dollars!
Now we did our makeover on a single door upright freezer – so one handle was perfect.
Having a two-door fridge doesn’t have to stop you from this project! In fact, two doors would make it look even more like the inspiration.
The “handle” we used comes in many sizes.


If you aren’t certain which sizes would look best – don’t forget about free returns! Order some sample sizes and visualize in person.

How to Paint a Fridge with Chalkboard Paint
Steps by Ed
Step 1: Remove any decals and handles


You may need to remove some screws and fill the holes. Treat the face of your fridge like a wall you are painting and get it is as smooth & clear as possible.
Step 2: Clean your fridge really well


Also, we didn’t want to give the paint any reason not to adhere well.
We washed with soap and water, used some GooGone on any really bad areas, washed again and gave everything a final rinse/wipe with clean water then let it all dry completely.
Step 3: Prime with a Maximum Adhesion Primer


Open the can and stir really well- it took more than just a shake to get things mixed.
We then painted everything (other than the gasket seal). Let the primer dry completely and cure.
Step 4: Apply First Coat of Chalkboard Paint


Paint your fridge completely. You can get a bit on the gasket seal (see the next photo), but not too much.
You want it to flex to seal the cold air in and too much paint will impact that.


Do a good job covering everything and trust that the next coat will turn out better. We used a foam roller and were careful about not leaving ridges or runs/drips in the coat.
You want smooth, though likely ugly, coverage
Step 5: Apply Second Coat (and Third, if needed)


By the time we finished the second coat, we had gone from “What have we done?” to “LOOK WHAT WE’VE DONE!!!”.
We did a third coat to make it perfect.
Step 6: Cover Hard to Paint Area – Gasket


Between every coat, make sure you open the door and break any paint-seal that is forming. (Our freezer was still totally full and running when we did this project. Of course, the ideal would be to do the project with an empty appliance.)
As long as you have painted up to the edge of the seal, the tape in the next step will hide many sins.


Stretching it will help it stick better and get into the the creases in the gasket.
We used standard hardware store width tape and did a couple laps around the whole door, but you can buy thicker width tape if you prefer.
Opening the door will help you do the whole thing without having to cut the tape to work around the hinges.
NOTE: Yeah, there’s some paint mess inside the door. We weren’t terribly perfectionist about this project. Our plan is to use a razor blade or sharp scraper to remove the messy paint spots inside.
You can do a tidier job by taping the inside of your fridge off before starting.
Step 7: Attach Knockoff Appliance Handle to Chalkboard Painted Fridge


We centered our handle on the door and carefully marked the locations for the anchor.


The door is foam filled and once you punch through it, you don’t need to drill any further, so keep the bit short too.
Be sure and use a bit that is smaller than your screws.


Don’t over-tighten or you risk stripping the threads and then the handle won’t hold and you will be very sad.
I hand-screwed them and tightened just to the point that the anchor plate wouldn’t move.
NOTE: This photo makes the chalkboard finish look streaky – it’s not! Those wipe marks are from us wiping the fridge down with a damp cloth.


Again, don’t over tighten because those little set screws can strip as well. You could use thread lock if you find your handle comes loose with use. Ours hasn’t and we’ve been using it for a month now.
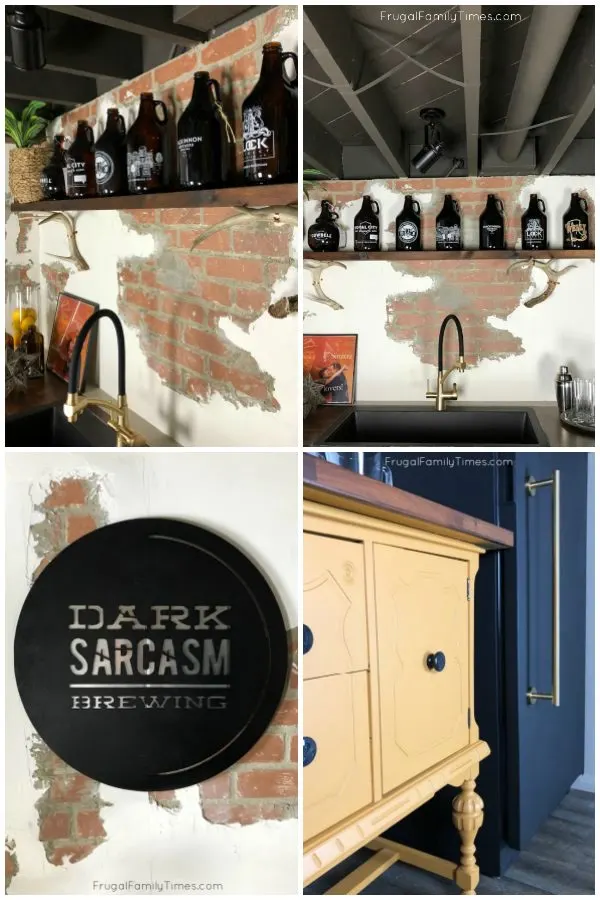
Pictured: our old buffet to wet bar project
And You’re Finished! Your Chalkboard Paint Fridge looks like a Black Smeg at a fraction of the cost!


What did our black Smeg fridge makeover cost?
We estimate this makeover cost about $50! We have plenty of primer left for more projects in the future too.


We’ve got dozens of creative, budget DIY projects! Below are just some of our Basement Makeover Projects…
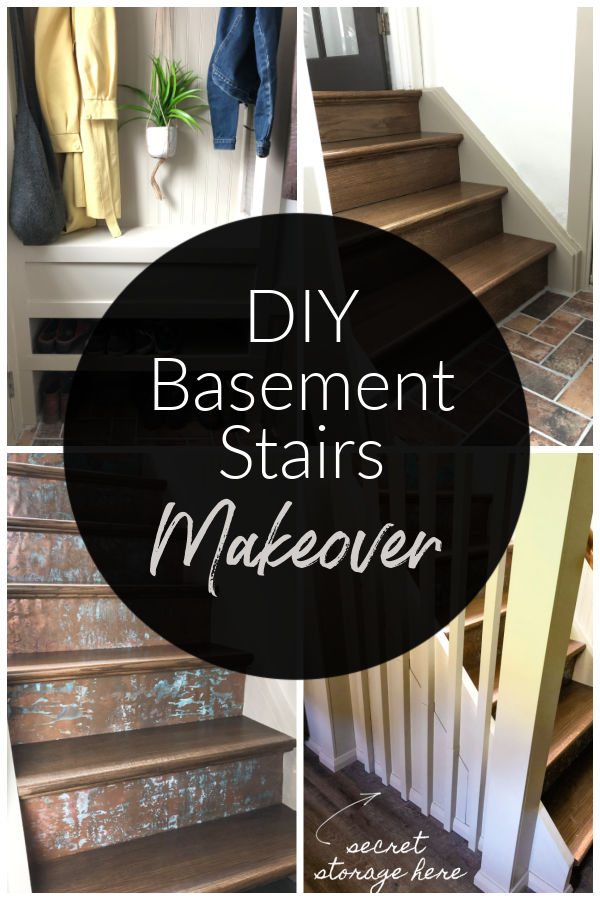

Our Magazine Worthy DIY Basement Stairs Makeover ~ Beautiful on a Budget


DIY Built in Cabinet – Max Out Basement Storage in a Beautiful Custom Way


DIY Basement Ceiling Ideas – 6+ Best, Beautiful & Budget Options!
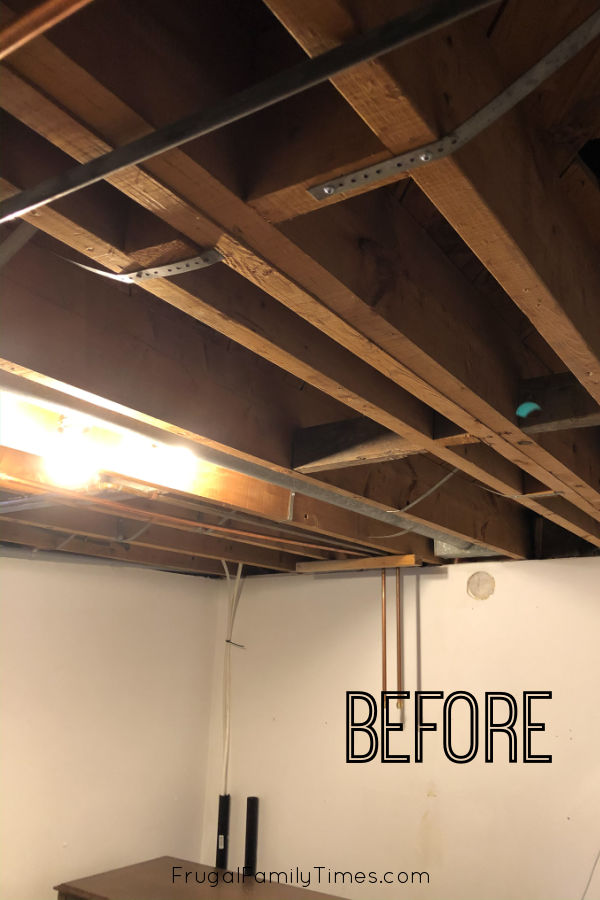
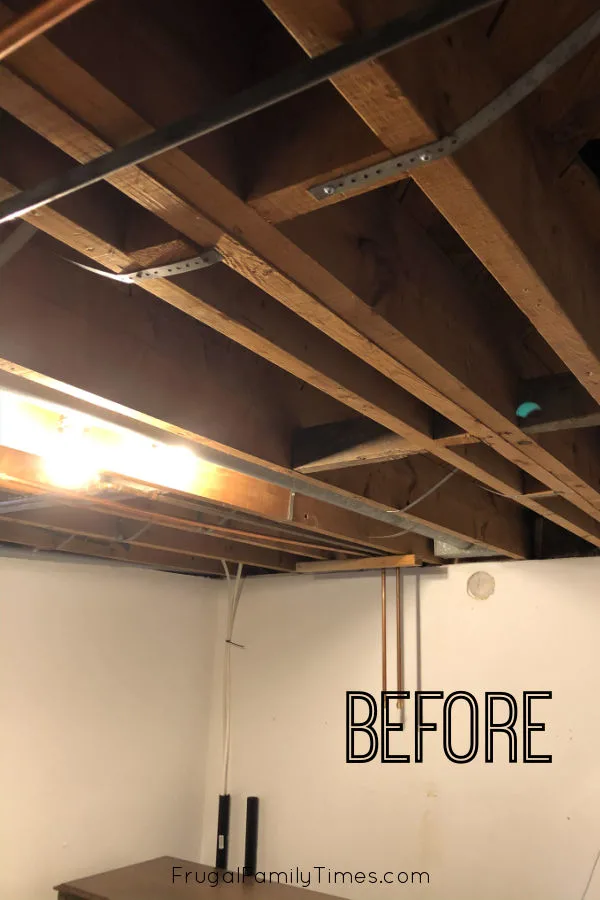
Our Painted Basement Ceiling: WITHOUT a Sprayer and the Perfect Black Paint


DIY Buffet with Sink: How We Made Our DIY Wet Bar from a Repurposed Antique

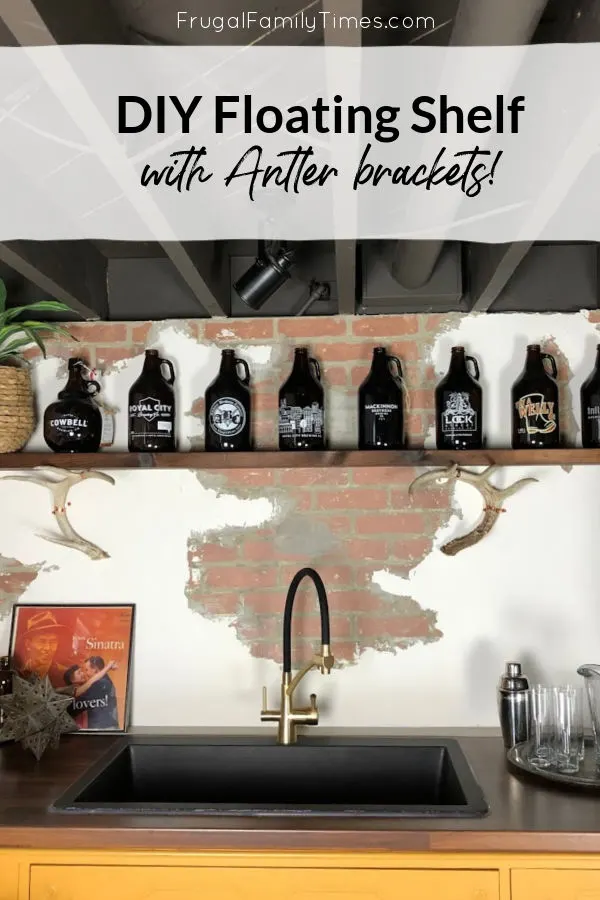
How to make DIY Floating Shelves Solid Wood. No expensive brackets required! (Antlers not included…)
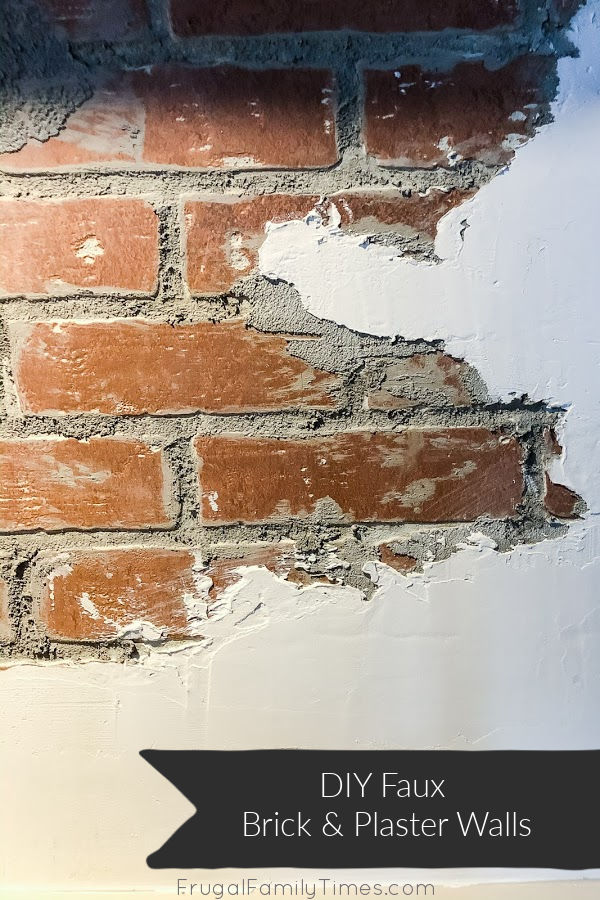

Realistic DIY Faux Brick Wall with Plaster Treatment (Distressed Exposed Brick Walls on a Budget!)


Jessica
Wednesday 20th of July 2022
How much primer and chalkboard paint did you end up using for the entire project?
frugalfamilytimes
Tuesday 26th of July 2022
Hi, Jessica - it was less than one can of each
Erica
Wednesday 13th of October 2021
I’m in the middle of picking the paint for my DIY fridge project and I really want matte black. I’m worried matte with shoe my small children’s endless hand smudges. How does the matte hold up with hand prints so far?
frugalfamilytimes
Sunday 12th of December 2021
So sorry for the delay, Erica! I didn't see your comment. So far so good with smudges - I think the matte may show them less? I don't have a comparator. :) Robin
Aubree Green
Sunday 24th of January 2021
Love this idea as my husband and I are planning budget-friendly updates for our kitchen as well! Question for you. How is the chalk paint holding up? Any scratches or hard to wipe down?
frugalfamilytimes
Tuesday 2nd of February 2021
Hi Aubree! The fridge paint is holding up really well. A couple caveats though - this door gets opened maybe twice a day - it's not used much at all so gets less wear and tear than a normal fridge. Also, we've yet to try chalk on it! I just love the clean matte black so I haven't let anyone try it yet. I should - and get back to you! :)
Sally Evans
Monday 7th of December 2020
I have never heard of a Black Smeg, but now I want one! Great job!
frugalfamilytimes
Wednesday 9th of December 2020
Happy you like it too, Sally! :)
Lynn Spencer
Thursday 8th of October 2020
OK...such a phenomenal project and it looks FANTASTIC. Just a wee thought here...why not get letters and put 'hicken' where 'smeg' would be? Either way, it is totally so cool. Waiting for my invite for some homebrew!
frugalfamilytimes
Friday 9th of October 2020
That's great, Lynn! Our best idea was to get the letters and put "SMUG" for a joke. :) As soon as the border's open you can come one up for a drink! :) R