We may earn a commission on purchases made after clicking links on this page.


by Robin
When you brew beer at home that tastes as good as Ed’s – you need your own custom bar sign. When I was designing our modern, rustic basement wet bar I knew just the spot for his brewery logo.
Originally the idea was to paint the logo directly onto the faux brick and plaster wall treatment, but then I lost my nerve. It seemed just a bit too risky.
We made our basement pub area during the spring lockdown of 2020 and getting materials was not easy. I just couldn’t summon the nerve to paint right on our faux brick and plaster walls.
So I came up with a new idea – and Ed came up with the perfect name for his own beer brand: Dark Sarcasm Brewing!


Do you get why that name is so perfect? Even some of Ed’s teacher friends haven’t put it together, which surprises me.
It’s a from a classic rock song with teacher references: Pink Floyd’s The Wall.
“No Dark Sarcasm in the classroom,
Teachers leave them kids alone.
Hey! Teachers! Leave them kids alone!”
Ed’s a teacher; Dark Sarcasm is a spot on reference.
Here’s the song:
And, well, it’s kind of perfect for other reasons. I may have won “Most Sarcastic” at summer camp staff awards at least one year (likely more). Both of us have a dark sarcastic streak that works as a stress coping method which we’ve cultivated into an art form over the years.
And the “brewing” part makes me laugh too – because, let’s face it – the storm of dark sarcasm is always brewing just below the calm waters we project.
Do you have the most perfect name for your bar? If you want to create your own custom pub sign – you’re in the right spot. Here’s how ours came to be…
Semi – DIY Custom Bar Sign
Custom Bar Sign Materials:
- simple graphic design apps (see below for details)
- MDF (supplied by our maker)
- satin black spray paint – we used this one
- backing material of your choice
- hanger – if we did it again we’d use Command hooks
Step 1: Design Your Custom Bar Sign Logo.
I give graphic design the good college try, but I have no gift for it. Choosing fonts and layouts take me endless amounts of time. As a blogger I need to do lots of it for Pinterest especially.
In my back pocket, literally, I have a secret weapon.
In particular, three apps on my phone. I used a combination of these apps to choose the fonts and layout for our basement bar sign.
The font bit came from playing with Word Swag and Typorama. They both have a super easy professional looking font selection and randomizer tool. Here’s a few contender sample logos I came up with.
Logo design with Typorama:


Just type in your text and select the theme you like.
Hit the button of your chosen design style until you find the exact layout that appeals to you.
Then save through “ok share!”
Logo design with Word Swag:


Similar to above, type in your text and choose the design style you like.
Press the dice button until you find just the right one. Save your image.
Make the Logo Shape:
The circular shape and crescent moon section was made using PicMonkey, which has a monthly subscription fee but you can access a free trial here. There are tons of shapes and designs you can play with there – both on your phone and desktop.


Step 2: Mock it up to Get the Size Right


You have a couple of options here. Both will require that you take a photo of the space you want the sign, so start by getting a well-lit photo of the sign’s future home.
Next, you use the image file you created of your wall sign, saved as a PNG file. PNG backgrounds read as transparent, so when you add the sign image to the room photo, it will look like the sign is actually there. You can then scale it up and down to get the right size.
Option two, if the above sounds too techno-challenging, is to use the app Snapseed. Import your room photo into the App, then use Snapseed’s built-in Text Effect option to mimic your sign as best as possible. it won’t be an exact match, but it will still help you visualize size and location.
Step 3: Cut your design into wood or MDF
To use a jigsaw and cut out the logo would have been the most frugal choice, of course. But it would have looked tragic and we would have lost fingers. It’s a very finicky design to cut by hand.
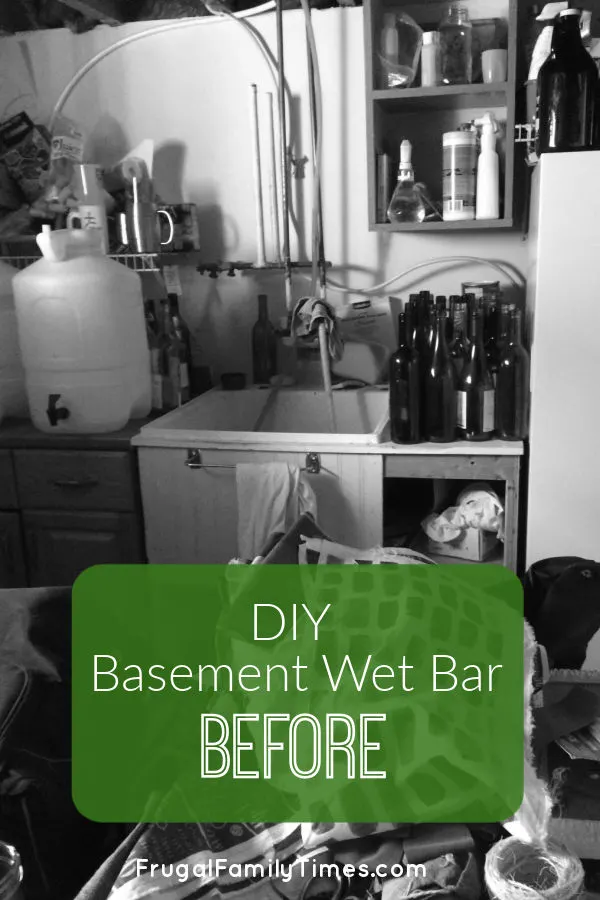
So, like many of the sources for our pandemic planned basement wet bar, I turned to Facebook Marketplace. (That’s were I found the buffet we added a sink to, the countertop, the decorative faux tree and the concrete succulent planter.)
This time I found Lori, who does custom CNC laser cutting. She did a fabulous job cutting our sign for us. All I had to do was send her an image file of my design. At $40 I think we got our money’s worth!
Find Lori’s work here – she takes custom orders. (If you’re stuck for ideas or mock ups she can help with that too.)
Step 4: Paint it


The usual rules around spray painting apply:
Make sure the surface is clear.
Use many, thin coats vs one heavy (drippy) one.
Be sure to let dry before moving or risk a thumbprint in your paint finish forever.
Step 4: Add some sparkle behind it.
Our original plan was just to have the wall treatment peek through the gaps of the letters.
But once we hung it we realized it wasn’t quite as legible in spots. The white plaster parts were clear, but the brick parts didn’t have enough contrast to be read.
We came up with lots of ideas to solve this:
- LED lights behind it
- Mirror
- Just a light coloured painted piece
What we finally settled on:


We had a piece leftover from another part of the basement reno – so $0 and no pandemic sourcing problems!


Initially, the tape was just to hold it temporarily, but it has held for months now, so we are just going to call it perfect.
Step 5: Hang it


Very carefully attach a picture hanger to the back of the sign.
The MDF is thin and prone to bulging and splitting. We used tiny brass nails that came with the hanger, predrilled even tinnier shallow guide holes and gently tapped them in, checking each hammer tap to see if they were causing issues on the visible side.
Take lots of care here. You’ve got a really awesome sign, that is mere minutes from being hung, don’t accidentally pop the nails through and ruin your day.
If we did this again, we would use Command adhesive hooks and save ourselves lots of stress. The sign isn’t very heavy so this would work well.


Our Black Smeg Knock-off Fridge
Our faux brick and plaster wall treatment!
Our DIY solid wood floating shelf (with antlers!)
Our vintage buffet to DIY wet bar sink cabinet!
Our painted basement ceiling – without a sprayer – COMING SOON! And more…
This is just one of the dozens of projects we’ve done with our Basement Makeover. We’ve taken ugly neglected spaces and made the fun, functional and beautiful!
If you’d like more fun and affordable ideas for wall art – check these out:
- Ultra Easy Custom Art – No Artistic Talent Required!
- Cheap & Easy DIY Glass Whiteboard for Dry Erase
- Our Custom Bar Sign! Easy tips to design your own logo for personalized wall art.
- Old Canvas to New Art for a Teen Bedroom: “What Would Hermione Do?”
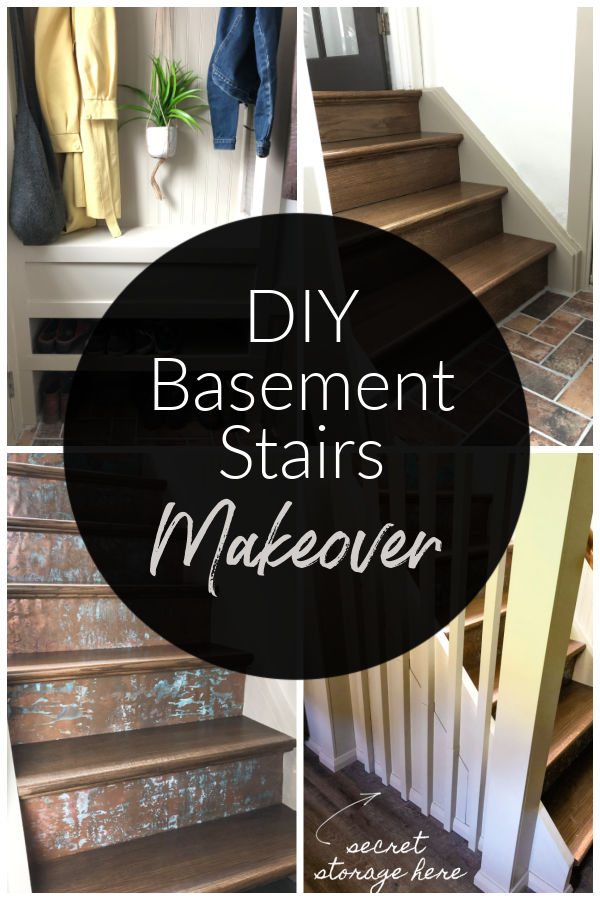

Our Magazine Worthy DIY Basement Stairs Makeover ~ Beautiful on a Budget


DIY Built in Cabinet – Max Out Basement Storage in a Beautiful Custom Way


DIY Basement Ceiling Ideas – 6+ Best, Beautiful & Budget Options!
Our Painted Basement Ceiling: WITHOUT a Sprayer and the Perfect Black Paint


DIY Buffet with Sink: How We Made Our DIY Wet Bar from a Repurposed Antique

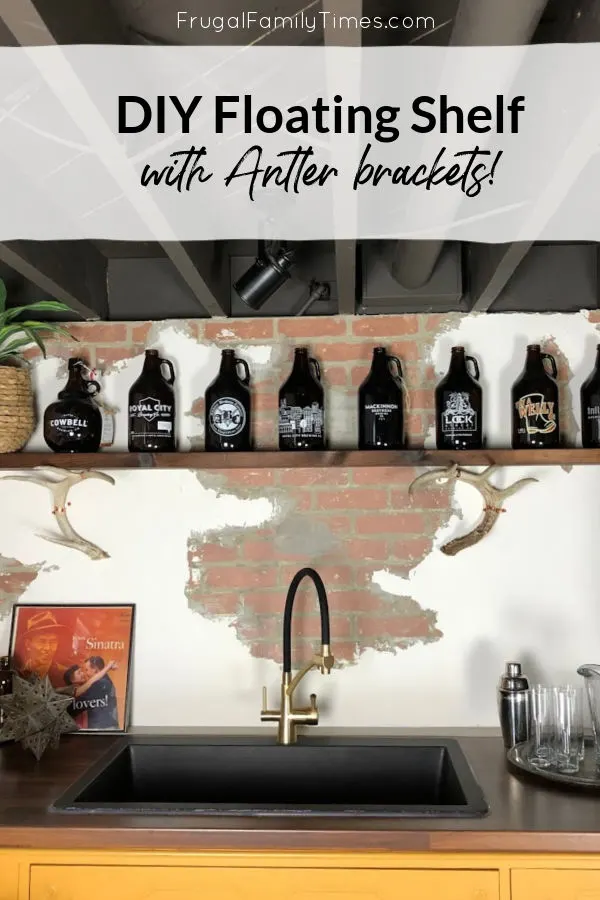
How to make DIY Floating Shelves Solid Wood. No expensive brackets required! (Antlers not included…)
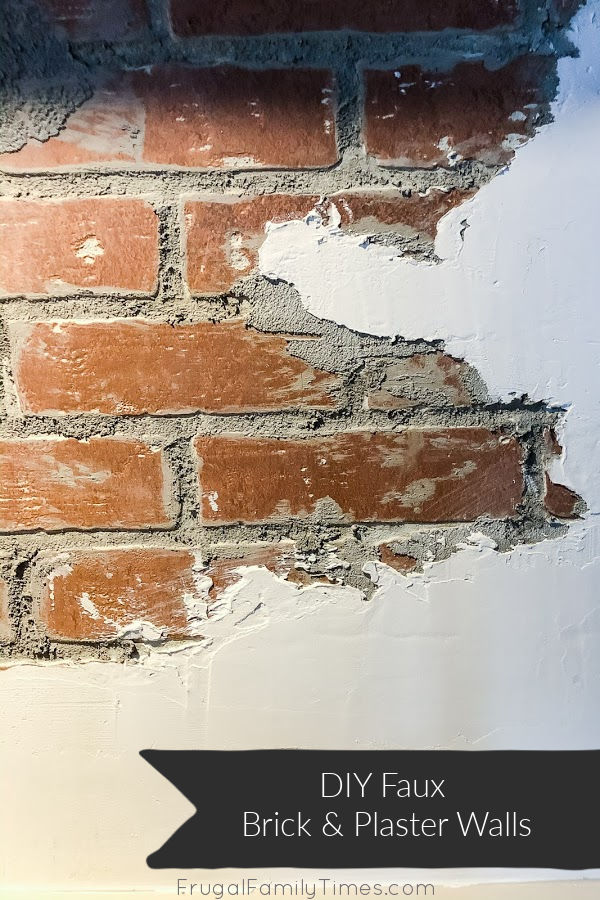

Realistic DIY Faux Brick Wall with Plaster Treatment (Distressed Exposed Brick Walls on a Budget!)

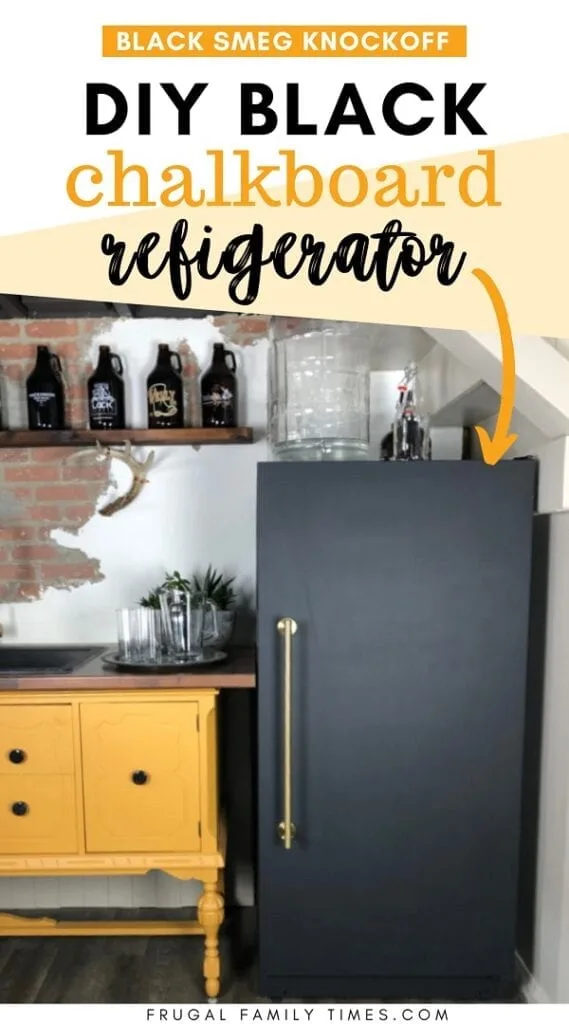
Our DIY Chalkboard Paint Fridge (a Black Smeg Knockoff)